Deleted My eSIM: How to Fix a Missing eSIM iPhone Connection
You just tapped a button you shouldn’t have, and now your bars are gone. Seeing “No Service” or noticing your primary line has vanished from the top of your screen feels like losing your wallet in a foreign city. It’s a classic case of a stray finger causing a major digital blackout, but you aren’t stuck with an expensive paperweight.
Don’t panic because you haven’t actually deleted your phone plan or cancelled your service. An eSIM is essentially just a specialized piece of software stored on your phone. While the local file is gone, your actual account still exists safely on your carrier’s servers.
Restoring your connection is usually just a matter of re-downloading that digital profile. Whether you need to troubleshoot Google Fi eSIM activation or work with another carrier, the fix is often just a few taps away. Follow these steps to get your esim iphone service back online and stop the “SOS” notification from mocking you.
This is a link to the text-based technical support page, providing complete step-by-step diagrams and illustrations so users never have to worry about connection errors.
The First Rule of eSIM Club: Do Not Panic
Take a deep breath and step away from the ledge. Dropping your phone in the toilet is a tragedy, but deleting a digital profile is just a minor clerical error. People often conflate their cellular plan with the software on their device, but they are separate entities. When you accidentally wipe that tiny bit of data, you haven’t fired your carrier or tossed your phone number into a black hole.
Think of your cellular plan as a library membership. Your carrier holds the master record of your account, your data balance, and your identity. The eSIM on your phone is simply the library card that lets you access those resources. If you lose the card, you aren’t banned from the library; you just need to print a new one.
Profiles Versus Plans
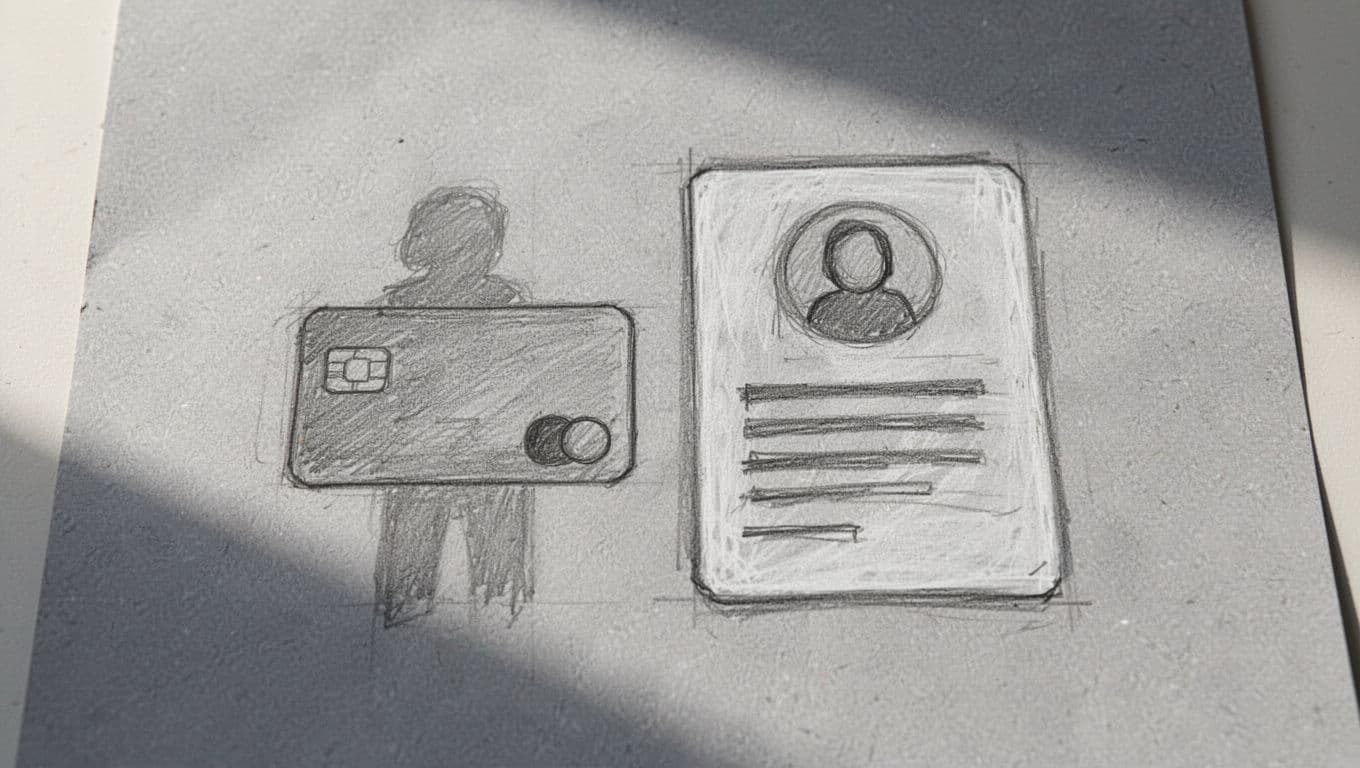
Deleting a profile is a local software action. Your iPhone essentially forgets how to talk to the cell towers because the “handshake” file is missing. Because the carrier servers still have your account marked as active, your billing cycle continues exactly as before. You are still a customer because no one told the billing department to stop charging you.
Canceling a contract is a legal and administrative process. This involves actually ending your relationship with the service provider. If you want to stop the monthly charges, you have to talk to a human or use an official portal. Simply hitting “Delete eSIM” in your settings doesn’t trigger a cancellation, so you don’t have to worry about losing your plan by mistake.
Your Number Is Safe
The biggest fear most users have is losing their phone number. Rest easy because your 10-digit identity is tied to your account, not just the file on your device. Unless you specifically call your carrier to terminate your line, that number stays parked in your name. You can verify eSIM activation readiness on iPhone to see if your hardware is ready for a fresh download.
| Action | Impact on Phone | Impact on Bill | Risk to Phone Number |
|---|---|---|---|
| Delete eSIM Profile | Loses tower connection instantly | Billing continues as normal | Zero risk; number stays on account |
| Cancel Carrier Plan | Service stops on specific date | Billing stops after final bill | High risk; number is lost if not ported |
Removing the profile is essentially like deleting a contact from your address book. The person still exists in the real world even if you’ve wiped their name from your screen. You just need to add them back to start chatting again. If you’re feeling adventurous or just want a backup plan, you can even get your free esim now to see how easy it is to manage multiple lines. Remember that according to Gohub’s comprehensive eSIM overview, these digital chips are designed specifically for this kind of flexibility. You’re in control of the software, and the carrier handles the service.
What to Do Right Now if You Deleted an eSIM on iPhone by Mistake
If your signal bars just pulled a vanishing act, don’t throw your phone across the room just yet. You need to act fast but precisely to get your esim iphone back on the grid. Before you do anything else, make sure you are tethered to a solid Wi-Fi connection. Since your cellular data is currently non-existent, your phone needs that internet lifeline to download a fresh digital profile. Avoid messing with manual APN settings or guessing your way through the network menu, because that usually complicates things. The solution is likely already sitting in your pocket or your inbox.
Hunt for Your Original QR Confirmation Email
The fastest way back to civilization is often the same way you got there in the first place. When you first bought your plan, your provider likely sent a confirmation email containing a setup QR code. Open your email app and use the search bar to look for keywords like “activation”, “eSIM”, “confirmation”, or the name of your carrier.
Many digital providers actually allow you to re-use that original code at least once. It’s like finding a spare key you hid under a digital doormat. Once you find the email, follow these steps:
- Open your iPhone Settings and tap on Cellular.
- Select Add eSIM to start the setup process.
- Tap on Use QR Code at the bottom of the list.
- Scan the code from your email using your camera.
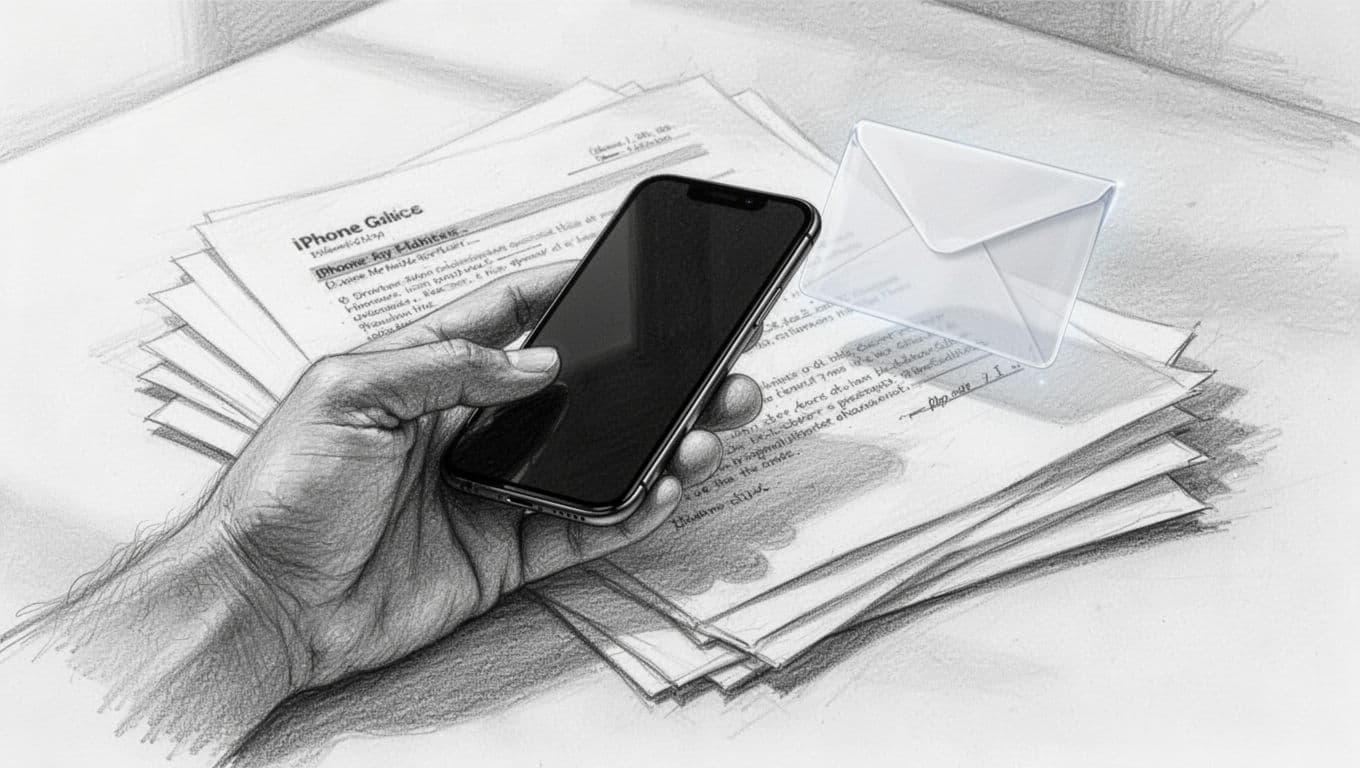
If the code doesn’t work the first time, don’t spam it. Some codes are single-use for security reasons, but it’s always worth a shot before waiting in a customer service queue. According to Apple’s recovery discussions, if the scan fails, you’ll need the carrier to generate a fresh one for you.
Check Your Provider App for an Instant Fix
If the email search turns up empty, the carrier’s mobile app is your next best friend. Apps for travel-specific services like Airalo or Nomad are designed for this exact scenario. Even major players like AT&T or Verizon have shifted toward “push” installations that bypass QR codes entirely.
Log into your account and look for a section labeled “My SIMs”, “Manage Line”, or “Devices”. Most modern apps include a prominent button that says “Re-install eSIM” or “Activate on this device”. Tapping this button triggers a system notification on your iPhone that says “Carrier Cellular Plan Ready to Be Installed”. Once you see that pop up, the technical heavy lifting is essentially done.
| Provider Type | Likely Restoration Method | Common Button/Label |
|---|---|---|
| Travel eSIM (Airalo/Nomad) | Re-installation via App | “Install eSIM / Access Data” |
| Major Carrier (AT&T/T-Mobile) | Push Notification | “Activate Device” or “Update SIM” |
| Budget MVNO | New QR Code via Email | “Send Activation Email” |
Using the app is almost always faster than calling a support line because the system is automated. If you’re a traveler or digital nomad, you can even get your free esim now if your current provider is being difficult and you need immediate backup data. These apps handle the messy server-side handshake for you, which is much better than trying to explain the situation to a chatbot. If the app doesn’t show an install option, look for a “Support” or “Help” tab where you can request a new digital key with a single tap.
How to Recover Your Connection Based on Your Carrier Type
Restoring your missing service depends heavily on who provides your signal. Because every company has its own digital gatekeeping rules, the path back to connectivity isn’t universal. Some carriers make it as easy as clicking a notification, while others might require a bit more digital detective work. Whether you are dealing with a corporate giant or a specialized travel provider, you need to follow the specific protocol for your account type to get back on the grid.
Major Carriers: Requesting a New Digital Key
If you are a customer of Verizon, T-Mobile, or AT&T, your recovery process is usually automated but strict. For security reasons, the digital key you used the first time is probably dead. Carriers do this to prevent bad actors from hijacking your number, meaning you typically cannot just reuse an old QR code found in your trash folder. You need to request a fresh Over-the-Air (OTA) push directly to your device.
Before you contact support or dive into your account settings, you should have your EID number ready. This 32-digit identifier is basically your phone’s unique social security number for digital chips. You can find it by going to Settings, tapping General, and then selecting About. Having this number on hand prevents a long, awkward silence when the representative asks for it.
To get your service back, try these specific methods:
- The App Approach: Most major carrier apps have a “Manage Device” or “Replace SIM” section that lets you trigger a new download while connected to Wi-Fi.
- The Website Portal: While logging into your account on a laptop allows you to request a new eSIM from a traditional wireless account, using a user-friendly Gohub travel eSIM completely skips this hassle, delivering a ready-to-scan QR code straight to your email instantly.
- Carrier Support: If the automated tools fail, calling their tech support allows them to manually push the profile to your IMEI and EID.

Travel Providers: Pleading with Support
Travel-specific eSIMs are a different beast entirely. These plans are often designed for short-term use, and many are strictly one-time-use files. If you accidentally delete a travel profile while navigating the streets of Tokyo or Paris, the software might think you are done with the service. This is where you might need to use a bit of charm to avoid paying for a brand-new plan.
Because these providers operate with thinner margins and high automation, their systems might block a second download attempt by default. However, most travel providers have responsive chat support because they know how stressful it is to be stranded without data. Reaching out to customer support immediately is your best bet. If you explain that the deletion was an honest mistake and not an attempt to move the plan to a different phone, many agents will generate a new QR code for you for free.
If they can’t help or if you are in a massive hurry, you can always get your free esim now to stay connected while you sort out the original issue. Staying polite and patient with these digital nomads of the customer service world often leads to a faster resolution than being demanding. If you’re still hitting walls with your data, you might need to troubleshoot eSIM cellular data connection problems once the new profile is actually installed.

Everything You Are Wondering While Waiting for a Signal
Waiting for those little bars to reappear can feel like watching a pot of water that refuses to boil. You likely have a dozen questions swirling around while you stare at that “SOS” icon in the corner of your screen. Restoring an esim iphone profile isn’t just about technical steps; it’s about understanding the digital quirks that keep your device connected. This section clears up the common curiosities regarding backups, billing, and the physical-to-digital jump.
The iCloud Backup Myth
Many users assume that backing up an iPhone to iCloud is a “set it and forget it” solution for everything. While iCloud is great for saving your cat photos and high scores, it treats cellular profiles with a bit of a cold shoulder. An iCloud backup stores your settings and app data, but it does not actually back up the active eSIM chip itself.
When you restore from a backup, your wallpaper and messages return, but the cellular connection often stays behind. You usually have to trigger a separate “Transfer Cellular Plan” prompt during seatup to move the service. If you’ve already wiped your device and realize the line is missing, the backup won’t magically reinstall it. You will need to reach out for a fresh activation or check for a T-Mobile iPhone eSIM transfer guide if you are using that specific carrier.

Billing and Deletion Costs
Good news for your wallet: deleting a profile is entirely free. Carriers won’t fine you for a slip of the thumb. However, just because the profile is gone from your screen doesn’t mean the bill stops coming in the mail. Because your account remains active on the carrier’s server, you are still responsible for the monthly service fees.
Think of it like a streaming service. If you delete the app from your TV, the company still charges your credit card every month. You haven’t cancelled the subscription; you just removed the way you view the content. If you’re stuck and need a temporary data bridge while waiting for support, you can get your free esim now to stay online without doubling your bill in the long run.
Converting Physical SIMs to Digital
If you are still rocking a physical plastic SIM and decide to make the jump to digital, the process is surprisingly smooth. Apple has a built-in tool that handles most of the heavy lifting. You can usually find this by going to Settings, then Cellular, and looking for the “Convert to eSIM” option.
- Tap onto the “Convert to eSIM” button within your cellular settings.
- Confirm the conversion through the pop-up notification.
- Wait for the bars to fluctuate while the carrier updates your status.
- Remove the physical plastic SIM once the screen confirms activation.
| Feature | Physical SIM | eSIM Profile |
|---|---|---|
| Recovery | Must get a new physical card | Download a new digital file |
| Flexibility | Limited to one slot | Multiple profiles on one device |
| Security | Can be physically stolen | Harder to remove without a passcode |
Once the digital version is live, the physical chip becomes a piece of redundant plastic. You can check the official Apple support guide for eSIM setup for more specific device requirements. Making this switch now often prevents future headaches, especially since modern iPhones are leaning toward a “digital-only” future. If you ever feel like transferring eSIM between Android and iPhone later, having a digital-first setup makes that jump much more manageable.
Never Again: Stop Your Future Self from Misclicking
Mistakes happen, especially when you are jet-lagged or juggling multiple lines on a single device. One wrong tap in your settings can turn a perfectly functional esim iphone into a silent block of aluminum. However, you don’t have to live in fear of your own thumbs. By organizing your digital cards and using the right switches, you can make your cellular menu idiot-proof. It is all about creating a clear digital filing system so you never mistake your primary home line for a temporary travel plan again.
Give Your Lines a Personality with Custom Labels
When you have three different lines labeled “Secondary,” you are basically playing a high-stakes game of cellular roulette. Your iPhone allows you to rename these plans so you know exactly what is what at a glance. Instead of settling for the boring default names, you should give them descriptive titles that reflect their actual purpose. This simple bit of digital housekeeping ensures that when you go to manage your data, you are clicking on the right profile every single time.
You can follow these steps to tidy up your menu:
- Launch your Settings and tap on Cellular.
- Select the specific phone number you want to rename under the SIMs section.
- Tap on Cellular Plan Label to see the list of options.
- Choose a preset like “Personal” or “Business,” or type a unique name in the Custom Label box.
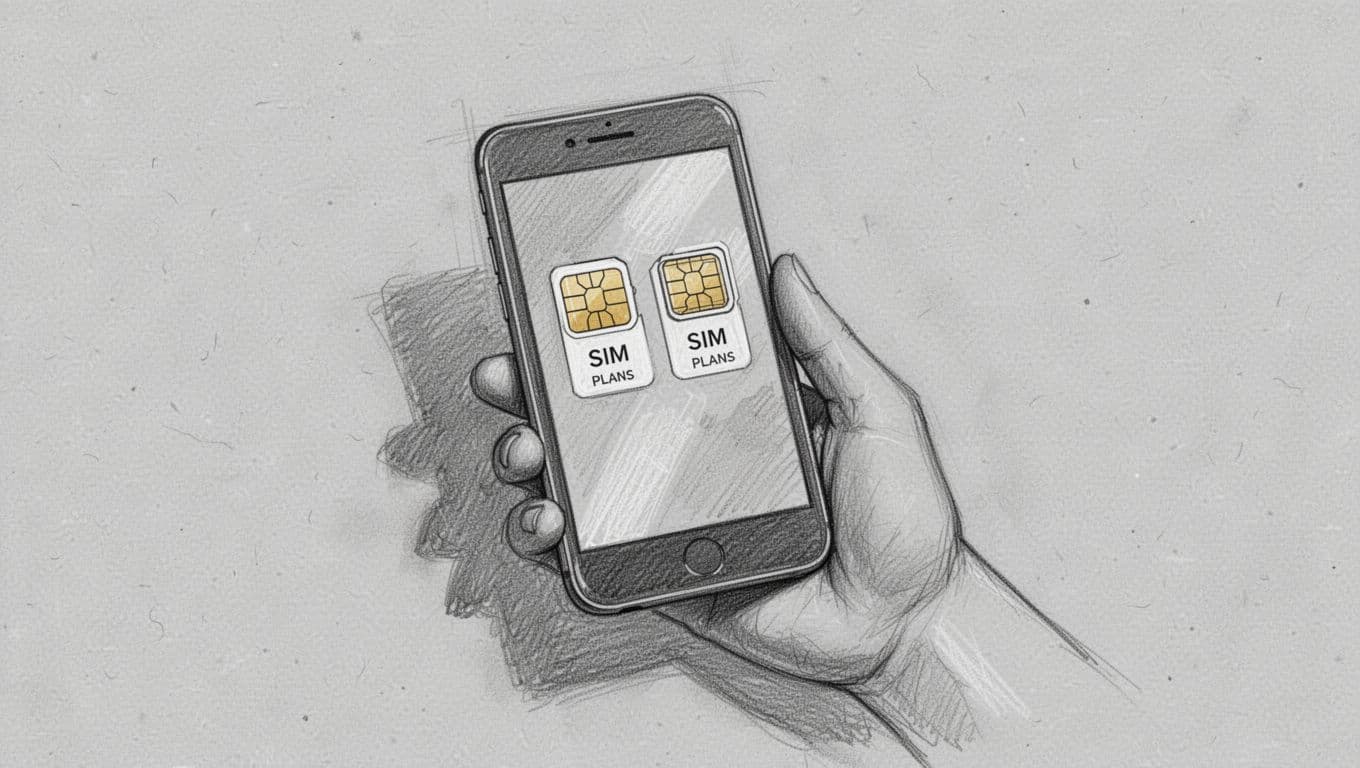
Naming your lines “Home” and “Holiday” or “Work” and “Weekend” makes a world of difference. It transforms a confusing list of numbers into a clear dashboard. If you’re curious about managing multiple eSIM profiles on iPhone, you’ll find that clear labels are the only thing standing between you and total connectivity chaos.
The Magic Toggle: Turn It Off, Don’t Delete It
The most important rule for any modern phone user is that “Off” is not the same as “Trash.” Many people accidentally delete their profiles because they think they need to remove the plan to stop using it. This is a recipe for a support call you don’t want to make. Your iPhone has a specific toggle designed to put a line to sleep without erasing the data required to wake it up later.
Using the “Turn On This Line” switch is the ultimate safety net for travelers. When you land back home, you don’t need to wipe your travel data. You just flip the switch to grey. This keeps the profile stored in your phone’s memory, ready for your next trip, while completely disabling the antenna for that specific line. It is a much cleaner way of using Dual SIM with an eSIM without the risk of a permanent deletion.
| Goal | Action to Take | Result |
|---|---|---|
| Stop Data Usage | Toggle “Turn On This Line” to OFF | Line is dormant but safe |
| End Service Forever | Contact Carrier + Delete Profile | Line is gone and plan is canceled |
| Switch Networks | Choose a different “Cellular Data” line | Changes who provides internet |
If you ever find yourself in a situation where a toggle isn’t enough and you’ve already wiped a line, you can always get your free esim now to get back online instantly. Just remember that as long as the “Turn On This Line” switch is visible, your profile is still there. Stay away from the scary red “Delete” button at the bottom of the screen unless you are 100% sure you never want to see that plan again.
Conclusion
Accidentally wiping your connection is a tech glitch, not a life crisis. Your phone number haven’t vanished into the void, and your bank account isn’t going to explode. The data is still sitting on a server waiting for you to call it back home.
Most of the time, a quick hop onto Wi-Fi and a chat with support fixes everything. You just need to download a fresh digital key to bridge the gap. If you hit any weird snags while waiting for your signal to return, you can troubleshoot eSIM SMS issues on iPhone to make sure your texts land in the right place.
Your device is designed for this kind of flexibility, so don’t let a missing bar ruin your afternoon. Take the win, name your lines properly, and stay far away from that red delete button in the future. Now go forth and enjoy your bars; you’ve earned them.
This post may contain affiliate links. If you make a purchase through these links, I may earn a small commission at no extra cost to you.