Traveling is supposed to be about finding the best gelato in Rome or exploring hidden trails, not wrestling with those tiny, soul-crushing plastic SIM cards that always seem to vanish into the airplane carpet. Dealing with expensive roaming fees is just as painful; nobody wants a phone bill that costs more than their flight. Fortunately, your esim iphone is a total life-saver that lets you skip the airport kiosk lines and get connected in seconds.
To scan an eSIM QR code on your iPhone, simply go to Settings, tap Cellular, select Add eSIM, and use your camera to capture the code. It really is that easy to swap a physical headache for a clever setup that lives entirely in your phone’s software. Whether you’re a digital nomad or just a weekend explorer, mastering this quick process ensures you can Get your free esim now and stay connected wherever you land.
Since you’ve probably got better things to do than stare at a loading screen, knowing the right shortcuts can save you plenty of frustration. Following a step-by-step iPhone eSIM activation guide keeps things smooth so you don’t run into common setup snags. Let’s look at exactly how to get that digital line buzzing with data so you can get back to your vacation.
Why Savvy Travelers Are Obsessed with eSIM on iPhone
Traveling used to involve a frantic search for a paperclip or a specialized tool just to swap out a tiny piece of plastic. If you dropped that card, it was basically lost to the void. Today, the modern explorer looks at those physical trays as relics of a clunky past. Using an esim iphone feels like stepping into a more organized reality where your connectivity is as light as your carry-on. It is the preferred choice for digital nomads and remote workers who need to stay online without the baggage.

Bid Farewell to Obscene Roaming Charges
We’ve all been there; you turn on your phone after landing, and suddenly your carrier sends a text threatening to charge you the cost of a small car for a few megabytes. Paying ten dollars a day for roaming is a scam when local data is cheaper than a cup of coffee. By using a digital SIM, you tap into local rates immediately. You can keep your primary line idling in the background while your travel line handles the heavy lifting.
This setup is the ultimate budget hack for anyone crossing borders. You avoid the “vacation tax” that big carriers love to slap on international travelers. Instead of a massive bill, you spend your money on experiences. It is a smarter way to manage your wallet while staying fully connected to the world.
To maximize these savings, consider these quick tips:
- Turn off data roaming for your primary home provider to avoid accidental fees.
- Use your travel data for high-bandwidth apps like Instagram or YouTube.
- Set your iPhone to use the secondary line for all cellular data needs.
- Get your free esim now to start saving before your next flight.
Get Connected Before You Even Find the Airport Exit
Standing in a long line at a kiosk after an eleven-hour flight is a special kind of torture. You’re tired, you’re thirsty, and you just want to call an Uber. When you use an eSIM, that frustration disappears. You can scan your QR code while sitting on your couch at home or during a layover. The second those plane wheels touch the runway, your phone finds the local signal.
You won’t have to hunt for sketchy public Wi-Fi that asks for your email and your firstborn’s name. Having immediate access to maps and translation apps makes the arrival process much safer. It provides a sense of security knowing you can navigate a new city the moment you step off the plane. This instant connectivity is why many people are setting up an eSIM for international trips well before they head to the airport.
The Magic of Keeping Your Home SIM Active
The biggest fear of switching to a local SIM used to be missing out on important messages from home. Maybe your bank needs to send an authentication code, or your mom is checking in. With dual SIM technology, you don’t have to choose. Your esim iphone lets both lines live together in harmony. You can browse the web on your cheap travel data and still receive those crucial security texts on your original number.
It is like having two phones in one pocket without the extra weight. You stay reachable on iMessage and WhatsApp using your standard identity while the travel line does the dirty work of fetching data. This balance is perfect for remote workers who must remain available for clients but want to avoid the high costs of traveling with eSIM roaming plans. It ensures you never miss a beat at home while you’re busy exploring the Taj Mahal or the streets of Tokyo.
The Pre-Scan Checklist: What You Need in Your Digital Toolkit
Before you point your camera at that QR code like a digital cowboy, you need to make sure your gear is actually ready for the journey. It is easy to assume every modern phone is good to go, but a few small roadblocks might standing between you and that sweet, sweet vacation data. Think of this as your pre-flight inspection; you wouldn’t take off without checking the fuel, right?
Taking two minutes to verify your equipment saves you from the specific heartache of staring at a “Could Not Activate” error message while standing in a crowded terminal. You need more than just a sense of adventure to make this work. A little bit of technical harmony ensures your esim iphone performs exactly like the high speed travel companion it was meant to be.
Double Check Your iPhone Compatibility
Not every iPhone is a digital SIM superstar, though most recent models are. You generally need an iPhone XS, XR, or anything released since then to join the party. If you are clutching an iPhone 8 or something older, you are stuck with the physical plastic life for now.
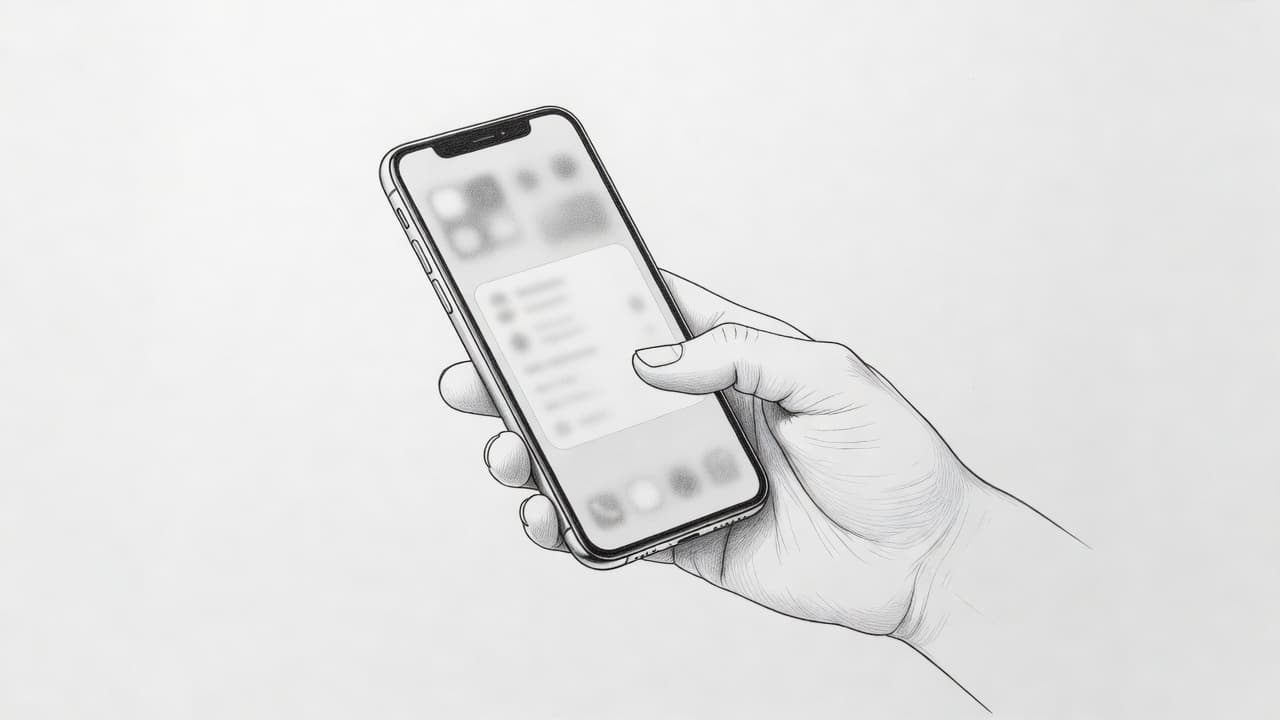
It is smart to check your specific hardware before buying a data plan. You can find this out quickly by visiting your settings. If you see an “Add eSIM” option in your cellular menu, your hardware is ready to rock. For a full breakdown of which devices make the cut, check out this list of eSIM compatible iPhone models.
The Great Carrier Unlock Mystery
Your phone might be technically capable, but your carrier might have it in “handcuffs.” If you bought your phone on a payment plan from a big provider, it might be locked to their network. A locked phone will flat-out reject an eSIM from another company, leaving you stranded without a signal.
You can solve this mystery in about ten seconds without calling anyone. Open your Settings, hit General, and then About. Look for the Carrier Lock section; if it says “No SIM restrictions,” you are golden. If it says anything else, you should follow the Apple carrier unlock guide to set your device free before you head to the airport.
Find a Solid Wi-Fi Connection First
This is the one that trips up most travelers. Activating a brand new digital line requires a tiny burst of internet to talk to the servers. You cannot use the eSIM data to download the eSIM itself; that is a classic “chicken and egg” problem that ends in frustration.
Make sure you are connected to a reliable Wi-Fi network before you start the scan. Doing this at home or in your hotel is much better than trying to catch a flickering signal in a remote cabin. Once the activation finishes, you can fly solo on cellular data, but you need that initial digital handshake to get moving. If you want to be fully prepared, Get your free esim now while you still have a steady connection.
How to Scan an eSIM QR Code on iPhone: The Step-by-Step Dance
Scanning a code feels a bit like magic, but it’s really just a quick handshake between your phone and a satellite somewhere in space. You don’t need to be a tech wizard to make it happen. As long as you can point a camera and tap a few buttons, you’re minutes away from high speed data. Let’s walk through the digital choreography needed to get your esim iphone connected without any drama.
Locate Your Cellular Settings
Every great journey starts with the Settings app (that little gray gear icon you usually hide on the second page of your home screen). Tap that icon and look for the section labeled Cellular. If you’ve set your phone to a different region or you’re an international traveler, this might say Mobile Data instead. They’re the exact same thing; just different accents for the same menu.
Once you’re inside, you’ll see a list of your current SIM cards and data options. It’s the nerve center for everything related to how your phone talks to the world. Taking a second to check your iPhone eSIM activation instructions helps ensure you’re in the right spot before moving to the next step.
The All-Important Add eSIM Button
Scanning through your cellular menu, you’ll find a blue link that says Add eSIM. On some newer versions of iOS, it might say Set Up Cellular if you don’t have a secondary line yet. This is the big “start” button for your activation party. Tapping it won’t break anything; it just lets your iPhone know you’re ready to invite a new digital guest onto the device.
Your phone might offer a few choices here, like transferring from a nearby device. For most travelers, you want the option that mentions a QR code. It’s the most direct path to getting your new plan up and running. If you haven’t picked a plan yet, you can Get your free esim now to have your code ready for this exact moment.
Point and Click: Scanning the QR Code
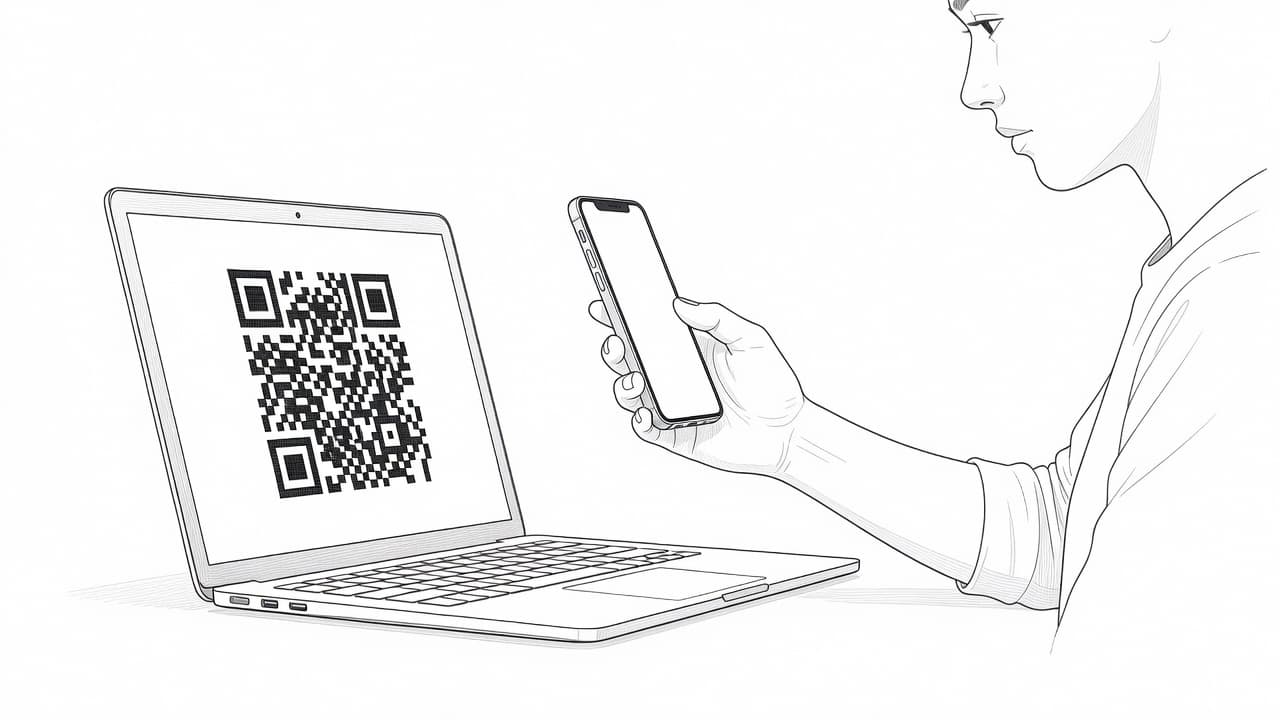
When you tap Use QR Code, your iPhone camera will spring to life automatically. You’ll see a white frame on the screen that acts as your target. Aim that frame at the QR code your carrier provided. It’s usually in an email or on a printed piece of paper from a kiosk. If the code is on the same phone you’re using, you may need to save it to your photos or print it out first (because your phone can’t see its own screen, obviously).
Hold your hand steady for a brief second while the camera works its magic. You don’t even need to press a shutter button; the phone will recognize the data and vibrate once it’s successful. According to Apple’s official eSIM setup guide, a notification will pop up saying “Cellular Plan Detected.” Just tap continue, and the heavy lifting is done.
Labeling Your Lines Like a Pro
Now comes the part that saves your future self from a massive headache: the labeling. Your iPhone will ask you to name your new line. While “Secondary” is the default, it’s about as helpful as a screen door on a submarine. Change the name to something obvious like “Travel,” “Europe,” or “Vacation.” This makes it incredibly easy to tell which line is which when you’re toggling data on and off.
Proper labeling ensures you don’t accidentally use your expensive home data for a Netflix binge while you’re sitting in a Parisian cafe. You can use standard labels or create a custom one that matches your trip.
- Select the new line from the list.
- Tap on Cellular Plan Label.
- Choose a pre-made label or type in your own custom name.
- Hit Done to save your changes and keep your digital life organized.
When the Magic Doesn’t Happen: Manual Setup for the Win
Sometimes the universe has other plans for your quick setup. You’re standing there, phone in hand, pointing your camera at a code that simply won’t behave. It feels like the digital equivalent of trying to plug a USB cable in the wrong way three times in a row. Don’t let a stubborn code ruin your travel vibes; most scanning hiccups are just temporary glitches that a few quick Adjustments can solve easily.
If the camera is being temperamental, it’s rarely a sign of a broken phone. Usually, it’s just a matter of the environment or a tiny bit of physical interference. Before you start considering a reset of your eSIM on iPhone, take a deep breath and try these quick environmental wins.
Simple Fixes for Stubborn Codes
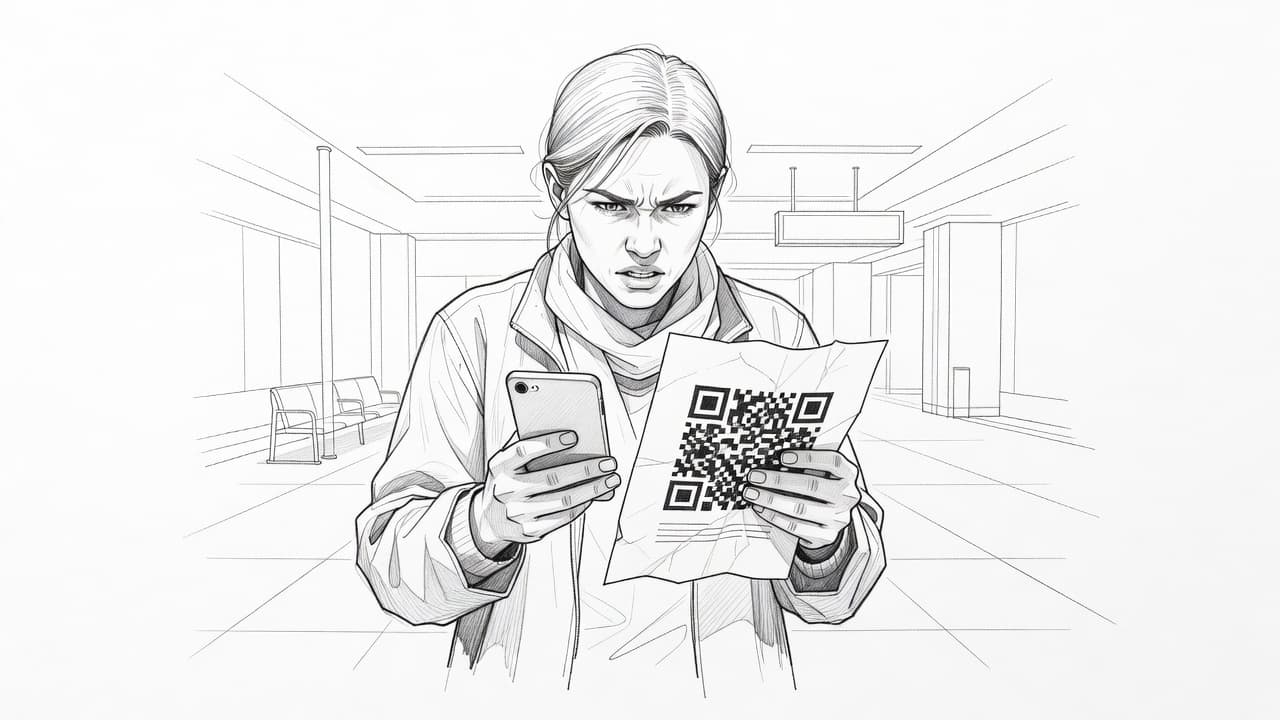
Your camera is a high-tech marvel, but it’s also incredibly sensitive to the world around it. If your esim iphone refuses to acknowledge the QR code, the first thing you should do is reach for your shirt hem or a microfiber cloth. A single fingerprint smudge on the lens can turn a sharp QR code into a blurry mess that the software can’t decode. Give those lenses a gentle wipe and try the scan again.
Lighting plays a massive role in this digital handshake too. If you’re scanning a code off another smartphone or a laptop screen, glare is your biggest enemy. Crank the brightness of the “source” device all the way up so the contrast is sharp and clear. If you see a reflection of an overhead light on the screen, tilt it slightly until the glare vanishes. This helps the camera distinguish those little black squares from the white background much faster.
The Manual Entry Secret Sauce
When the camera just won’t cooperate regardless of how much you polish the lens, it’s time to skip the visuals. There is a “back door” to activation that doesn’t involve the camera at all. Look at the very bottom of the QR scanning screen on your iPhone. You’ll see a small, often overlooked link that says Enter Details Manually. This is the fail-safe path that guarantees success even if your camera is having a bad day.
Tapping that link opens a form where you type in the codes yourself. Your eSIM provider usually includes these details in the same email as your QR code. You’ll need two specific pieces of information: the SM-DP+ Address and the Activation Code. Think of the SM-DP+ Address as the digital mailing address for your plan and the Activation Code as the key that unlocks it.
The process is straightforward once you have the text ready:
- Open the “Enter Details Manually” screen in your iPhone settings.
- Copy the SM-DP+ Address from your carrier’s email and paste it into the first box.
- Grab the Activation Code and paste it into the second box.
- Leave the “Confirmation Code” box empty unless your carrier specifically gave you a separate PIN.
- Hit Next and wait for the “Activating” spinning wheel to finish its dance.
Using this method bypasses all the physical hurdles of scanning. It’s the most reliable way to troubleshoot eSIM activation errors when the hardware isn’t playing nice. Once that data starts flowing, you won’t even remember the camera struggle. Now that you’re past the setup phase, you can finally Get your free esim now and focus on the actual trip instead of the tech.
Timing is Everything: When to Activate Your Travel Line
You’ve got your QR code ready and your bags are packed, but now you’re staring at your phone wondering if you should pull the trigger. Pressing that “Add eSIM” button at the wrong time is like starting a race before the starting gun goes off. If you activate too early, you might burn through a few days of your plan while you’re still sitting on your couch. Wait too long, and you’ll be that person wandering the airport looking for a Wi-Fi signal like it’s a desert oasis.
Getting the timing right ensures your esim iphone works perfectly from the moment you hit the tarmac. Most people assume the clock starts ticking the second the code is scanned, but the reality is a bit more nuanced. Understanding how different providers handle those first few bytes of data will save you both money and a massive headache.
The Golden Rule of Home Activation
The best time to scan your QR code is usually while you’re still at home or in your hotel before you head to the airport. Think of this as the digital equivalent of packing your passport. You want to make sure the “download” part of the process happens on a stable, private Wi-Fi network. Scanning at home gives you a stress-free environment to troubleshoot if the code decides to be grumpy.
Most travel-specific plans stay in a “waiting” state until you actually land and connect to a local tower. Because of this, you don’t have to worry about wasting your 7-day or 30-day window while you’re still in the air. You can find more advice on this in certain discussions about eSIM activation timing. By the time you land, your phone is already familiar with the digital SIM and ready to hunt for a signal.

Knowing When Your Plan Officially Starts
Not all plans play by the same rules, so checking the fine print is a smart move. Some providers start the validity period the moment the eSIM is installed on your device. Other, more traveler-friendly options only start the countdown once you reach your destination. If you’re using one of the best Taiwan eSIM apps for iPhone, they usually wait for that first local “handshake” before the clock starts.
| Activation Type | When the Clock Starts | Best Setup Time |
|---|---|---|
| Activation on Scan | Immediately after scanning | Day of Departure |
| Activation on Connection | Upon landing abroad | 1-2 Days Before Trip |
| Manual Start | When you toggle a switch | Any Time |
The takeaway here is simple: if your plan starts on scan, wait until you’re at the boarding gate. If it starts on connection, feel free to do it a day early to get the chores out of the way.
The Five Minute Rule for New Connections
Don’t panic if your phone doesn’t show five bars of 5G the absolute second you turn off airplane mode. The local network needs a hot minute to register your phone’s unique identification. Usually, this digital introduction takes anywhere from two to five minutes. If it feels like it’s taking forever, a quick toggle of airplane mode or a simple restart will usually nudge the system into gear.
Keep your primary line turned off for data but active for calls if you need to stay reachable. This way, your esim iphone knows exactly which pipe to use for your internet needs. If you haven’t secured your data yet, it’s wise to Get your free esim now so you can handle the setup before the travel chaos begins. Patience is key during those first few minutes in a new country.
Pro Tips for Post-Installation Peace of Mind
Scanning the code is only half the battle; the real victory happens when you configure your settings so your home carrier doesn’t send you a bill that looks like a mortgage payment. Think of your iPhone as a very polite but slightly confused assistant who needs specific instructions on which “pipe” to use for data. If you don’t set these boundaries, your phone might get homesick and try to use your expensive domestic plan out of habit.
Taking a few minutes to refine these toggles ensures you can scroll through menus and maps without a care in the world. After you finish the setup, it’s often a smart move to give your device a quick restart. This simple “digital nap” helps clear the cobwebs and ensures the new network handshake is firm and steady.
Toggle the Right Roaming Settings
You need to act like a digital gatekeeper for your two phone lines because they have very different jobs. Your primary home SIM should stay active so you can receive those vital bank authentication texts, but you must prevent it from “touching” foreign data towers. The easiest way to do this is to head into your settings and ensure that data roaming is strictly turned off for your home line.
Meanwhile, your travel line needs the exact opposite treatment to actually function. Most travel plans require you to turn data roaming on for the eSIM specifically so it can jump onto local partner networks. It feels counterintuitive to enable a feature usually associated with high fees, but for your travel plan, it’s the “on” switch for your internet.
- Open Settings and tap on Cellular.
- Select your Primary SIM and verify Data Roaming is set to Off.
- Go back and select your Travel eSIM to turn Data Roaming to On.
- Get your free esim now to practice these settings before your flight.
By following official cellular data roaming advice, you protect your wallet while staying connected. This simple configuration tells your phone exactly which line is allowed to spend money and which one is just there to listen for messages.
Disable Cellular Data Switching
There is a sneaky little setting named “Allow Cellular Data Switching” that can be a traveler’s worst nightmare. iPhone designers meant for this to be helpful; if one network gets weak, the phone automatically hops over to the other one to keep your connection alive. In your home country, this is great, but when you’re abroad, it’s a trap that could lead to your phone secretly using your home line for a data-heavy app.
You want to lock your data usage to the travel line exclusively so there are no surprises when you get home. By disabling this switch, you’re telling your phone that you’d rather have a temporary signal drop than a hundred-dollar roaming charge. It’s a small checkmark that makes a massive difference for managing multiple eSIM profiles effectively while you move between cities.
Keeping your data on a “leash” is the best way to maintain peace of mind during your adventures. Most travelers find that sticking to one dedicated data pipe is the only way to be 100% sure their home carrier stays out of the picture. Once this setting is toggled off, you can finally relax and focus on the sights instead of your settings menu.
Common Questions About the iPhone eSIM Journey
Navigating the world of digital SIM cards can feel a bit like trying to read a map in a category five hurricane at first. You probably have dozens of tiny questions buzzing around your head, especially when you’re used to the old school way of doing things. It’s completely normal to wonder if you’re going to accidentally delete your entire digital existence just by tapping the wrong button.
Let’s clear the air and look at the most common head-scratching moments travelers face when they join the digital connectivity club. Because once you understand the rhythm of how these virtual chips dance, you’ll never want to go back to hunting for a paperclip again.
Can I Scan the Same Code Twice
The short answer is usually a big, resounding “no,” but the “why” is actually quite interesting. Think of your eSIM QR code as a one-use golden ticket to a chocolate factory; once you’ve walked through the gate, the ticket is punched. Most carriers designed these codes for a single successful activation on one specific device to prevent security nightmares.
If you delete the profile thinking you can just scan it again later like a loyalty card at a coffee shop, you’re going to have a bad time. You’ll likely see an error message telling you the code is already in use or totally invalid now. If you need to move your plan or you accidentally wiped it, you’ll generally have to ask your provider for a brand new code to start the process over.
Handling Multiple Storage Units on One Phone
Your esim iphone is a bit of a digital warehouse when it comes to storage capacity for these virtual lines. While you can usually only have one or two lines active at the exact same moment, you can store a surprising number of them “on the shelf.” Most modern iPhones allow you to keep eight or more eSIM profiles tucked away in your settings.
It is like having a closet full of outfits; you can only wear one at a time, but it’s great to have options for different occasions. This makes it incredibly easy for frequent flyers to keep a profile for London, another for Tokyo, and a third for home without deleting anything. You simply toggle the one you need “on” and leave the others “off” until your next trip. To get your collection started, you can Get your free esim now and try out the storage yourself.
The Great Deletion Danger Zone
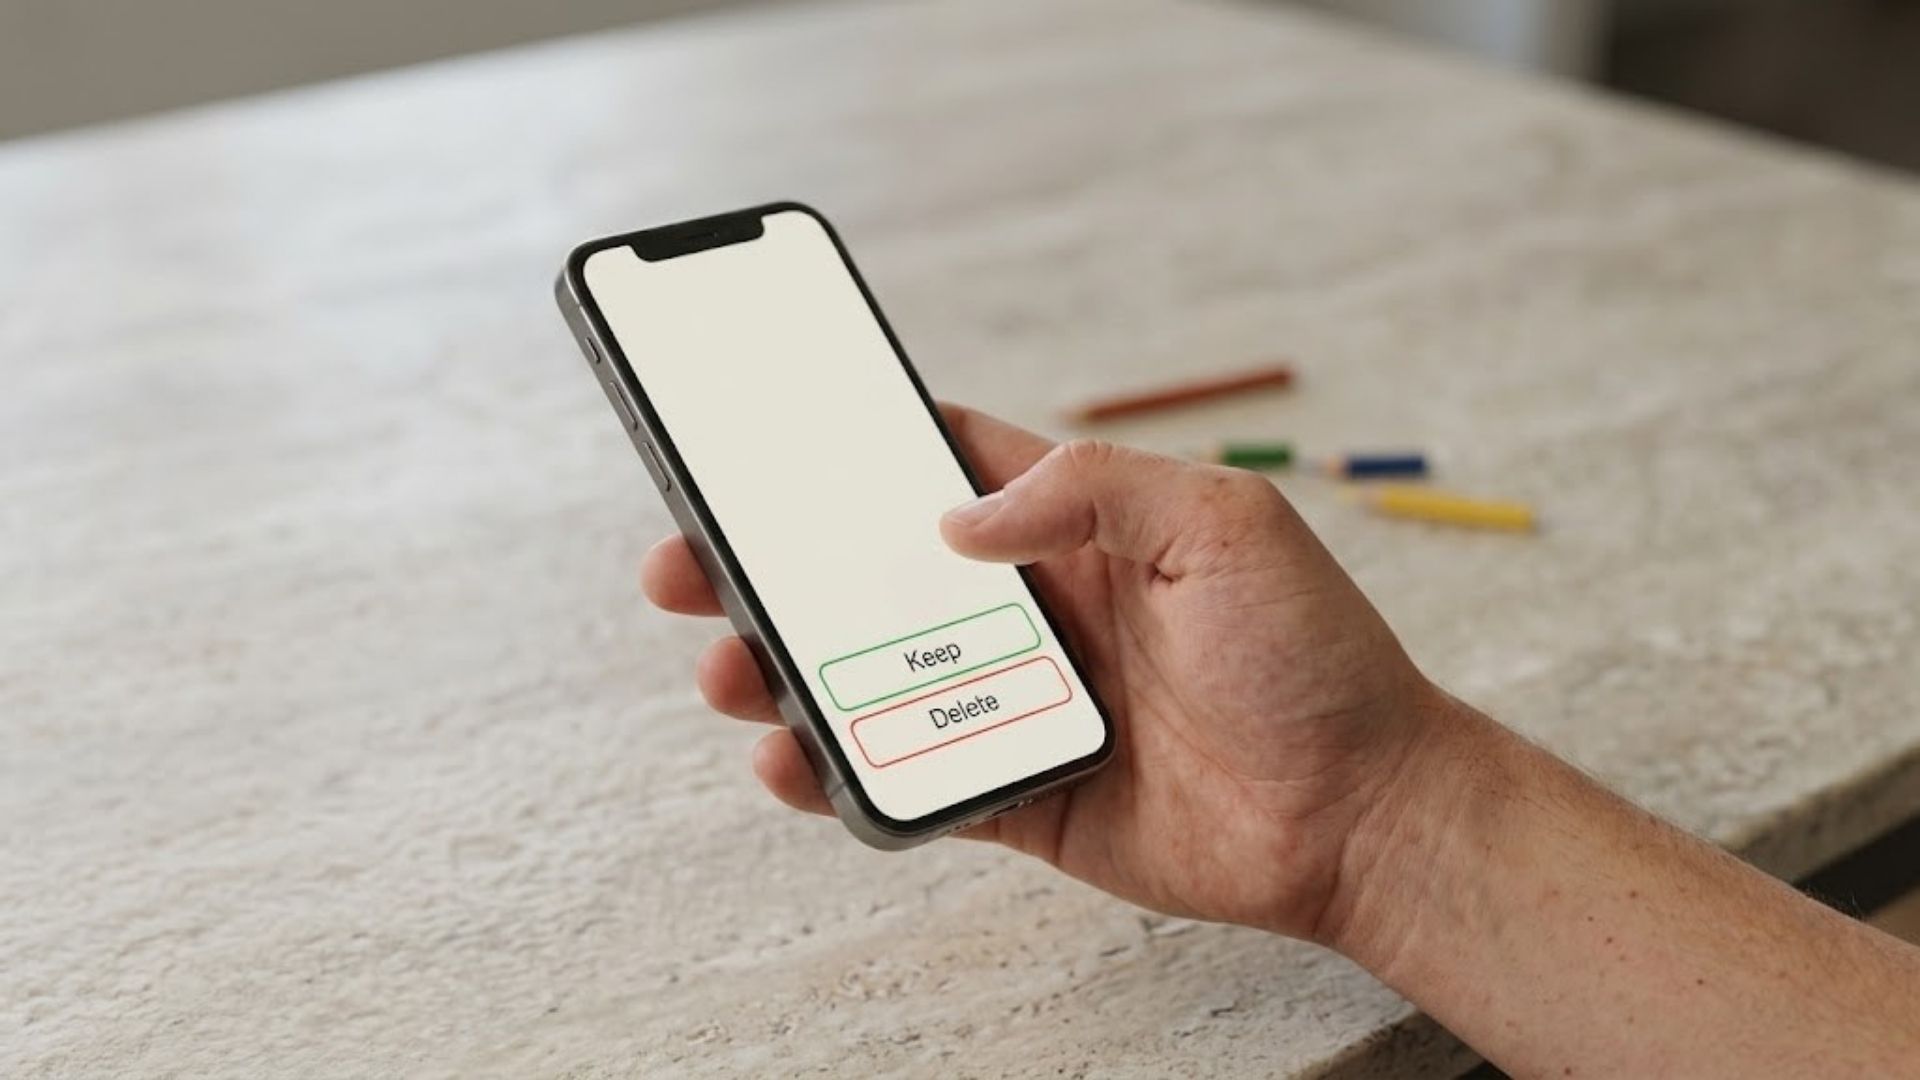
There is a massive difference between deleting an eSIM from your phone and canceling your actual phone plan. If you go into your cellular settings and hit “Delete eSIM,” your phone will lose its signal faster than a ghost at a campfire, but your bill will keep marching on. Your carrier doesn’t know you deleted the profile; they just see a line that isn’t currently making calls.
Deleting is permanent and cannot be undone with a simple “undo” button. You should only hit that button if you are finished with a temporary travel plan or if you are selling your phone to someone else. If you’re having connection issues, it’s better to troubleshoot your eSIM connection before reaching for the nuclear option. Always remember that the digital profile on your screen is just the “key” to the service, not the actual contract itself.
Conclusion
Scanning that little square of pixels is the only thing standing between you and a vacation free from connectivity drama. The setup is fast and keeps your physical SIM tray tucked away safely where it belongs. You skip the airport lines; you dodge the overpriced roaming fees; and you keep your home number active for those pesky bank alerts.
Modern travel is simply better when your phone works the second you land. You can handle the entire process from your living room or a gate at the airport without any specialized tools. If your camera acts up, the manual entry fallback is always there to save your data connection.
You now have the tools to manage multiple digital lines like a seasoned pro. This freedom lets you focus on your itinerary instead of hunting for a local shop or a paperclip. Get your free esim now and start your next adventure with the peace of mind that comes from a perfect setup.
This post may contain affiliate links. If you make a purchase through these links, I may earn a small commission at no extra cost to you.