You land at Bangkok Suvarnabhumi Airport, switch off Airplane Mode, and wait for your iPhone to connect. Instead, an activation error appears, and your first Thai adventure begins with a hunt for airport Wi-Fi.
Most connection problems are avoidable. Before flying, check that your iPhone has No SIM restrictions, confirm it supports eSIM, download your Thailand travel profile over home Wi-Fi, label your lines, and set roaming controls for each one. You can also review this iPhone eSIM setup guide for international travel before scanning your QR code.
At home, complete the setup while you have stable internet and time to contact your carrier if something looks wrong. After landing, verify the active data line, roaming setting, and local signal before opening maps or messaging your hotel. First, check your iPhone’s carrier lock status.
This post may contain affiliate links. If you make a purchase through these links, I may earn a small commission at no extra cost to you.
Before Landing in Thailand: iPhone Checks to Do at Home
Complete these checks several days before departure, not while balancing luggage at the airport. A few minutes at home can prevent a locked phone, failed activation, or frantic Wi-Fi hunting after you land.
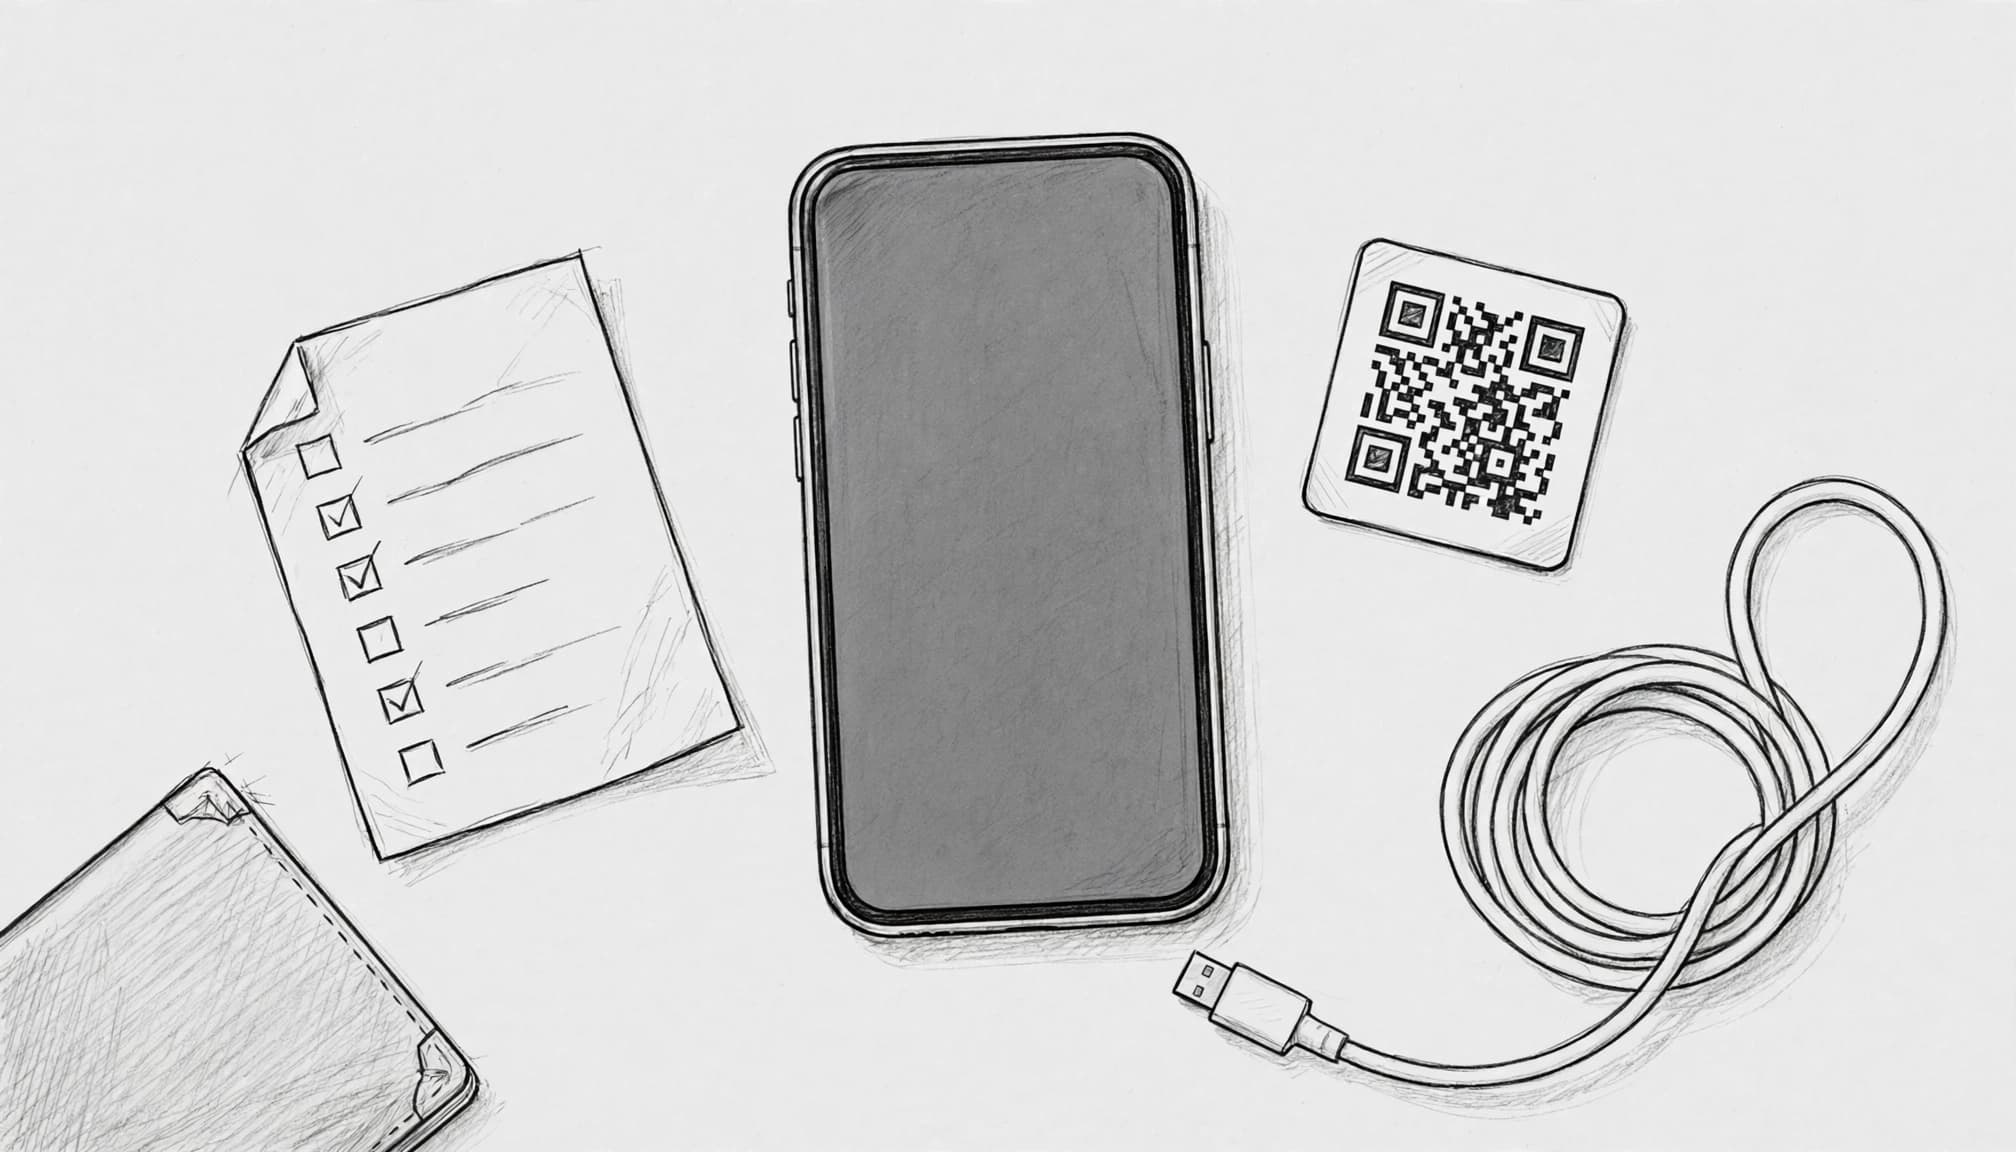
Check that your iPhone shows “No SIM restrictions”
Open Settings, tap General, then choose About. Scroll down to Carrier Lock. The result you want is “No SIM restrictions.” Apple explains that this message means your iPhone is unlocked for use with another carrier.
If you see “SIM locked” or another restriction, contact your current carrier promptly. Unlocking may depend on account eligibility, an unpaid balance check, or a request that takes time to process. Don’t save this task for departure morning.
A locked iPhone may reject a foreign travel eSIM even when the QR code scans correctly. In other words, a working QR code cannot bypass a carrier restriction. You can also review this iPhone eSIM compatibility guide before choosing an eSIM Thailand plan.
Confirm eSIM support, free profile space, and updated iOS
First, check your model under Settings > General > About. Note the Model Name, Model Number, and iOS Version. Then confirm that your exact regional model supports eSIM. Some iPhone versions sold in different regions have different SIM hardware, so the model number matters.
Next, open Settings > Cellular and review your existing cellular plans. Remove old, unused profiles only when you know you no longer need them. Your iPhone needs space for the new travel profile.
Before installing anything, back up your iPhone. Then connect to home Wi-Fi and install any pending iOS update. A current system can prevent avoidable setup errors, while a backup gives you a safety net if the update causes trouble.
Download the travel profile and label both cellular lines
Use a trusted QR code from your eSIM provider. With your iPhone charged and connected to home Wi-Fi, open Settings > Cellular > Add eSIM, select Use QR Code, and scan the code. Follow the prompts until iOS adds the travel line.
After installation, don’t delete the profile. It may remain inactive until you reach Thailand, but you still need it stored on the phone. Label your lines clearly, such as Home for your regular number and Travel for the Thailand eSIM. Clear labels prevent an expensive tap in the wrong menu.
Installing the profile at home usually doesn’t connect it to Thai towers. The line typically connects after you arrive, turn off Airplane Mode, and select it for cellular data. For more setup details, see this iPhone travel eSIM setup guide. When you’re ready to choose a plan, you can also Get your free esim now.
How an eSIM Thailand Plan Works on a Travel-Ready iPhone
An eSIM Thailand plan has three separate pieces: the iPhone profile, the physical SIM, and the mobile service itself. Understanding the difference prevents a common airport mistake, assuming installation means your Thai data connection already works.
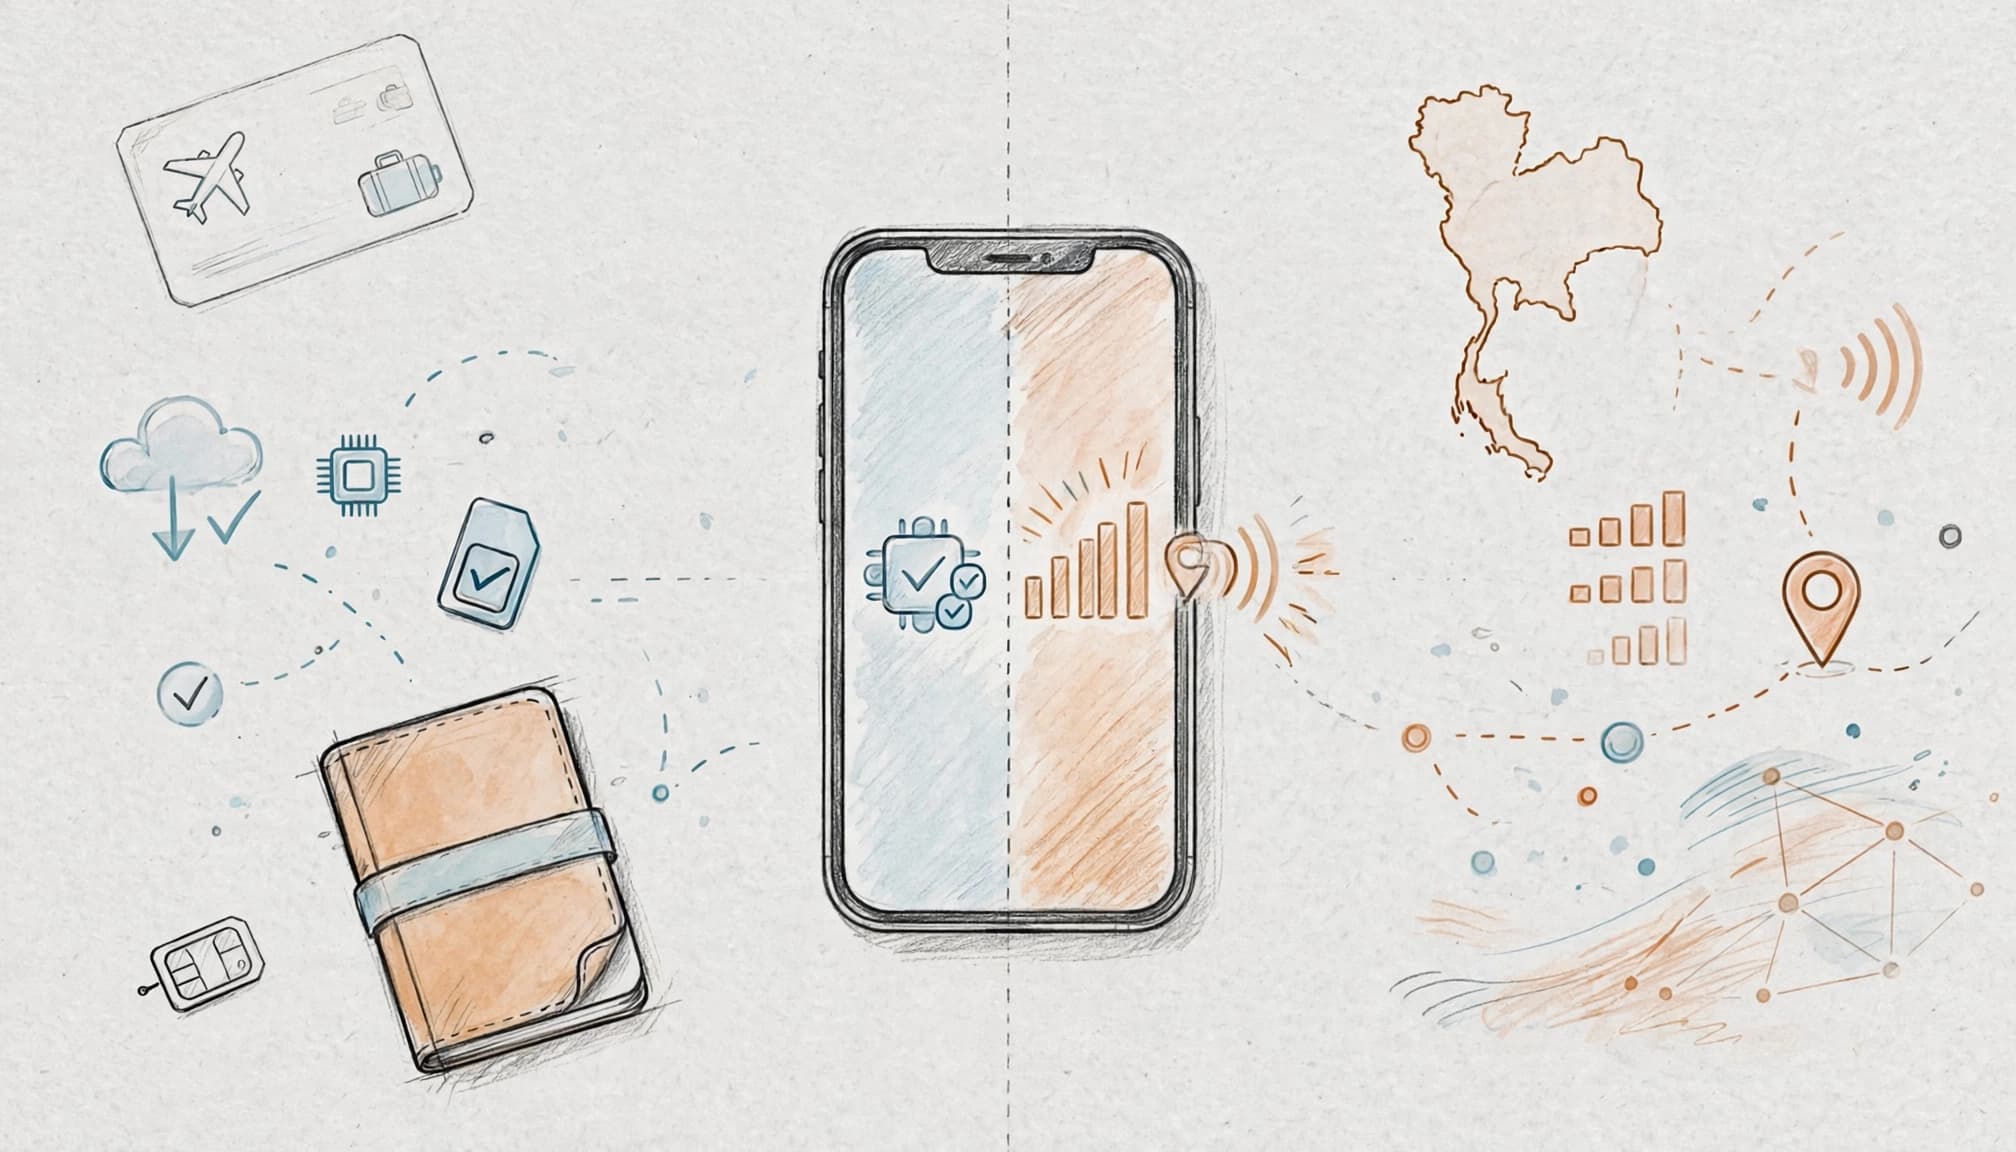
Know the difference between installing and activating the eSIM
Installing an eSIM adds a digital carrier profile to your iPhone. Scanning the QR code downloads that profile and stores it alongside your other cellular lines. Your physical SIM remains a separate line, usually connected to your home number.
Activation happens later, according to the plan’s rules. Some plans activate when the line connects to a supported Thai network. Others begin when you install the profile, scan a QR code, or switch on data roaming. Review the provider’s instructions before installation, because the timing can affect your validity period.
A profile can sit safely on your iPhone without showing Thai service before your flight.
Therefore, don’t remove a working travel profile just because it shows no local signal at home. After you land, turn off Airplane Mode, enable the travel line, and check whether it connects to a supported network. Apple’s international eSIM travel guidance also explains how an iPhone can use a physical SIM and eSIM together.
The plan itself provides the data allowance and network access. The eSIM is the digital line that lets your unlocked iPhone use that plan. Without an active plan, the profile alone doesn’t provide internet service.
Choose the right data settings for maps, messages, and calls
After landing, open Settings > Cellular > Cellular Data, then select your travel line. Confirm that Data Roaming is enabled for that line if the plan requires it. Keep roaming off for your home line unless your carrier specifically instructs otherwise.
Next, decide whether to allow Cellular Data Switching. Leave it off when you want strict control over which line uses mobile data. With switching enabled, the iPhone may use the other line when coverage changes. Apple’s Dual SIM settings explain how this option affects data use.
Your home line can usually stay active for incoming calls, account verification texts, and two-factor authentication. However, traditional calls and SMS may still use your home carrier, while WhatsApp, FaceTime Audio, Signal, and other internet calling apps use whichever line supplies data.
Before buying, check the plan’s:
- Coverage area across your Thai destinations.
- Validity period and activation timing.
- Data allowance and high-speed limits.
- Hotspot or tethering rules.
- Customer support options if activation fails.
When those details fit your itinerary, Get your free esim now and save the setup instructions before departure.
Protect Your Home Number Without Triggering Roaming Charges
Your iPhone can keep the home line available for important texts while the Thailand eSIM handles mobile data. The trick is assigning each line a clear job before you leave.
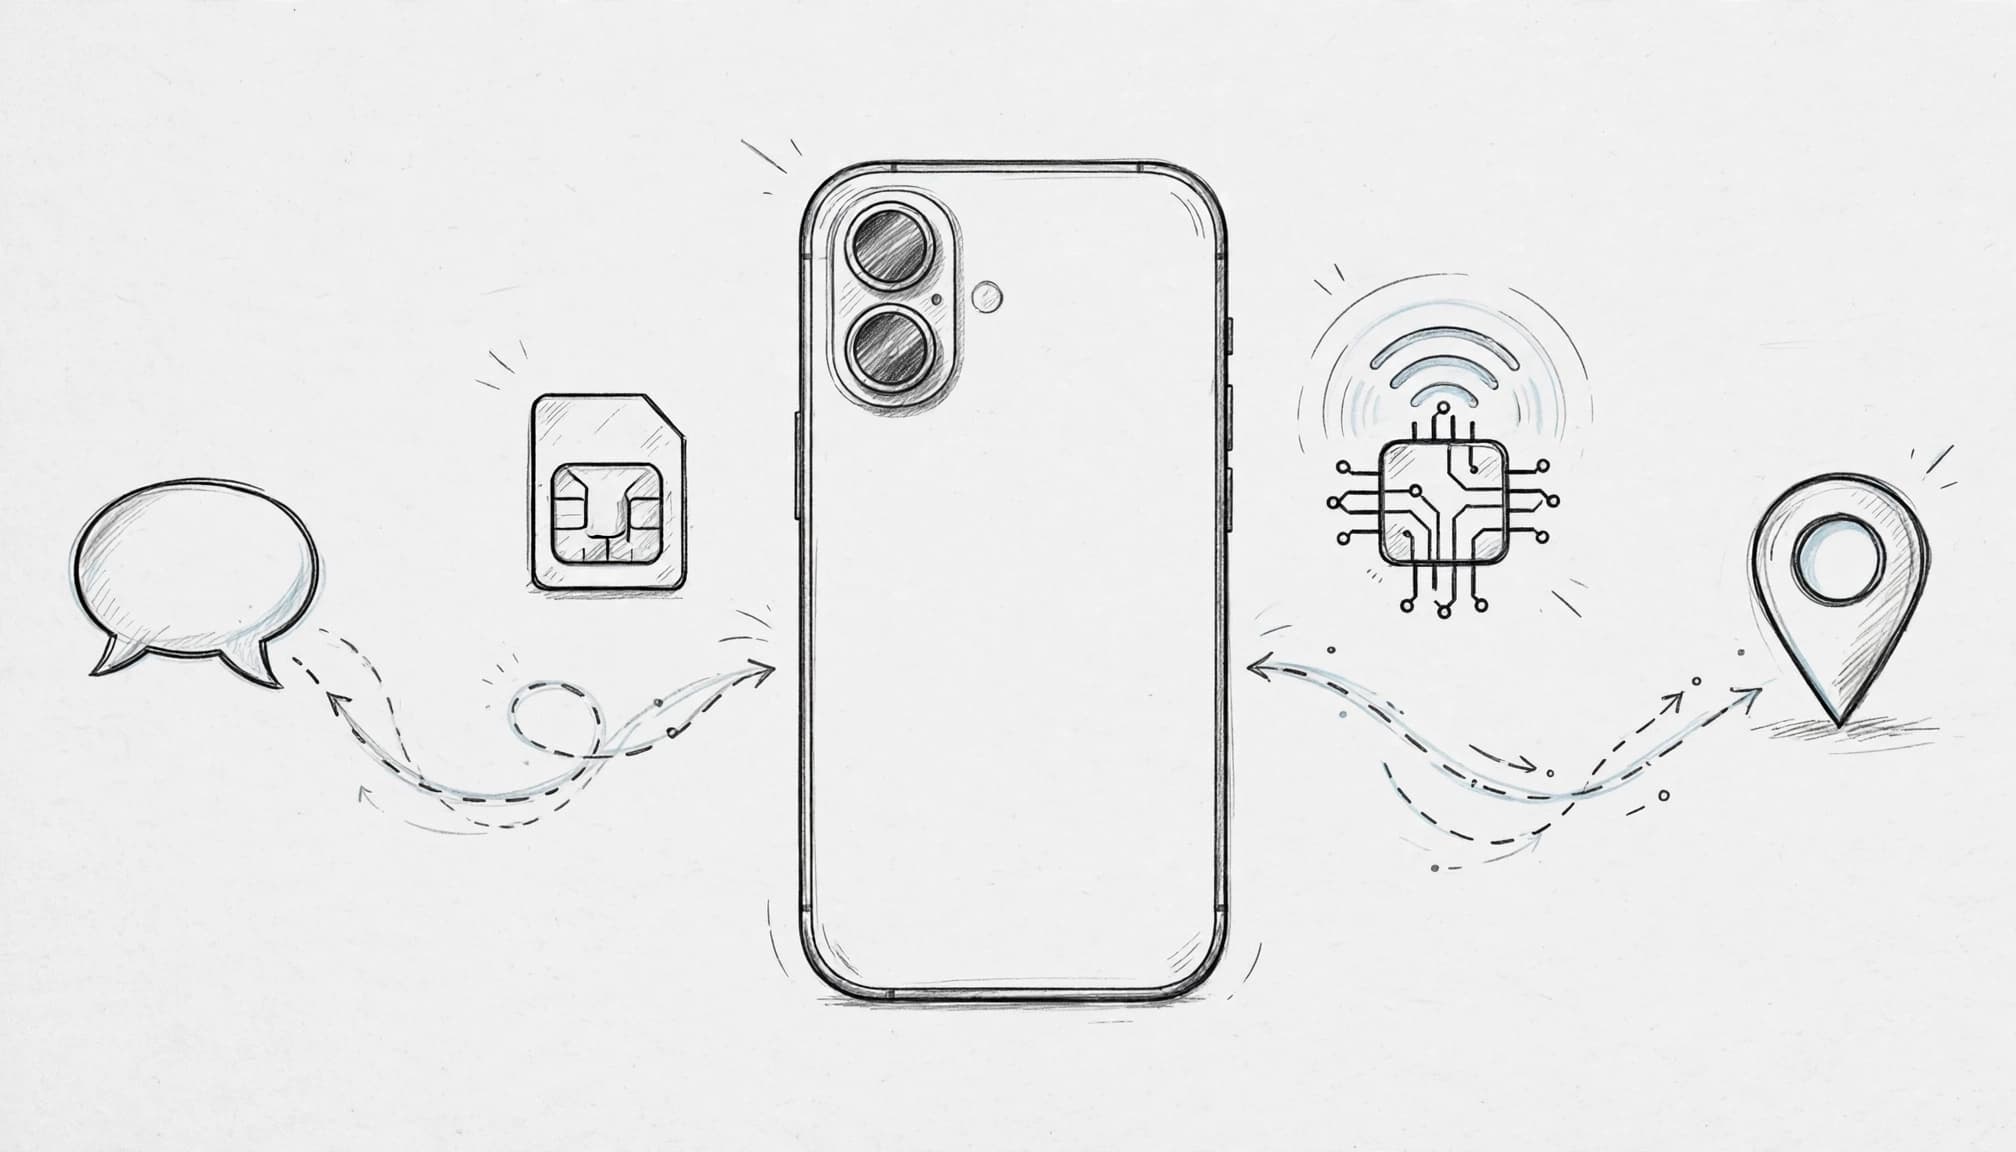
Turn off data roaming on your home line
Open Settings > Cellular, then tap your Home line. Switch Data Roaming off unless your carrier provides a suitable international package. Keep the home line turned on if you want incoming calls or texts, but don’t let it provide mobile data abroad.
Next, return to Settings > Cellular > Cellular Data. Select your Travel line as the data line. These controls do different jobs:
- Cellular Data chooses which line supplies your iPhone’s internet connection.
- Data Roaming allows a selected line to use partner networks outside its home country.
- Cellular Data Switching can let the iPhone change data lines automatically.
Leave Cellular Data Switching off when you want strict control. Then open the Travel line and check its Data Roaming setting. Some Thailand eSIM plans require roaming to connect, while others use different network rules. Follow the plan’s instructions instead of copying the home-line setting.
Data roaming is a permission for network access abroad. Cellular Data is the line your iPhone uses for internet traffic.
Your home carrier may handle incoming texts, calls, and roaming charges differently. Check its international roaming policy before departure, especially if you plan to keep the primary SIM active.
Keep two-factor authentication texts available
Banks, email providers, airlines, and ride-share apps may send verification codes to your home number. Keep the physical SIM or primary line active if your carrier allows incoming SMS without roaming fees. However, some carriers charge for roaming activity or require an international feature before SMS works.
For more practical guidance, review how to receive SMS on an eSIM iPhone. Save backup codes in your password manager before traveling, and update important apps while you still have reliable home access. Never disable account protections simply to avoid a text charge.
For example, your bank can send a one-time code to your Home line. Meanwhile, your iPhone uses the Travel line for maps, hotel searches, and app data. The code arrives through your regular number, while navigation avoids your home carrier’s data network.
Review calls, iMessage, and FaceTime before leaving
Open Settings > Messages > Send & Receive. Check which phone number and email address iMessage can use. Then visit Settings > FaceTime and review the reachable numbers and email addresses there.
Changing SIM settings can affect message delivery and caller identification. Therefore, send a test iMessage over Wi-Fi before your flight. Confirm that replies reach the address or number you expect.
For calls and messages that use internet data, apps such as FaceTime Audio, Signal, and WhatsApp can help. Apple’s international eSIM travel guidance explains how iMessage, FaceTime, and other apps can work while traveling. Keep your calling choices clear, and your iPhone won’t turn a simple map search into an expensive souvenir.
What to Verify the Moment Your Flight Lands in Thailand
Your arrival check should follow a calm order. Turn off Airplane Mode, give the iPhone time to register, then test data before leaving the airport.

Connect to a Thai network without changing every setting
After leaving the aircraft, switch off Airplane Mode. Your iPhone may need a short moment to search for a Thai network, so wait before changing anything.
Next, open Settings > Cellular and confirm your travel line is turned on. If the line shows “Searching,” give it another minute while the phone looks for a supported network.
Automatic network selection usually works best. Choose a network manually only when your eSIM provider gives exact instructions. Selecting an unsupported network can leave the line stuck without service.
If your plan lists approved Thai networks, you can compare available coverage with this Thailand eSIM network coverage guide. The network name may appear beside the signal bars once registration finishes.
Confirm mobile data uses the travel line
When the travel line connects, open Settings > Cellular > Cellular Data. Select the travel line, then open its settings and confirm Data Roaming matches your plan’s instructions.
Some Thailand eSIM plans require roaming to access partner networks. Keep roaming off for your home line unless your carrier specifically tells you otherwise. Also check that Cellular Data Switching remains off if you want strict control over data use.
Now look at the status bar. Signal bars, LTE, 4G, or 5G suggest that the iPhone has registered with a network. You can also open Control Center and check the active cellular connection. The Cellular settings page provides the clearest view of which line supplies data.
Test the connection with a trusted webpage or a small map request. Avoid large downloads, app updates, and video streaming during this first check. Apple’s cellular data roaming guidance explains where to review these travel settings.
Troubleshoot activation errors without panic
A missing connection doesn’t always mean your eSIM Thailand plan failed. Work through these fixes in order:
- Reconnect to airport Wi-Fi, then review the provider’s setup instructions.
- Open Settings > Cellular, turn the travel line off, wait a few seconds, and turn it on again.
- Confirm the travel line remains selected under Cellular Data.
- Restart your iPhone and wait for network registration after it powers back on.
Some profiles need a short activation window after reaching Thailand. Give the line a little time before making further changes.
Never delete the eSIM profile during troubleshooting. Removing it can prevent reinstallation if the QR code has limited uses.
If the profile still shows an activation error after these checks, contact your eSIM provider. Their support team can confirm the plan status, supported network, and any required settings. For additional steps, see this guide to fix an iPhone eSIM that isn’t working.
A Simple Pre-Flight and Arrival Checklist for Thailand
A reliable eSIM Thailand setup starts before you pack your passport. Complete the technical checks at home, then follow the same order after landing. This keeps your iPhone ready for maps, messages, hotel directions, and the occasional emergency search for mango sticky rice.
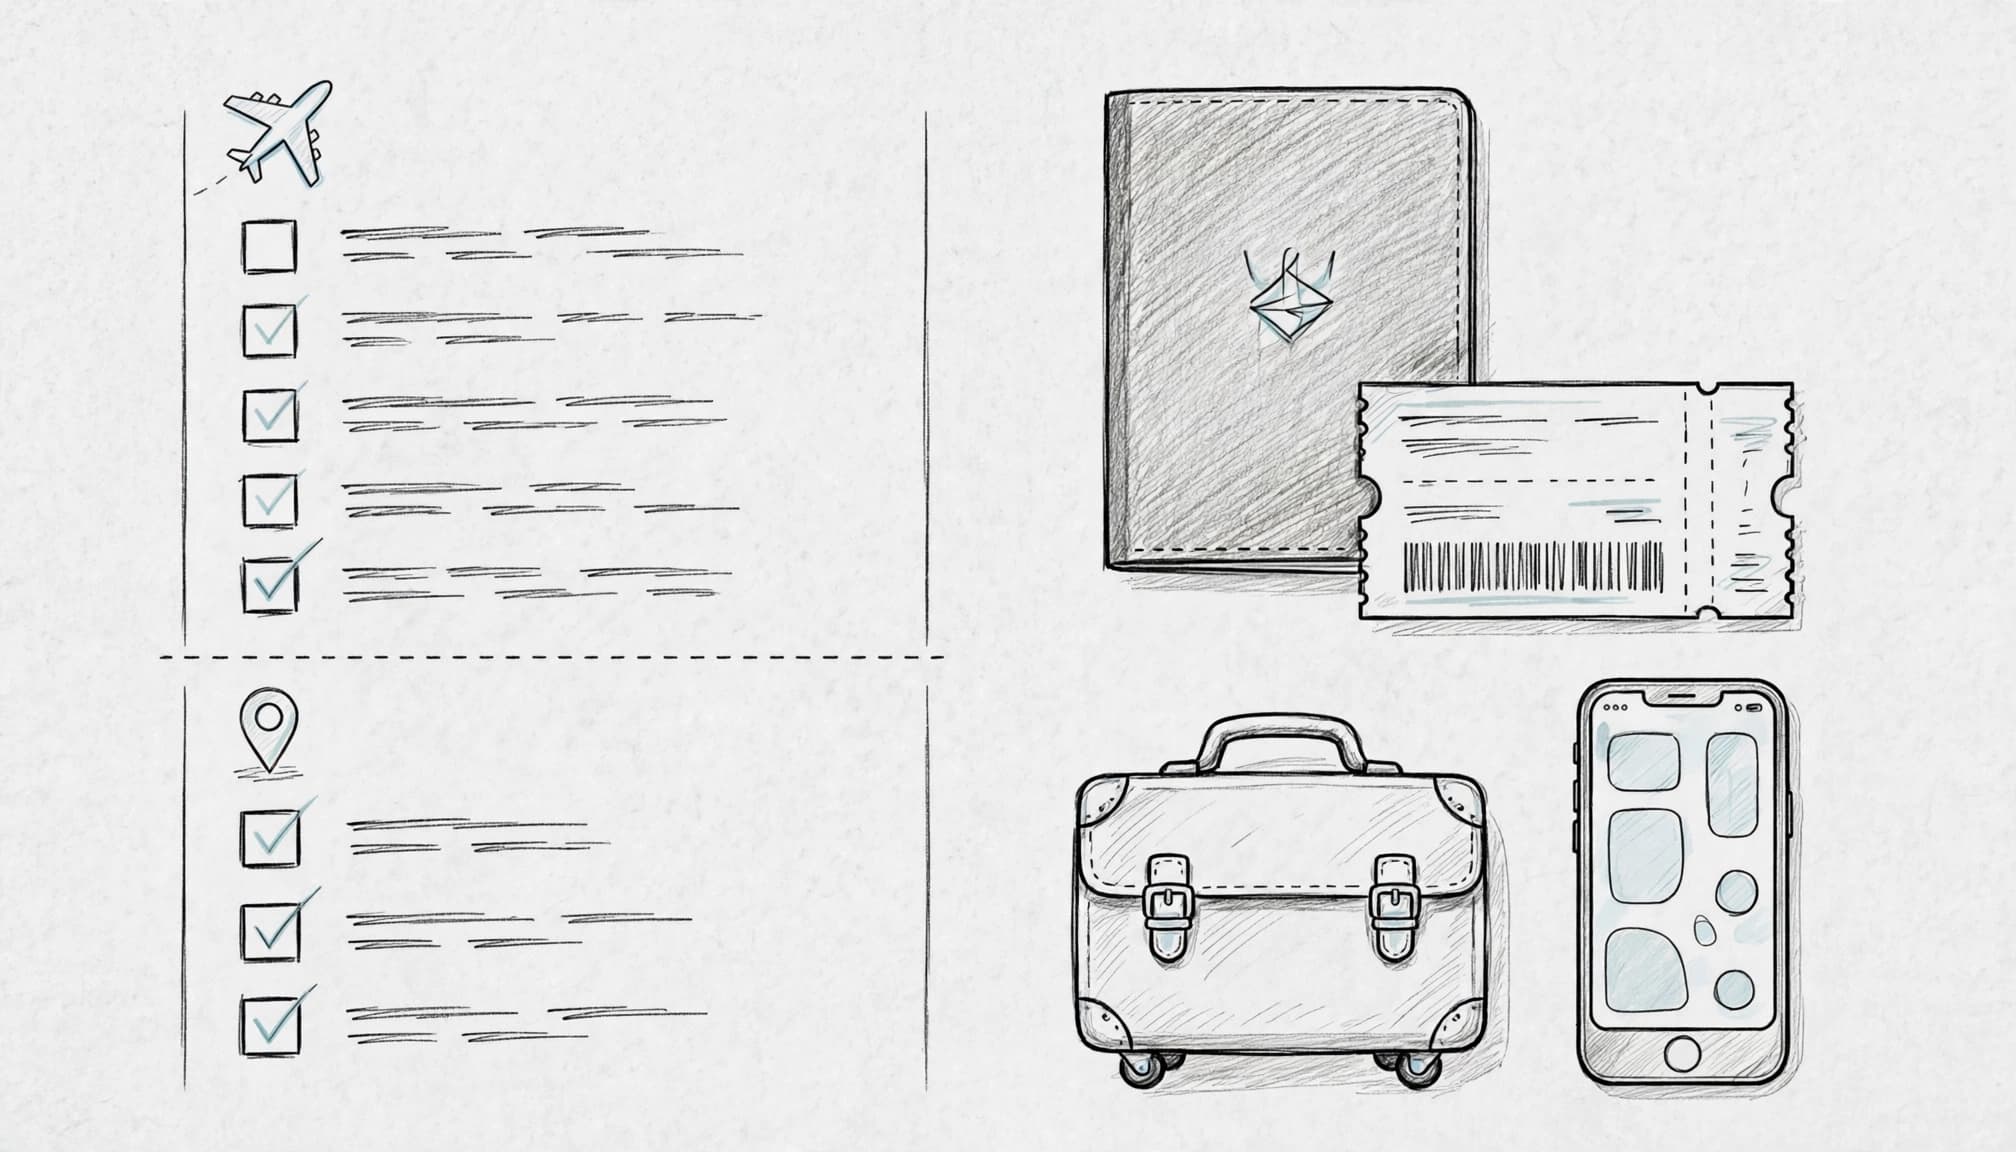
Before buying your plan
Start with the phone, not the QR code. Open Settings > General > About, then check Carrier Lock. Your iPhone should display “No SIM restrictions.” A locked device may reject a travel eSIM, even when the plan and QR code work correctly.
Next, confirm that your exact iPhone model supports eSIM. Regional versions can differ, so check the model details rather than relying only on the phone’s appearance. Apple’s international eSIM travel guidance lists the basic requirements, including compatible iPhone models and eSIM service support.
You can also review this iPhone eSIM compatibility list before purchasing. If your phone shows a carrier restriction or lacks eSIM support, resolve that issue first.
At home before departure
Use stable home Wi-Fi for the setup. First, back up your iPhone and install any available iOS update. Then open Settings > Cellular > Add eSIM, choose Use QR Code, and install the Thailand travel profile.
After installation, label your lines clearly. Use names such as Home and Travel, so you don’t select the wrong line during a sleepy airport moment. Keep the profile installed, even if it shows no Thai signal before departure.
| Action | Where to complete it | What to confirm |
|---|---|---|
| Check carrier lock | Settings > General > About | “No SIM restrictions” appears |
| Confirm compatibility | iPhone settings and model details | Your device supports eSIM |
| Update and back up | At home on Wi-Fi | iOS is current and data is protected |
| Install the QR code | Settings > Cellular | The travel profile appears |
| Label cellular lines | Cellular settings | Home and Travel are easy to identify |
| Control roaming | Cellular settings | Home roaming is off; Travel follows plan rules |
During the flight or at the airport
Keep the Home line available if you need bank codes or account verification texts. Turn off Data Roaming for that line unless your carrier includes international use.
At the same time, leave the Travel line ready for activation. Keep your QR code and provider instructions accessible, but don’t delete the installed profile if the connection takes a moment.
After landing in Thailand
Switch off Airplane Mode after the aircraft reaches the gate. Open Settings > Cellular, turn on the Travel line, and select it under Cellular Data. Enable Data Roaming on that line only when your plan requires it.
Wait for the iPhone to register with a local network. Then run a small first connection test by opening Safari or requesting a nearby map location. If data works, your essentials are ready.
A few minutes of preparation can save a frantic airport troubleshooting session. Before you fly, verify compatibility and choose an eSIM Thailand plan.
Conclusion
The best travel tech is the tech you handle before your suitcase leaves home. Unlock your iPhone, confirm that your model supports eSIM, and install the Thailand profile over dependable home Wi-Fi. Then label your lines, protect your home number, and review your iPhone eSIM data roaming setup before takeoff.
Keep the QR code and plan instructions available offline, because airport Wi-Fi has a talent for becoming useless at the exact moment you need it. After landing, select the Travel line for cellular data, match roaming to your plan’s instructions, and run a small connection test before opening every app on your phone.
These checks greatly reduce activation errors, roaming surprises, and airport troubleshooting. Still, carrier rules and plan activation terms can vary, so read the provider’s instructions before you fly. A few minutes of preparation at home can leave your iPhone ready for maps, messages, and that first very important search for food.