You’ve just landed at Bangkok Suvarnabhumi Airport, and your phone needs data before your luggage even arrives. You want to message family, book a ride, and open a map without hunting for airport Wi-Fi.
A few checks at home can prevent connection problems abroad. The best eSIM for Thailand depends on your iPhone’s carrier lock, eSIM support, useful data limits, local network access, and simple activation.
Before takeoff, you’ll check your iPhone settings, scan the QR code over stable Wi-Fi, and confirm your roaming controls. You’ll also learn how to route data through the travel line while keeping your home number available for verification texts. Start with the device checks that can save you from a very awkward airport arrival.
This post may contain affiliate links. If you make a purchase through these links, I may earn a small commission at no extra cost to you.
Your Thailand Pre-Departure Checklist Starts With Your iPhone
Your iPhone should be part of your Thailand travel preparation, not an airport emergency project. Start about two weeks before departure, then test everything again the night before your flight.
Check your carrier lock and eSIM support
Open Settings, choose General, and tap About. Find Carrier Lock, then confirm it says “No SIM restrictions.” Apple lists these same steps in its iPhone unlocking instructions.
A carrier-locked iPhone may reject a foreign eSIM because it only accepts profiles from the original carrier. Contact your home carrier early if the phone shows a different message. Unlock requests may require account checks, payment completion, or processing time.
Next, confirm your iPhone model supports eSIM service. Regional versions can differ, especially between countries. Check the iPhone eSIM compatibility guide before buying the best eSIM for Thailand.
Also check how many digital profiles your iPhone can store or keep active. Two weeks before departure, update iOS and confirm your phone has enough storage. Once your plan arrives, install it over reliable home Wi-Fi and test the setup before leaving.
Keep your travel details and backup access ready
Save your hotel address, airport transfer details, booking numbers, passport information, and emergency contacts offline. Your phone should still help when airport Wi-Fi feels crowded, slow, or mysteriously allergic to cooperation.
Keep the eSIM purchase email, QR code, and activation instructions in a secure folder. You can also follow this iPhone travel eSIM setup guide before takeoff.
The night before your flight, charge your iPhone fully and pack a power bank. Confirm your travel line appears under cellular settings, but wait to use it for Thailand data until you land. When your device checks pass, Get your free esim now and keep the activation details accessible.
Choosing the Best eSIM for Thailand Without Guesswork
The best eSIM for Thailand should match your itinerary, data habits, and arrival plans. A low daily price means little if the allowance disappears before lunch.
Match the plan to your trip and data habits
Start by estimating how you use your phone at home. Maps, ride-hailing, translation, messaging, social media, video calls, and photo uploads can consume very different amounts of data.
A short Bangkok visit may need a small fixed-data plan. You might use maps, booking apps, messages, and occasional social media for three or four days. A beach holiday may need more data because weak hotel Wi-Fi can push photo uploads and video calls onto your eSIM.
Longer trips across Bangkok, Chiang Mai, Phuket, and smaller towns need a larger allowance. Add a small buffer to your estimate, especially if you plan to share photos or use your iPhone as a hotspot.
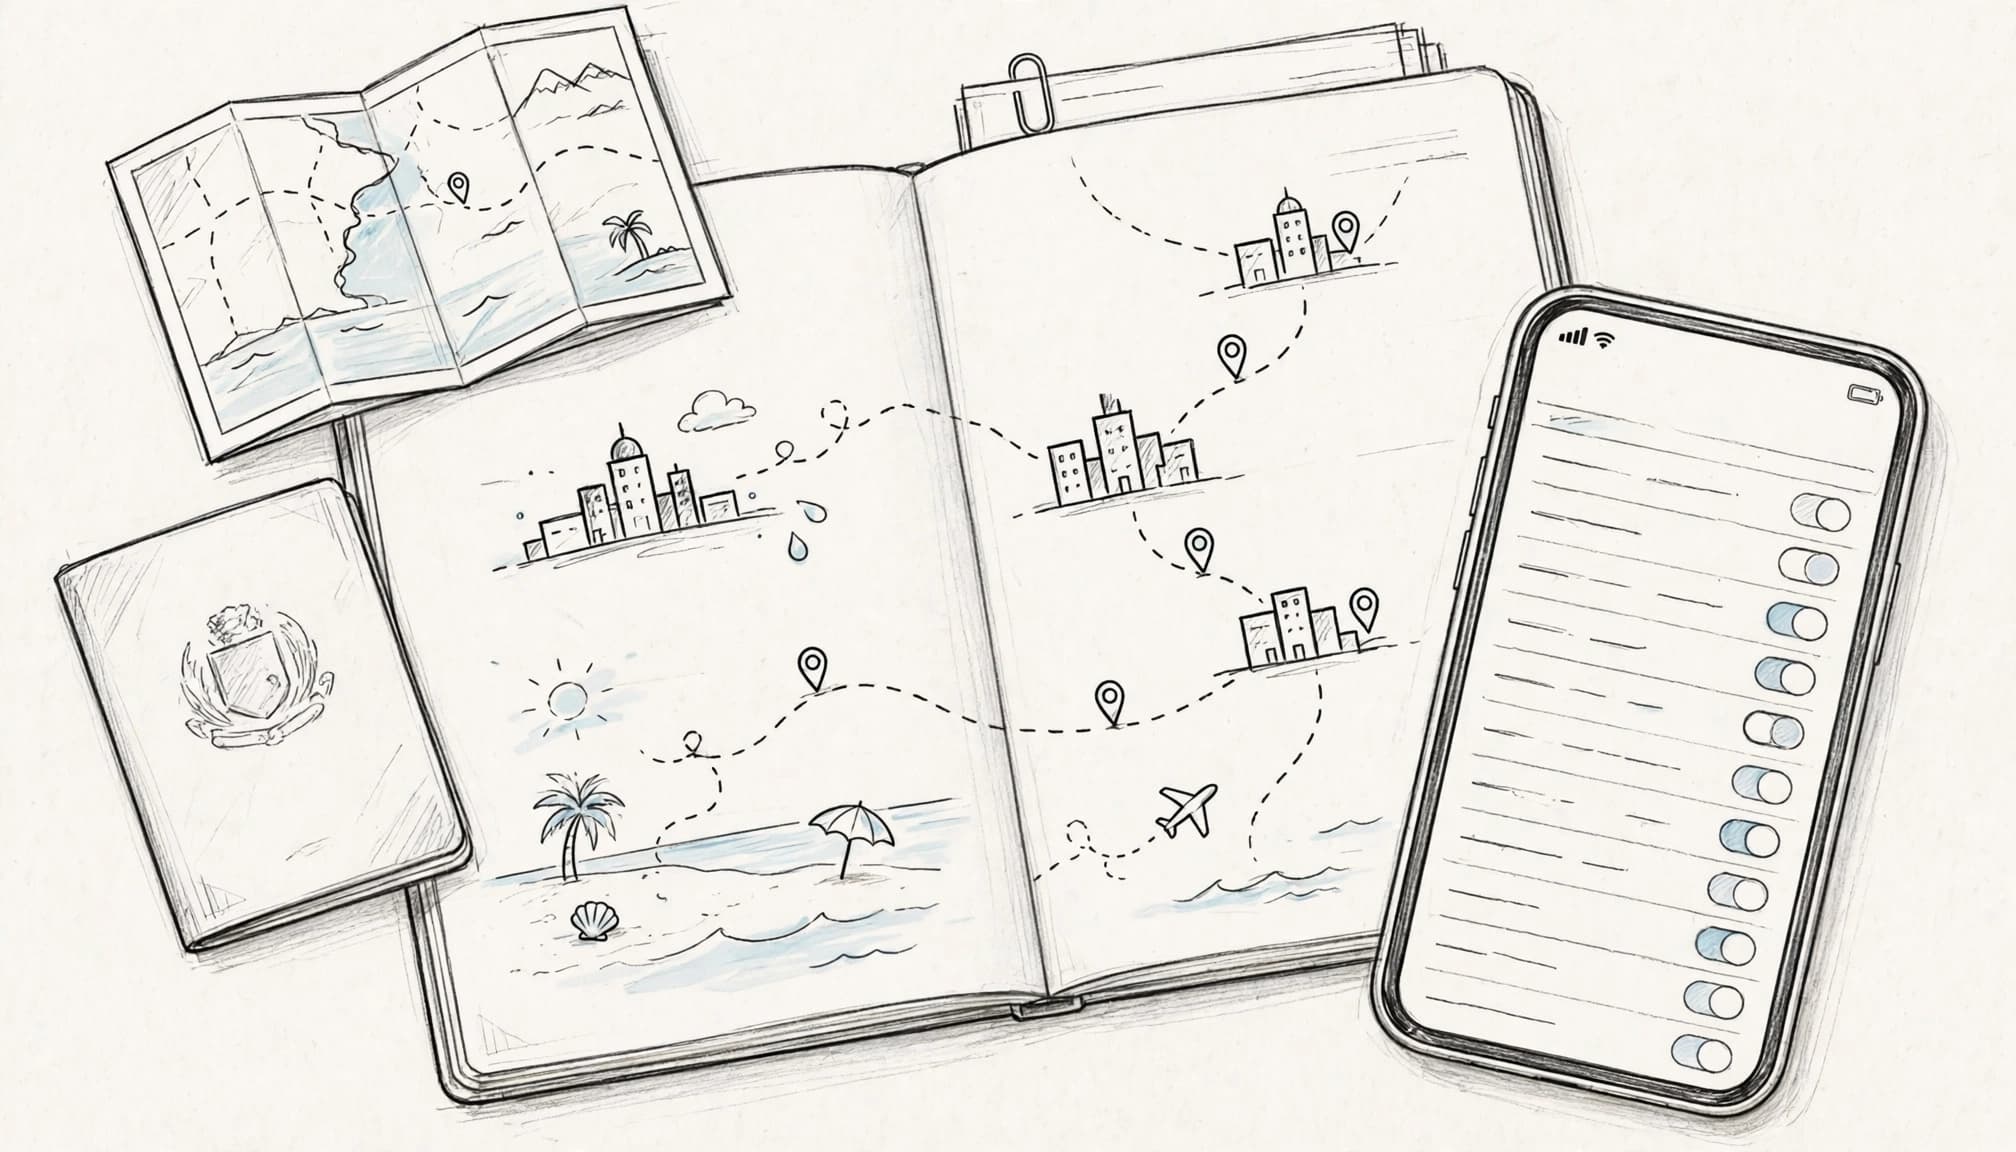
Compare plans using these practical details:
- Check the total data allowance, not only the advertised daily price.
- Divide the price by the included gigabytes to compare value.
- Confirm that the validity period covers your full trip.
- Check whether hotspot use is allowed.
- Review the supported Thai networks and coverage areas.
A plan with 500 MB per day can look cheap, yet repeated top-ups may cost more than one larger fixed-data plan. Data-only eSIMs usually support internet apps but exclude regular calls and texts. Plans with a phone number may cost more, so decide whether messaging apps already cover your needs.
“Unlimited” also needs a careful read. Some plans reduce speeds after a daily high-speed allowance or limit hotspot access under fair-use rules. For example, some listings describe full-speed data before a slower connection begins. Review the unlimited plan terms before buying.
Check network access, activation, and refill options
Choose a plan that connects through reliable local host networks. Coverage matters beyond Bangkok, especially if your route includes islands or rural areas. Compare AIS and True coverage in Thailand before choosing a plan for multiple destinations.
Activation rules can affect your first day. Confirm whether validity begins when you install the eSIM or when it first connects in Thailand. Also check top-up rules, support hours, refund terms, replacement QR-code policies, and hotspot access.
For more selection guidance, review esimthailand.co before purchasing. Once your iPhone passes its checks, Get your free esim now and save the activation details before departure.
Set Up Your Thailand eSIM Before You Leave Home
Install your Thailand eSIM before departure while your iPhone has stable home Wi-Fi. Airport Wi-Fi can be slow, crowded, or unavailable when you need it most.
Complete the setup on your unlocked, compatible iPhone. Then confirm both lines and roaming controls before packing your charger.
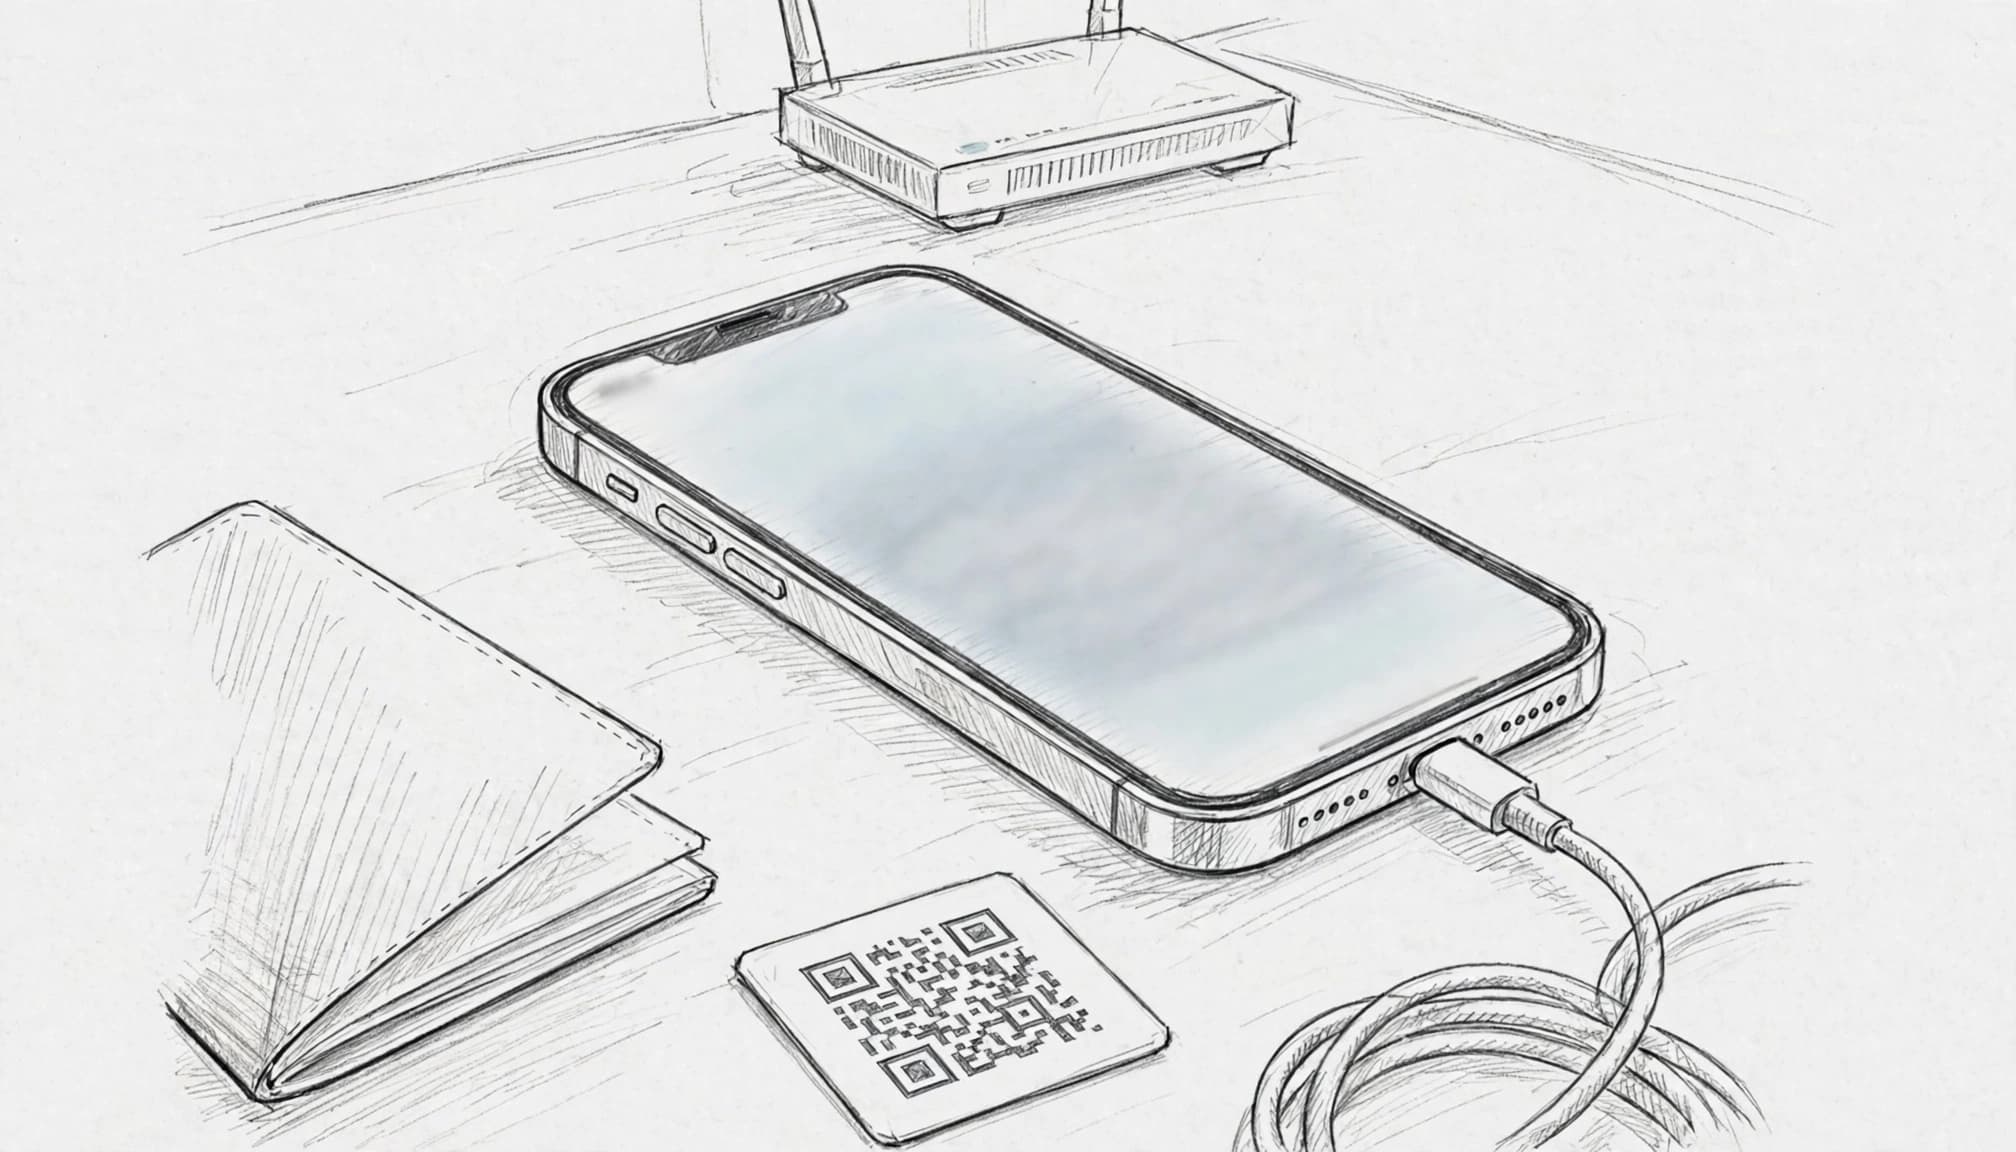
Install the profile with the QR code on reliable Wi-Fi
Open Settings, tap Cellular or Mobile Service, and select Add eSIM. Choose Use QR Code, then scan the code from your provider.
Apple lists the same iPhone QR code setup steps. You can display the code on another device or print it on paper.
Some providers offer a manual activation code instead. Others use an app that downloads the profile after you sign in. Follow the provider’s instructions if your plan uses either method.
Wait for the download to finish before leaving the Wi-Fi connection. iOS may ask you to label the new line. Choose Thailand Travel, Thailand, or another name you will recognize quickly.
When installation ends, return to Settings > Cellular. Confirm that the Thailand line appears in your list of plans. You can also review this eSIM QR code scan guide if the camera does not recognize the code.
Installing the profile does not always start cellular use immediately. Some plans begin when they connect to a Thai network, while others follow different activation rules. Check your plan’s instructions before switching anything on.
Keep the QR code and activation details after setup. You may need them for support, but many eSIMs cannot be installed again after deletion.
Keep your home number active for security codes
Leave your physical home SIM or primary eSIM switched on if you need incoming calls or two-factor authentication texts. Your bank, email provider, or travel account may send a code to that number.
In Settings > Cellular, set Thailand Travel as the Cellular Data line. Then turn off Allow Cellular Data Switching so your iPhone doesn’t quietly borrow data from your home line.
Next, select your home line and disable Data Roaming. Incoming SMS messages often don’t create roaming data charges, but calls and carrier policies vary. Check your home carrier’s international rates before departure.
Test the settings without creating roaming charges
Run one final check before you close your suitcase. Confirm that the Thailand profile appears, label both lines clearly, and verify that Thailand Travel is selected for cellular data.
Keep data roaming off for your home line. You don’t need a Thai signal at home to test the installation. The profile only needs to appear correctly in your iPhone’s Cellular settings.
Take screenshots of the important settings pages. Save the plan instructions and QR email offline, too. Those screenshots remain available if airport Wi-Fi becomes unreliable or your arrival connection takes a few extra minutes to appear.
What to Check the Moment You Land in Thailand
After leaving the plane in Bangkok or another Thai airport, follow a calm connection routine. Activation timing can vary by provider, iPhone model, and local network conditions.
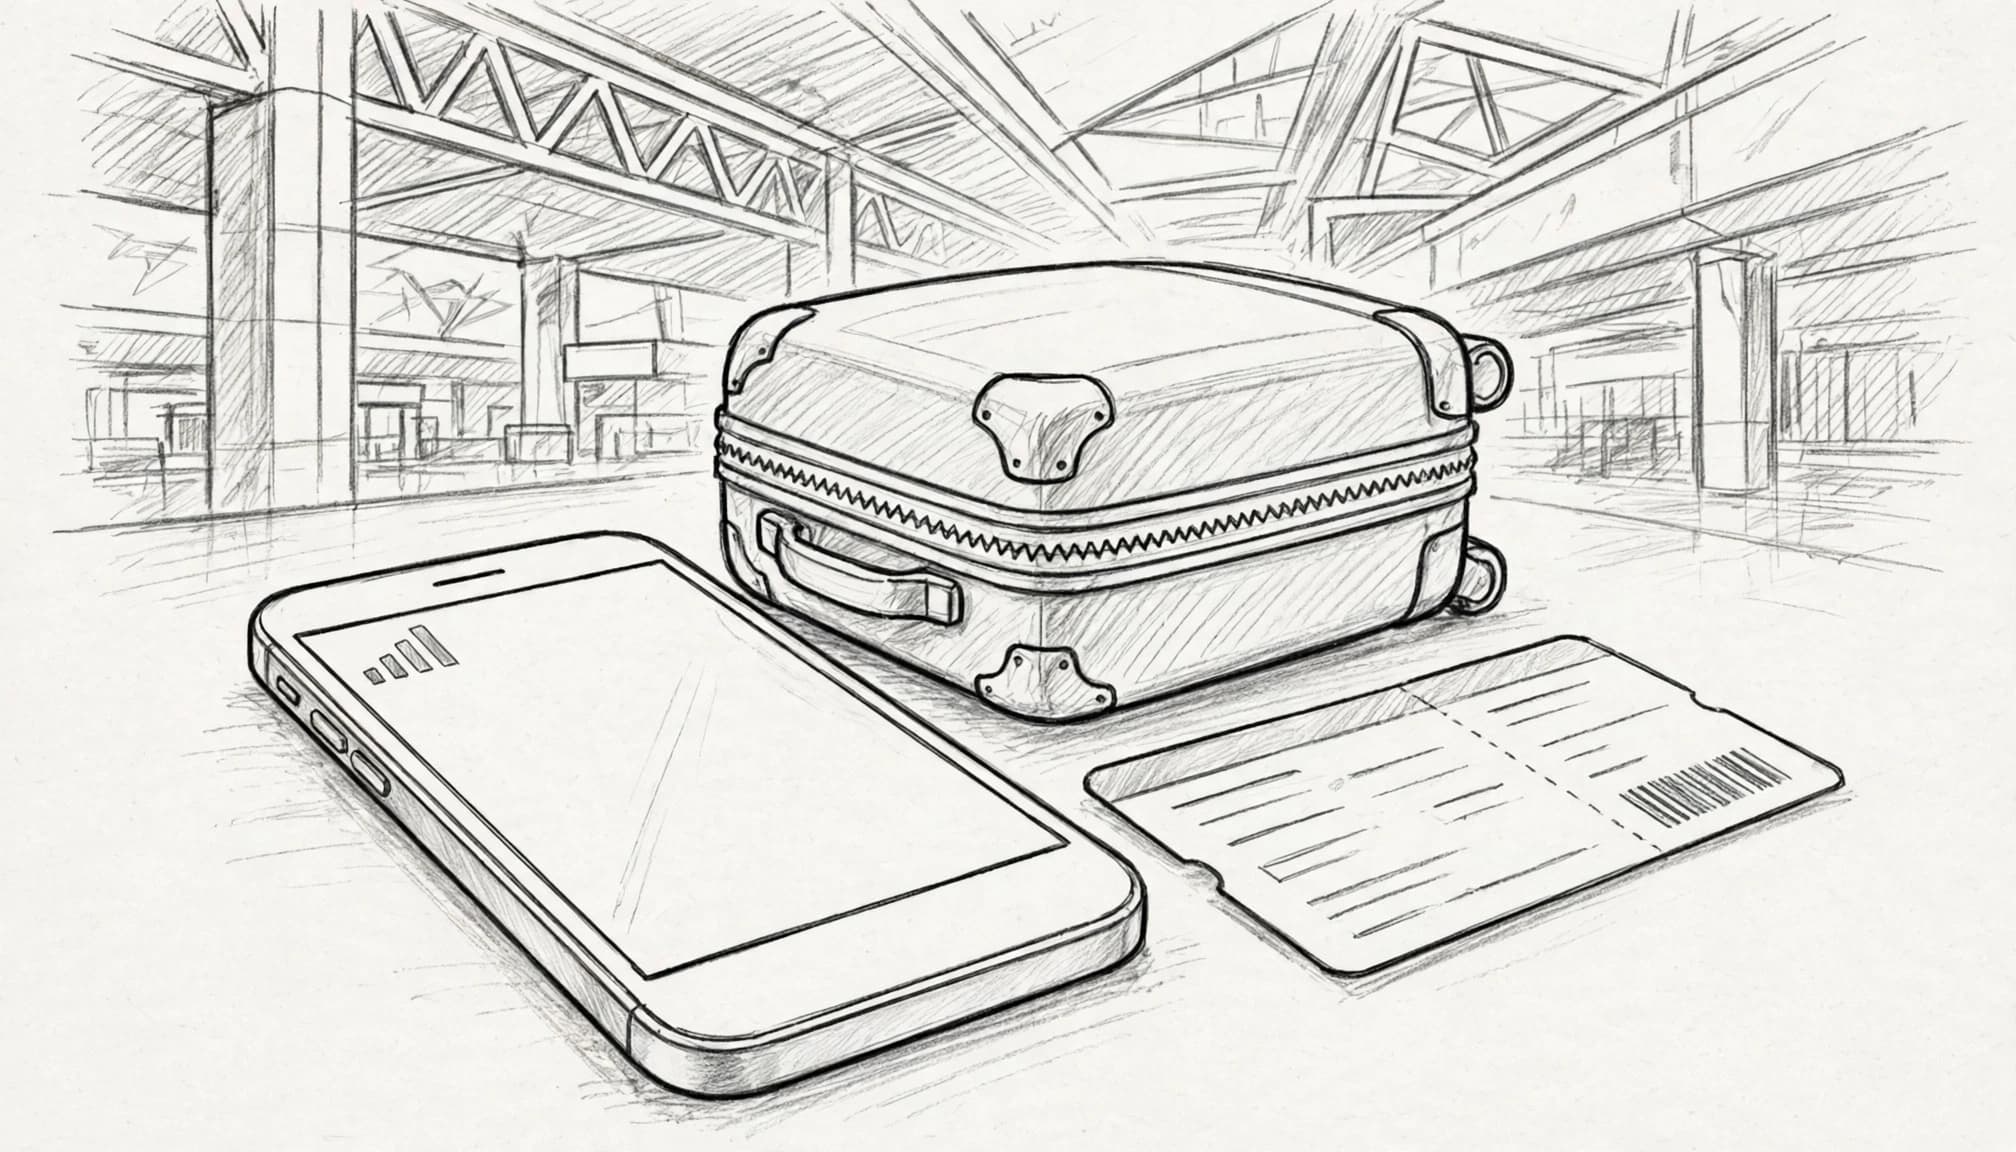
Turn on the travel line and refresh the connection
Turn off Airplane Mode, then open Settings. Select Cellular or Mobile Service, and tap your Thailand travel line. Confirm that the line is switched on.
If the phone stays disconnected, turn Airplane Mode on for about ten seconds. Then turn it off again. This prompts your iPhone to search for nearby Thai towers.
Wait several minutes before changing more settings. Busy terminals can slow registration, especially when many travelers connect at once. Check for signal bars and a 4G or 5G indicator before opening maps, social media, or ride-hailing apps.
For more detail, follow these iPhone travel eSIM setup instructions.
Confirm data routing before booking a ride
Open Settings > Cellular and check Cellular Data. Select the Thailand travel line, not your home line. Keep Allow Cellular Data Switching disabled, so your iPhone cannot quietly use your primary carrier.
Next, open your home line’s settings. Confirm that Data Roaming remains off. Keep the home line active if you need bank codes or other verification texts.
Some travel eSIMs require roaming on for the travel line. Follow your provider’s instructions, because activation rules vary. Apple’s international eSIM travel guidance explains how iPhone lines can behave abroad.
Run a tiny data test before booking transport. Send a short message, open a simple webpage, or load one map area. If activation needs more time, use airport Wi-Fi briefly while keeping your travel line selected.
Troubleshoot signal problems without panic
Use this order when your iPhone shows no service:
- Confirm that the Thailand line is switched on.
- Toggle Airplane Mode, then wait a few seconds.
- Restart the iPhone.
- Recheck the Cellular Data line.
- Review the provider’s APN or activation instructions.
- Check Network Selection and leave it on Automatic unless your provider says otherwise.
Don’t delete the eSIM or reset network settings as your first move. Deleting the profile can make reinstallation difficult, especially when the QR code works only once.
If your phone still shows no service after the provider’s stated activation window, contact support. Keep your order number, iPhone model, and screenshots of the Cellular settings ready. These details help support staff diagnose the problem without turning your arrival into a settings scavenger hunt.
Protect Your Budget, Number, and Battery While Traveling
A few iPhone settings can protect your travel budget, phone number, and battery in Thailand. Set them before departure, then check them again after landing.
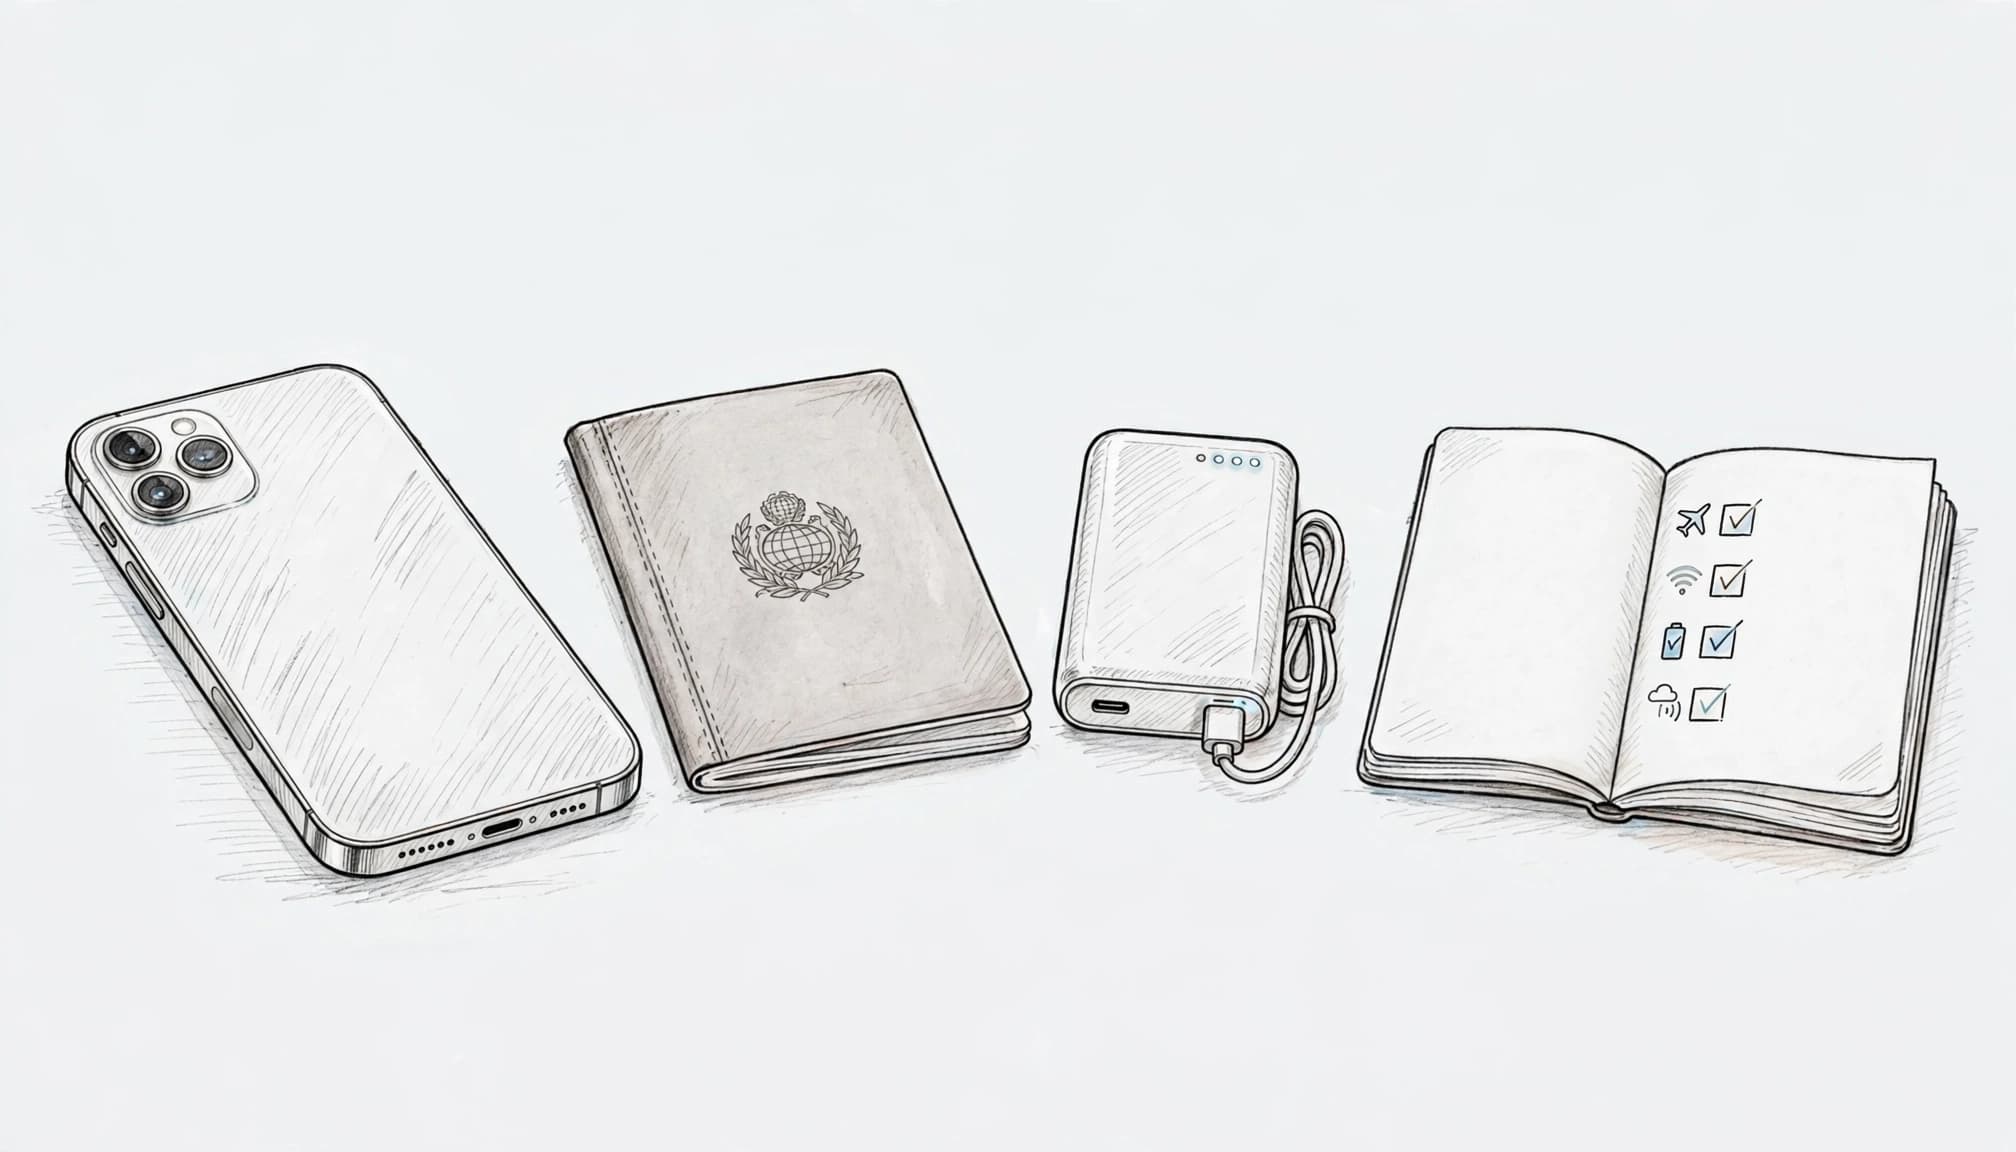
Prevent roaming fees and unnecessary data use
Open Settings > Cellular and select your home line. Turn off Data Roaming, then disable Allow Cellular Data Switching under your cellular data settings. These controls stop your iPhone from borrowing expensive home-line data.
Review the apps listed below the cellular settings. Turn off mobile data for apps that can wait for Wi-Fi, especially video services, cloud photo backups, and automatic game updates. Hotspot use can also drain a plan quickly, while video streaming can eat through data before your taxi reaches the hotel.
Before your flight, download offline maps, playlists, and translation packs. During the trip, check Settings > Cellular to see each app’s usage. Apple explains how to view and reset iPhone data statistics. Reset the statistics when you arrive, so your Thailand usage starts at zero.
For more help, review this iPhone travel eSIM roaming guide. Keeping two lines active can also use more battery, especially when the phone searches for weak signals.
Keep essential accounts working safely
Leave your home number active if your bank, email account, or transport app sends two-factor authentication codes by text. Carry a backup payment method, because a tired phone and a stubborn card reader make poor travel partners.
Use a strong passcode and Face ID. Avoid banking through unknown public networks, even when the Wi-Fi name looks official. Save emergency contacts, hotel details, and booking numbers offline.
Finally, label each line clearly and save screenshots of the key settings. Your brain may still be running on airplane snacks when you need to switch data lines.
| Action | When | Purpose |
|---|---|---|
| Carrier Lock Check | Before departure | Prevents profile rejection |
| Profile Installation | Home Wi-Fi | Avoids airport setup problems |
| Data Line Routing | Before takeoff | Prevents home-line data use |
| Enable Travel Data | After landing | Connects through Thai networks |
Conclusion
A few minutes of preparation can save you from expensive roaming and airport setup chaos. Confirm your iPhone shows “No SIM restrictions,” supports eSIM, and has the Thailand profile installed on reliable home Wi-Fi.
Before takeoff, route cellular data through your travel line while keeping your home number active for security texts. Check the travel line’s roaming setting, disable roaming on your home line, and save the activation details offline. For extra planning help, review this best Thailand eSIM for iPhone guide.
Check your iPhone today, then choose a Thailand plan that fits your trip and data needs. Your future, slightly jet-lagged self will appreciate the favor.