Physical SIM cards are quickly becoming ancient relics, much like floppy disks or those bulky maps your parents used to fold. Managing a tiny piece of plastic while juggling luggage at a frantic airport is a recipe for disaster. If you drop that little chip into a floor grate, your vacation starts with a headache instead of a cocktail.
Fortunately, modern adventurers have a better way to stay connected. To install an eSIM on your iPhone, you just need a stable internet connection and a digital plan from your provider. You simply scan a QR code or enter details in your settings to activate your service instantly. This setup frees up your physical slot for a local chip or lets you ditch the plastic entirely.
Whether you are a digital nomad working from a beach or a camper heading into the woods, this technology keeps you online without the fuss. You can even get your free esim now to see how simple the process is before your next flight. Let’s look at the actual steps to get your device configured and ready for the road.
Start With the Right eSIM iPhone Setup Before You Travel
Preparation is the secret sauce for a smooth trip. You wouldn’t leave for the airport without your passport, so don’t wait until you land in a foreign city to figure out your data situation. Taking a few minutes to handle the basics at your kitchen table saves you from a frantic search for public Wi-Fi later. A solid head start means you can walk off the plane, turn off airplane mode, and immediately find your way to the hotel.

Check If Your iPhone Supports eSIM
Most modern Apple devices are ready for a digital lifestyle. If you have an iPhone XS, XR, or anything newer, you’re likely in the clear. Apple embraced this tech years ago; however, models older than 2018 still rely solely on that prehistoric plastic tray.
You can verify your specific hardware by looking at a full list of eSIM compatible iPhones to be 100% certain. If you own a US-model iPhone 14 or newer, your phone doesn’t even have a physical SIM slot anymore. You are essentially a digital native already. Just remember that phones purchased in Mainland China usually don’t support this feature, so check your device’s origin if you’re unsure.
Make Sure Your iPhone Is Unlocked
A locked phone is like a front door with a broken key. If your device is still under a payment plan or a strict contract with a specific carrier, it might be restricted from using other networks. Your travel eSIM won’t activate if the phone is tied to a single provider.
Checking this status takes less than thirty seconds. Open your Settings, tap on General, then hit About. Scroll down until you see the Carrier Lock section. If it says “No SIM restrictions,” you’re free to roam the world. If you see “SIM locked,” you should read about how to unlock your iPhone for use with a different carrier before you buy a plan.
Pick an eSIM Plan That Matches Your Travel Route
Choosing a plan is about knowing your path. If you’re spending a week in just one country, a local plan is usually the most budget-friendly choice. These plans give you plenty of data for navigating local streets and posting photos.
Try a regional plan if you’re hopping between borders, like a European rail trip.
- Regional plans cover multiple countries under one single activation.
- Local plans offer higher data caps for a single destination.
- Global plans are great for world travelers hitting several continents.
Selecting the right coverage prevents you from having to buy a new plan every time you cross a border. You might even want to get your free esim now to test the waters and see how the selection process works for your specific destination.
Save Your QR Code or Manual Activation Details
Technology is wonderful until your screen goes dark or you lose your internet connection. When you buy an eSIM, the provider usually sends a QR code via email. Do not just leave it in your inbox and hope for the best.
Take a screenshot of that code and save it to your camera roll. Even better, print a physical copy or send the image to a travel companion’s device. If you ever need to reinstall the plan or if your phone acts up, having that code physically reachable is a total lifesaver. You can also save the manual activation strings, which are just long codes you can type in if your camera refuses to cooperate.
Connect to Wi-Fi Before Installing Your eSIM
Think of an eSIM as a digital file that needs to be downloaded. You cannot download the profile using the same cellular data you haven’t activated yet. You need a stable Wi-Fi connection to bridge the gap.
Performing the installation at home is the smartest move. Your home network is secure and fast, unlike the patchy Wi-Fi found in some airport terminals. If you must do it on the go, find a quiet airport lounge with a reliable signal. Setting everything up while you’re still on your couch ensures that the digital SIM is tucked safely inside your phone’s memory before the adventure truly begins.
How to Install eSIM on iPhone With a QR Code
Using a QR code is the most popular way to get your digital SIM up and running. It feels a bit like a secret handshake between your phone and your carrier. Instead of fiddling with paperclips and tiny trays, you just point your camera and let the magic happen. Most travelers prefer this method because it’s fast and almost impossible to mess up. Plus, you can Get your free esim now and have the code sitting in your inbox in minutes.
Open Settings and Go to Cellular
Your journey starts in the brain of your iPhone. Unlock your device and find the Settings app, which is the icon that looks like a bundle of silver gears. Once you’re inside, scroll down a short distance until you see the Cellular option.
In some regions, this menu might be labeled as Mobile Data, but it does the exact same thing. Tap that row to enter the hub where all your SIM cards live and breathe. From here, you can see your current primary line and any other plans you’ve already added. It’s the command center for your phone’s connectivity.
Tap Add eSIM
Once you’re in the Cellular menu, look for a blue link or button that says Add eSIM. It usually sits right below your existing phone number. Tapping this button tells your iPhone that you’re about to introduce it to a new digital friend.
A menu will slide up from the bottom of the screen. It gives you a couple of options, such as transferring from a nearby phone or using a QR code. Since you have your code ready, you’ll want to select the option for a QR code. This action wakes up your camera and prepares the software to read the unique digital signature of your new plan.
Scan the eSIM QR Code
This is the part where you play photographer. Your iPhone will open a specialized camera interface with a white frame in the center. All you need to do is point your lens at the QR code provided by your carrier.

Keep a steady hand and ensure the code fits inside the square on your screen. Because the camera is looking for specific data, it usually snaps to attention within a second or two. If you’re looking at the code on a second device like a laptop or a tablet, make sure the screen brightness is turned up. On the off chance the camera struggles, you can open the QR code from your photos if your iOS version supports it, or simply use the manual entry option.
Follow the On-Screen Activation Steps
After the scan, your iPhone takes the wheel. A notification will pop up saying a “Cellular Plan Detected.” Tap Continue to start the iPhone eSIM activation guide process that happens behind the scenes.
Your phone will communicate with the carrier’s servers to verify the plan. This usually takes about thirty seconds to a minute. You might see a spinning wheel, but don’t panic. The iPhone is doing all the heavy lifting, essentially downloading all the “stuff” that used to live on a physical chip. Just keep your Wi-Fi steady and wait for the “eSIM is ready” message to appear.
Label Your eSIM as Travel Data
Organization is the best way to prevent a roaming bill nightmare. After the activation is successful, your iPhone will ask you to label the new line. You’ll see a list of generic names like Primary, Secondary, or Business.
Instead of picking a random one, choose a custom name that actually means something to you. Labelling it “Vacation,” “Italy Data,” or “Gohub Travel” ensures you know exactly which line is which.
- Select the new eSIM line from your cellular list.
- Tap on the Cellular Plan Label.
- Type in your preferred name or select one from the list.
By following these digital eSIM installation steps for iPhone, you ensure that when you’re looking at your signal bars, you know exactly which network is providing your internet. It makes switching your data on and off much less confusing when you’re hopping between different countries.
How to Install eSIM on iPhone Manually
Sometimes your camera or a blurry screen decides to be difficult. If your QR code won’t scan after a dozen attempts, don’t throw your phone across the room just yet. A manual installation is the reliable backup plan that bypasses the camera entirely by using a few strings of text. It takes a little more typing, but it works every single time, even if you are in a dark room or have a smudged lens.
Find the SM-DP+ Address and Activation Code
Before you start poking around your settings, you need two specific pieces of information from your provider. These are the SM-DP+ address and the activation code. While they look like a bunch of random gibberish, they are just digital mailing addresses that tell your iPhone exactly where to find your data plan on the internet.
You can usually find these in the same email that contained your QR code. Most providers list them clearly labeled as manual details. The SM-DP+ address usually begins with “RSP” or “SMDP,” followed by a string of letters and dots. The activation code is shorter and acts like a unique key for your specific purchase. Think of it like a username and password for your cellular network.
Enter the eSIM Details in iPhone Settings
Once you have those codes copied or written down, it’s time to head back into the cellular menu. If you aren’t already there, go to Settings, tap Cellular, and then hit Add eSIM. When the camera window pops up to scan a code, ignore the big white square and look at the very bottom of your screen.
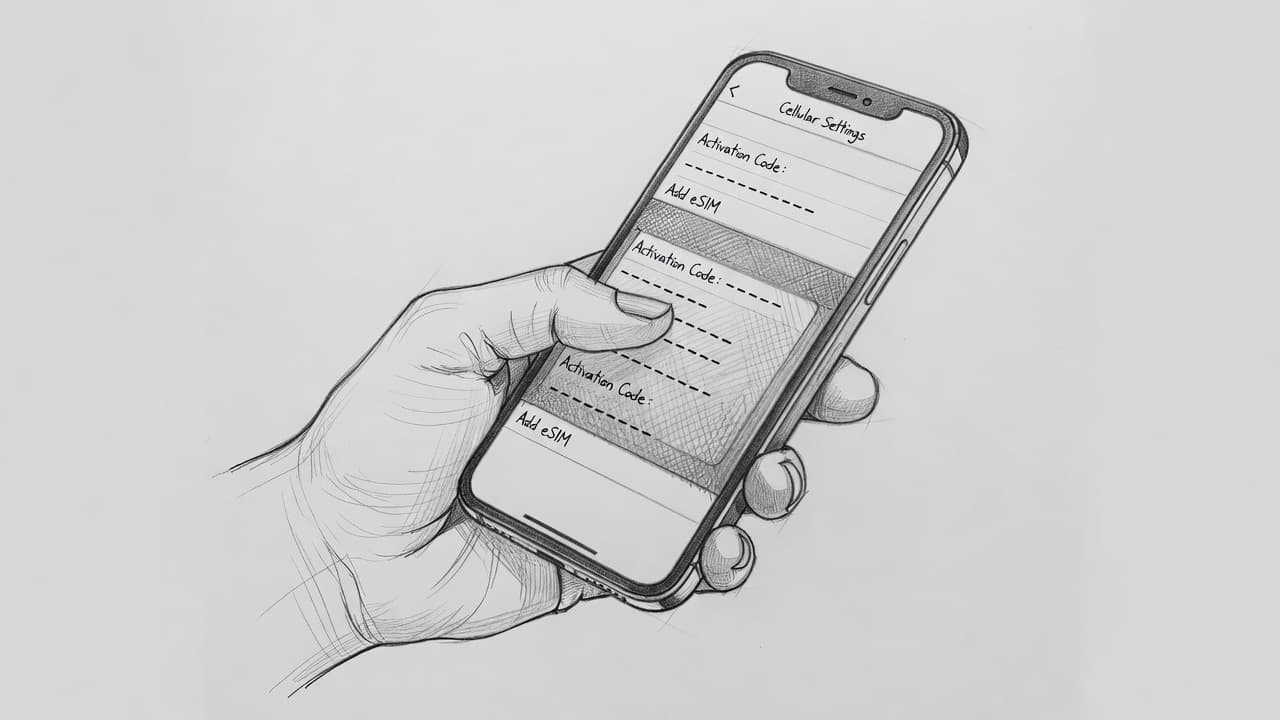
You will see a small blue link that says Enter Details Manually. Tap that, and your iPhone will present a form with a few empty fields. This is where you carefully type or paste your codes. Most of the time, you only need to fill in the first two boxes.
- Paste the SM-DP+ address into the top field.
- Enter your activation code into the second field.
- Leave the “Confirmation Code” blank unless your provider gave you a specific PIN.
Because these codes are long, it’s a good idea to copy and paste them to avoid typos. If you feel stuck, you can check a step-by-step manual eSIM installation guide to make sure every character is in the right place.
Confirm the eSIM Profile Before You Continue
After you hit Next, your iPhone will talk to the network servers to make sure those codes are legit. After a few seconds, a confirmation screen appears showing the name of your carrier or plan. This is the moment to double-check that you are installing what you actually bought.
If you bought a 10GB plan for Japan and the screen says “Japan Data 10GB,” you are golden. If the name looks wrong or doesn’t appear at all, hit back and check your typing. Once you tap the final confirmation, the phone finishes the handshake. Following these manual instructions from Apple ensures your line is active and ready to use without the need for a working camera lens.
Best iPhone Settings After Installing an eSIM
Once your digital SIM is active, you aren’t quite ready to post those beach photos yet. Installing the profile is just the first half of the battle. You now need to tell your iPhone exactly how to use its new powers. If you leave your settings on default, your phone might try to use your expensive home carrier for a simple map search. Getting these settings right ensures your trip is stress free and your bank account stays happy.

Set Your eSIM as the Cellular Data Line
The most important step is pointing your internet traffic toward your new travel line. Your iPhone is smart, but it needs a nudge to know which pipe to use for data. If you don’t change this, you might accidentally rack up roaming fees on your primary account while your travel data sits untouched.
To make the switch, head to Settings and tap Cellular. Look for the Cellular Data option at the very top. When you tap it, a list of your active lines will appear. Select your travel eSIM, which you hopefully labeled earlier, to make it the boss of your internet connection. This tells your apps to use the local network for everything from WhatsApp to Instagram.
Keep Your Primary Number for Calls and iMessage
One of the coolest perks of having a digital SIM is keeping your home identity alive. You can travel across the world while still receiving those important two-factor authentication codes from your bank. You don’t have to go completely off the grid just to save a few bucks on data.
Go back to the Cellular menu and find the Default Voice Line setting. You should keep this set to your Primary home number. This allows friends to call you on your regular digits while you browse on the travel line. Just be careful about answering calls, as your home carrier might still charge you for the minutes. For a smooth experience, make sure you know how to set up eSIM on iPhone 16 or older models to handle these dual lines correctly.
Turn Data Roaming On for the Travel eSIM
This is where many travelers get tripped up and lose their connection. You probably have “Roaming Off” burned into your brain as a golden rule of travel. While that’s true for your home SIM, your travel eSIM actually needs roaming turned ON to function on local networks.
Click into your travel line settings and flip the Data Roaming switch to the active position. This allows the digital SIM to hop onto the local towers in your destination. At the same time, double check that roaming is absolutely OFF for your primary home line. This simple check acts like a digital shield for your home bill. You can find more details on this in Apple’s guide for international eSIM travel if you want to be extra safe.
Turn Data Switching Off to Avoid Surprise Charges
Your iPhone has a feature called Allow Cellular Data Switching that sounds helpful but can be a trap. This setting lets the phone jump back to your primary SIM if the travel network gets a little weak. While it keeps you online, it also opens the door for your home carrier to charge you massive roaming fees without warning.
You should turn this switch OFF as soon as you land. You can find it under the Cellular Data menu right below your list of lines.
- Navigate to your Cellular settings.
- Tap on Cellular Data.
- Toggle Allow Cellular Data Switching to the off position.
By disabling this, you force the phone to only use your travel eSIM for data. Even if the signal drops for a second, your phone won’t go behind your back and use your expensive home data. It’s the best way to maintain peace of mind while you explore. If you haven’t grabbed a plan yet, you can Get your free esim now to start testing these settings today.
How Travelers Can Use eSIM iPhone Without Roaming Fees
Nobody wants to return from a dream vacation only to find a phone bill that costs more than the airfare. It’s the ultimate mood killer. Using an eSIM on your iPhone allows you to grab local data rates without the “tourist tax” your home carrier usually charges. You get the same fast signal as the locals, but without the physical swap or the triple-digit roaming surprises. It’s essentially a backstage pass to the local network that keeps your wallet as heavy as your suitcase.

Use Your eSIM for Mobile Data Abroad
The beauty of a digital plan lies in its local pricing. When you use your home provider’s “international pass,” you’re paying a middleman for the convenience of not changing your settings. An eSIM cuts out that middleman by connecting you directly to local towers. Because you aren’t funneled through your home network’s expensive data tunnels, the cost drops significantly.
Many travelers find that a travel esim price versus roaming fees comparison reveals massive gaps. You might pay $10 a day for a standard roaming pass, whereas a local digital plan can cost $15 for an entire week.
- You pay for exactly what you need upfront.
- There are no hidden fees or “overage” surprises.
- You can top up in seconds if you run out of data.
This transparent approach lets you stream music or use GPS without doing mental math every time a page loads. You can even Get your free esim now to see just how much cheaper the local rates are for your next destination.
Keep Your Home SIM Active Without Using Data
Ditching roaming fees doesn’t mean you have to disappear from your friends and family. Your iPhone can handle two lines at once, which is a total lifesaver for security. You can keep your primary home SIM turned “on” for calls and texts while using the foreign digital line for all your internet needs.
This setup is crucial for modern life, especially when you need to log into a bank account. Most banks send a text message code for two-factor authentication (2FA) that can’t be easily bypassed. By keeping your home line active, you receive those alerts for free as long as you don’t answer calls or send outgoing texts. It’s like having a secure mailbox that follows you around the globe; you stay safe and connected without paying for the data heavy lifting.
Avoid Accidental Data Use on Your Primary Line
The only thing worse than a roaming bill is an accidental one. iPhones are very helpful, often looking for any available signal to keep you connected, but that helpfulness can be expensive. You need to be the boss of your line labels to ensure you aren’t paying $2.00 per megabyte on your home plan by mistake.
Always double-check your labels in the cellular menu. If you see two signal bars at the top of your screen, your phone is juggling two networks. You must ensure the “Data” checkmark is firmly placed on your travel line.
- Go to Settings and then Cellular.
- Tap on your Primary line and turn Data Roaming to off.
- Tap on your Travel line and ensure Data Roaming is on.
By carefully finding the right data plan for international trips and setting these boundaries, you create a digital wall around your home account. Your phone will only use the cheap, local data you’ve already paid for, leaving you free to enjoy your trip without a care in the world.
How Campers Can Prepare eSIM iPhone for Remote Trips
Heading into the great outdoors doesn’t mean you have to be completely disconnected. While the goal is usually to escape the noise, having a working phone is a smart safety move. A digital SIM provides a backup for those moments when you really need a weather map or a quick check-in. Because trees and mountains are basically giant signal blockers, you need a specific strategy to keep your phone useful in the wild.

Download Offline Maps Before Reaching Camp
Relying on a live data connection while deep in the woods is a risky gamble. Even with a local plan, a thick canopy of pine trees can swallow your bars whole. You should download your maps while you still have a strong home or hotel Wi-Fi signal. Modern apps allow you to save entire regions so your GPS works perfectly even when your data doesn’t.
Many hikers combine these digital tools with traditional methods for maximum safety. You can read about how to use your phone as a GPS device to see why offline prep is a non-negotiable step. If you lose your trail, a pre-loaded map is far more valuable than a “No Service” notification. It’s the digital version of bringing extra water; you hope you don’t need it, but you’ll be glad it’s there.
Use eSIM Data for Weather and Emergency Updates
Safety is the main reason to keep a digital line active in the wilderness. Weather in the mountains can flip from sunny to dangerous in a matter of minutes. Having a few megabytes of data available lets you pull up radar images or receive severe weather alerts. It’s much easier to enjoy the view when you know a storm isn’t creeping up behind the ridge.
Beyond just the weather, an active line is your link to the outside world if things go wrong. You can use your bits of data to send a quick text or check a beginner’s guide to travel eSIMs to ensure your settings are optimal for low-signal areas. Because modern iPhones allow for satellite SOS in some regions, having your cellular account properly configured adds another layer of protection. It’s about being prepared for the “what ifs” without letting them ruin your fun.
Bring a Power Bank for Longer Outdoor Days
Searching for a signal is a brutal workout for your iPhone battery. When you’re in a remote area with one bar of service, your phone cranks up the power to stay connected to the tower. This constant searching can drain a full charge before the sun even sets. If you’re using your travel data heavily, that battery percentage will drop even faster.
To keep your digital lifelines open, always pack a high-capacity power bank.
- Choose a portable charger with at least 10,000mAh for a weekend trip.
- Use airplane mode when you aren’t actively checking maps or messages.
- Keep your phone warm in cold weather to prevent sudden battery drops.
Following a step-by-step eSIM setup for trips ensures you aren’t wasting power on background apps you don’t need. You can even get your free esim now and practice toggling your data on and off before you leave the pavement. This helps you master the settings so you can save every drop of juice for the moments that truly count.
Common eSIM iPhone Installation Problems and Fixes
Sometimes technology likes to put up a fight. You might follow every step perfectly and still end up staring at a spinning wheel of doom. Don’t worry; your phone isn’t broken, and your trip isn’t ruined. Most glitches are just temporary hiccups that a quick toggle or a steady hand can fix in seconds. If things get bumpy, these common workarounds will get your travel data back on track.

What to Do If the QR Code Does Not Scan
Cameras can be picky about their diet. If your iPhone is refusing to digest that QR code, the problem is usually lighting or distance. A screen that’s too bright can wash out the details, while a dark room makes it impossible for the lens to see the patterns.
Try adjusting your environment first. If you are scanning from a computer screen, lower the brightness to about 50% to reduce glare. Clean your iPhone lens with a soft cloth because even a tiny smudge can ruin the focus. If the camera still won’t play along, you should fix QR code scanning errors by opting for manual entry. Typing in the SM-DP+ address is a foolproof way to bypass a stubborn camera.
What to Do If eSIM Activation Gets Stuck
The “Activating…” message is the digital equivalent of waiting for water to boil. It should only take a minute, but sometimes it hangs indefinitely. This usually happens because the handshake between your phone and the carrier got interrupted by a weak signal.
The classic “turn it off and back on” advice actually works wonders here. A quick restart clears out the cobwebs and forces your iPhone to try the connection again from scratch. If that doesn’t do the trick, try toggling your Airplane Mode on for ten seconds and then off. This little jolt often helps the device find the network. For a more detailed look at why this happens, you can follow these troubleshooting steps for eSIM activation to clear the logjam.
What to Do If iPhone Says Unable to Activate eSIM
Seeing a “Could Not Activate eSIM” error message is a total buzzkill. This scary-sounding alert often points to a simple software version mismatch or a lazy internet connection. Your iPhone needs to talk to Apple’s activation servers, and if that path is blocked, the whole process stalls.
First, check that your Wi-Fi is actually working by loading a random webpage. If your internet is solid, head to Settings, then General, and check for a Software Update. Apple frequently releases small patches to fix cellular bugs. You can also learn how to fix eSIM setup problems by resetting your network settings, but be warned that this wipes out saved Wi-Fi passwords. According to official Apple activation support, ensuring your iOS is current is the most effective way to eliminate these pesky activation errors. If you are still in the planning phase and want to avoid these headaches, you can Get your free esim now and test the setup while you are still on your home network.
How to Manage Multiple eSIM Plans on iPhone
Managing a digital collection of cellular plans is like having a private deck of cards; you only play the one you need at that exact moment. Your iPhone isn’t limited to just one digital slot. Most modern models can store eight or more profiles at once, though only two stay active simultaneously. This means you can keep your home line, a work line, and that cheap data plan from your layover in London all tucked away in your settings. It’s the ultimate setup for anyone who treats airport lounges like a second living room.
Switch Between eSIM Plans by Country
The beauty of a digital SIM is the lack of physical labor. You don’t need to chase a paperclip across a moving train to change your network. When you cross a border, you simply tell your phone which profile should take the lead. This process happens entirely within your cellular settings and takes about as much effort as changing your wallpaper.
To make the swap, head into your Settings and select Cellular. You will see a list of every plan you’ve installed under the “SIMs” section. Tap the plan for the country you just entered and toggle Turn On This Line to the active position. Your phone will take a few seconds to find the local towers and establish a handshake.
If you are managing multiple eSIM lines on iPhone, remember that you can only have two lines “On” at the same time. If you try to turn on a third, your iPhone will ask which existing line you want to pause. This flexibility is perfect for globetrotters who need to storing and switching multiple eSIMs as they hop from one region to another. According to Apple’s Dual SIM documentation, your device handles the transition smoothly as long as your phone is unlocked and the plans are valid.
Delete Expired eSIM Profiles Safely
Keeping old, expired plans in your phone is like holding onto empty milk cartons in the fridge. They don’t do anything but take up space and clutter your view. Once your trip to France is over and the data has run out, it’s time for some digital spring cleaning. Removing a profile doesn’t hurt your phone; it just makes it easier to find the plans that actually work.
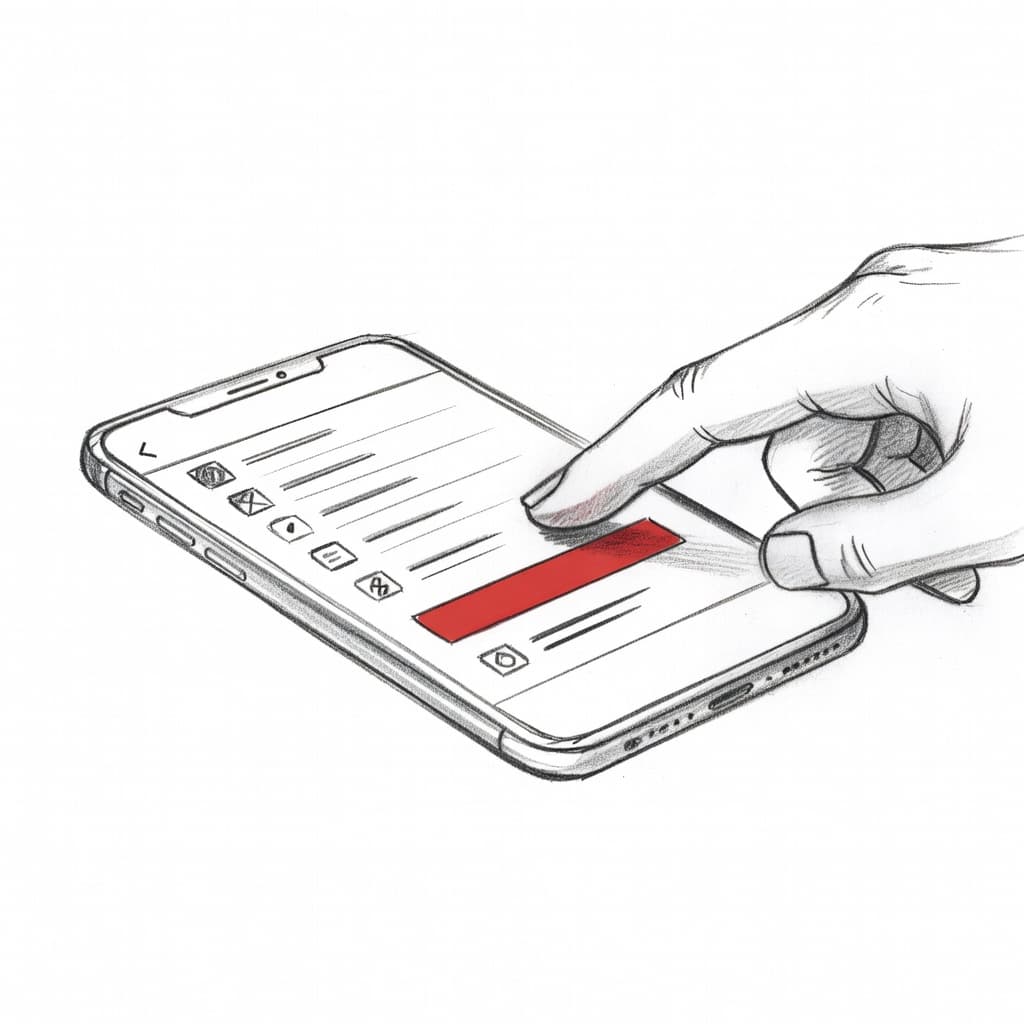
Before you hit delete, ensure you truly don’t need the plan again. Most travel eSIMs are “one-time use,” meaning they cannot be recharged once they expire. If you are certain the plan is dead, follow these steps to clear the clutter:
- Open Settings and tap Cellular.
- Select the specific expired plan from your list.
- Scroll to the very bottom and tap Delete eSIM.
- Confirm the choice when the popup appears.
Cleaning your settings prevents you from accidentally trying to use a dead plan when you’re in a hurry. It also secures your list so you don’t confuse “Italy 2023” with your upcoming trip. If you are a frequent flier, you might find that your device has specific limits on how many profiles it can hold, so pruning the old ones makes room for new adventures. You can always Get your free esim now to start a fresh collection for your next journey.
eSIM iPhone Travel Checklist Before Departure
Getting your phone ready for a trip is just as important as packing your favorite pair of shoes. You don’t want to be that person standing in a crowded airport, frantically waving your phone around while trying to catch a signal. A little bit of housework before you lock the front door ensures your connection is waiting for you the second the plane tires touch the tarmac. Think of it as setting your future self up for success, so your first vacation task is finding a snack, not a Wi-Fi password.

Test the eSIM While Still on Wi-Fi
The best time to verify your new digital companion is while you’re still on your own couch. Most travelers assume they have to wait until they cross the border to even look at their settings, but that’s a common recipe for stress. You can actually check if the profile installed correctly while you’re still connected to your home network. Look for the new line in your cellular settings; it should show up with the label you gave it, even if it says “No Service” because you aren’t in the destination country yet.
Seeing that new entry in your list is a huge relief because it means the “hard part” of downloading the data is done. If you’ve upgraded recently, you might want to review an iPhone 16 eSIM setup guide to see how the newer hardware handles these profiles. Checking for that small signal bar or the active toggle while your home Wi-Fi is still strong is the ultimate peace of mind. If something looks weird, you have the high-speed internet needed to fix it before you’re stuck in a foreign transit hub.
Screenshot Important Setup Instructions
Relying on a live email for help when you have no data is like trying to buy a map inside the maze you’re lost in. Before you head to the gate, take a screenshot of every piece of data your provider sent you. This includes the QR code, the manual SM-DP+ address, and any specific troubleshooting tips they mentioned in the fine print. Save these images to an album you can access while offline so they’re always a swipe away.
You should also keep a quick international travel checklist bookmarked or saved to ensure you haven’t missed a single step. Having these details stored locally on your device means you aren’t at the mercy of patchy airport signal. Every smart traveler knows that digital copies are golden, but having them available without an internet connection is the real pro move. It’s much easier to Get your free esim now and document the process today than it is to play detective in a crowded train station. Here are the items you absolutely must have saved to your camera roll:
- The original activation QR code image.
- The manual activation strings and server addresses.
- The customer service contact email or WhatsApp number.
- Any specific APN settings required by the local carrier.
- A screenshot of your order confirmation or plan details.
How to Choose the Best eSIM iPhone Plan After Installation
Finding the right plan is like picking the perfect snack for a long road trip; choose poorly, and you are left hungry for data in the middle of nowhere. Once you have the tech installed, the real fun begins. You need to decide how much digital fuel your device actually requires. Because nobody wants to pay for a mountain of data they won’t use, while running out of maps in a foreign city is its own unique brand of nightmare.
Compare Local, Regional, and Global eSIM Plans
Choosing between these three options depends entirely on your travel itinerary and how many borders you plan to cross. A local plan is your best friend for a deep dive into one specific country, usually offering the most data for the lowest price. It’s the perfect choice if you are staying put and want to stream videos without a care.
Regional plans are the smart play for backpackers or business travelers hitting multiple neighboring countries on a single trip. You might pay a tiny bit more per gigabyte, but the convenience of not switching profiles at every train station is worth the extra copper. Meanwhile, best prepaid global eSIM plans cover dozens of countries across different continents, making them ideal for long-term nomads.
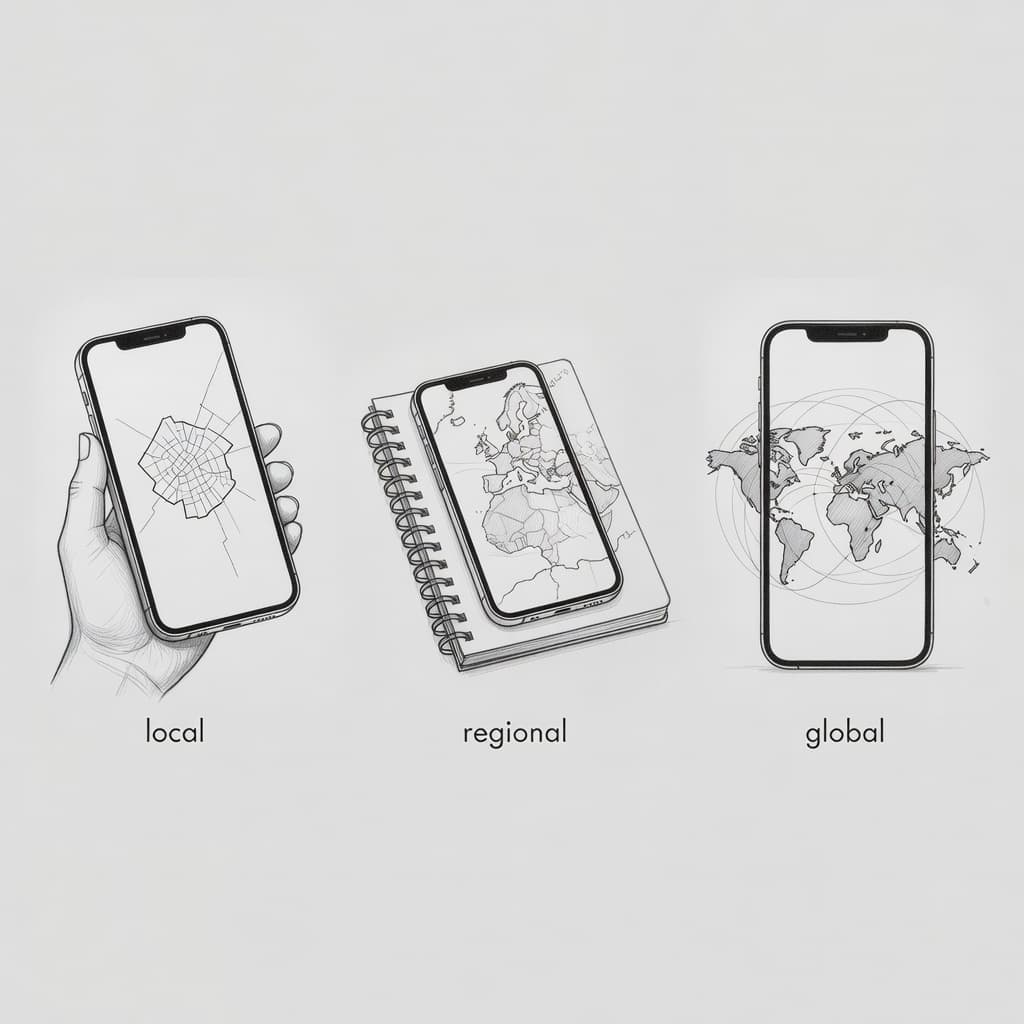
When you look at the numbers, the choice usually becomes clear based on your specific route. A global plan might seem expensive until you realize it covers your layover in Dubai and your trekking trip in Nepal.
| Plan Type | Best For | Typical Price Range |
|---|---|---|
| Local | Single-country vacations | $5 to $20 |
| Regional | European or Asian tours | $15 to $40 |
| Global | Multiple continents | $30 to $80 |
Local plans offer the most “bang for your buck” if you aren’t leaving your destination. However, the flexibility of regional or global options saves you from the headache of managing five different digital cards. You can even get your free esim now to see which regions are currently available for your next big adventure.
Review Hotspot Support for Shared Devices
Not all digital plans are created equal when it comes to sharing the wealth. If you have an iPad, a laptop, or a partner with a dead phone, you need to ensure your plan allows for a personal hotspot. Some budget providers block this feature to save on network congestion; therefore, reading the fine print is a non-negotiable step.
Using your iPhone as a router is a game changer for remote workers who need to join a quick Zoom call from a cafe. If you are traveling as a family, one large data plan with hotspot support can often be cheaper than buying four individual smaller plans. Just keep an eye on your battery life because sharing your signal is a heavy lifting task for any phone.

Many frequent fliers suggest that how to choose an international eSIM successfully includes checking the tethering rules. If the plan description doesn’t explicitly mention “hotspot” or “tethering,” it might be a data-locked plan for the phone only. Still, for most modern travelers, a plan that lets you link your other screens is the gold standard for staying productive.
- Check the “Data Sharing” or “Tethering” section in the plan details.
- Be aware that some “Unlimited” plans might throttle hotspot speeds after a few gigabytes.
- Use a strong password for your hotspot to keep random passersby off your digital tab.
- Keep a power bank handy while tethering because it eats through juice quickly.
Because your data needs vary based on what you are doing, think about your typical habits. Are you a heavy streamer who needs 20GB of data, or just a map user who can survive on 3GB? If you are mostly using your iPhone for navigation and light messaging, you can save a lot of money by picking a smaller, focused plan. Most people overestimate how much data they need, so starting small and topping up later is often the thriftiest strategy.
Is eSIM Better Than a Physical SIM for iPhone Travelers?
Choosing between a digital profile and a piece of plastic feels a bit like comparing a classic vinyl record to a streaming service. One has that tactile, traditional charm, but the other lives in the cloud and fits your lifestyle without taking up any space. For the modern traveler, this debate usually ends quickly once they realize they don’t have to carry a paperclip in their wallet anymore.
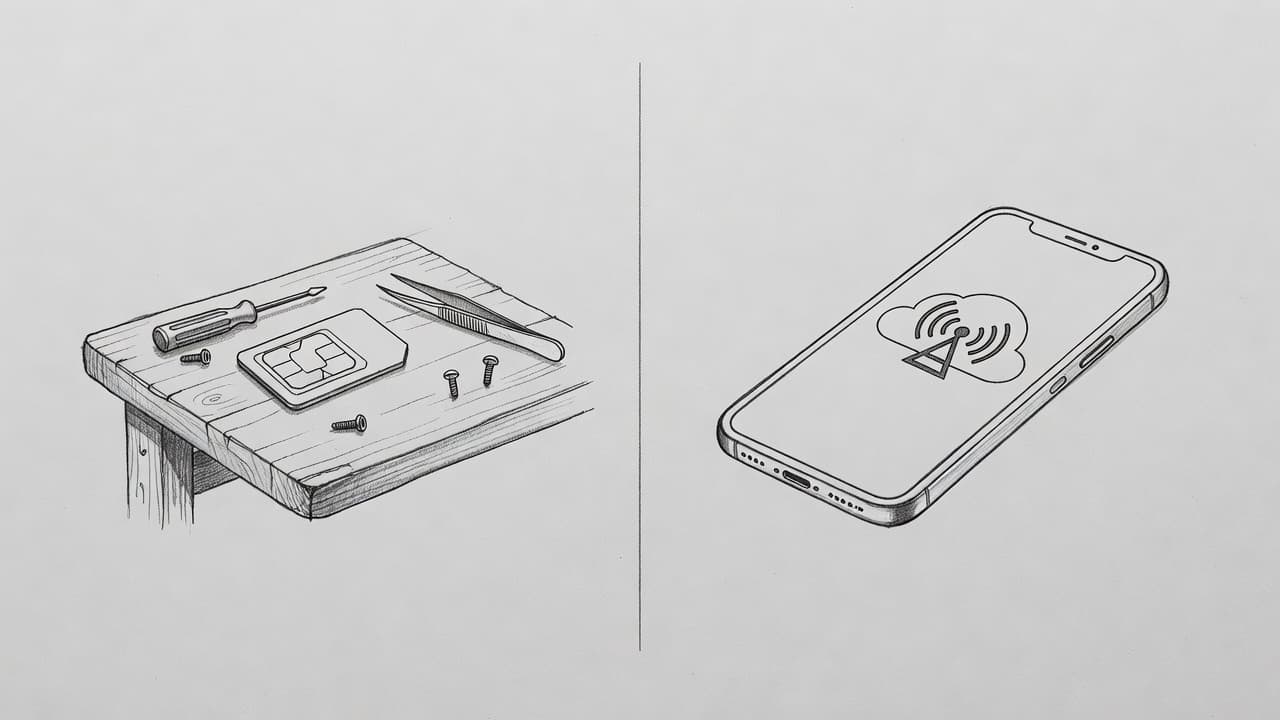
While physical cards are still reliable, many people find that the top benefits of using an eSIM abroad outweigh the nostalgia of the past. If you’re still on the fence, looking at how each one handles the chaos of a busy airport might change your mind.
Why eSIM Feels Faster and Easier for Short Trips
Imagine landing in a new country after a ten-hour flight. Your eyes are blurry, your luggage is probably in a different time zone, and you just want to find your hotel. With a physical SIM, you have to hunt down a kiosk, wait in a long line, and then perform surgery on your expensive iPhone with a bent paperclip while people bump into your elbows.
Digital plans skip the drama entirely. You can literally get your free esim now and have it ready before you even pack your toothbrush. Because everything is software-based, there’s no risk of dropping a tiny chip into a floor grate or losing your home SIM card in a pocket of your backpack.
Travelers who prioritize speed usually prefer the digital route.
- You can activate your plan while the plane is still taxiing to the gate.
- There’s no need to find a local store that’s still open at midnight.
- You don’t have to worry about the “tourist price” at airport kiosks.
- Your physical slot stays free for other uses if your phone isn’t an eSIM-only model.
One common pros and cons of using an eSIM abroad discussion center around cost. While local physical cards can sometimes be slightly cheaper in a neighborhood shop, the convenience of having data the second you land is usually worth those few extra pennies.
How Dual SIM Helps Travelers Stay Connected
Keeping one foot in each world is the real magic of modern iPhone technology. In the old days, switching to a local SIM meant your home number was essentially dead until you returned. If your bank tried to send a login code or your mom called with an emergency, they couldn’t reach you.
Using a digital plan alongside your physical one creates a “Dual SIM” setup that acts like two phones in one. You can use the digital line for all those heavy Instagram uploads and Google Maps searches while your home line stays quiet but active in the background. Most users find this main advantage of a physical SIM is that it can remain your primary point of contact for calls.
This dual-layered approach offers several clever perks for travelers.
- Receive bank authorization texts on your home number without paying for international data.
- Toggle between your work line and your vacation data with two taps.
- Keep your WhatsApp account tied to your regular number without any confusing re-registrations.
- Set specific lines for specific contacts so you never accidentally call your boss on a high-rate network.
Instead of choosing between being a local or staying connected to home, you get to do both. This flexibility is a massive win for remote workers who need to stay reachable for meetings while they explore a new city. After all, the best travel tech is the kind that works so well you forget it’s even there.
eSIM iPhone vs Pocket Wi-Fi for Camping and Travel
Deciding how to juice up your internet while living out of a backpack feels like a high-stakes puzzle. You want the freedom to roam, but you also need to make sure you aren’t carrying a literal brick of electronics. While pocket Wi-Fi used to be the gold standard for groups, the rise of the digital SIM has flipped the script for solo explorers and minimalist campers. It’s the classic battle between hardware and software, where every extra ounce in your pack starts to feel like a personal insult by the third mile of a hike.
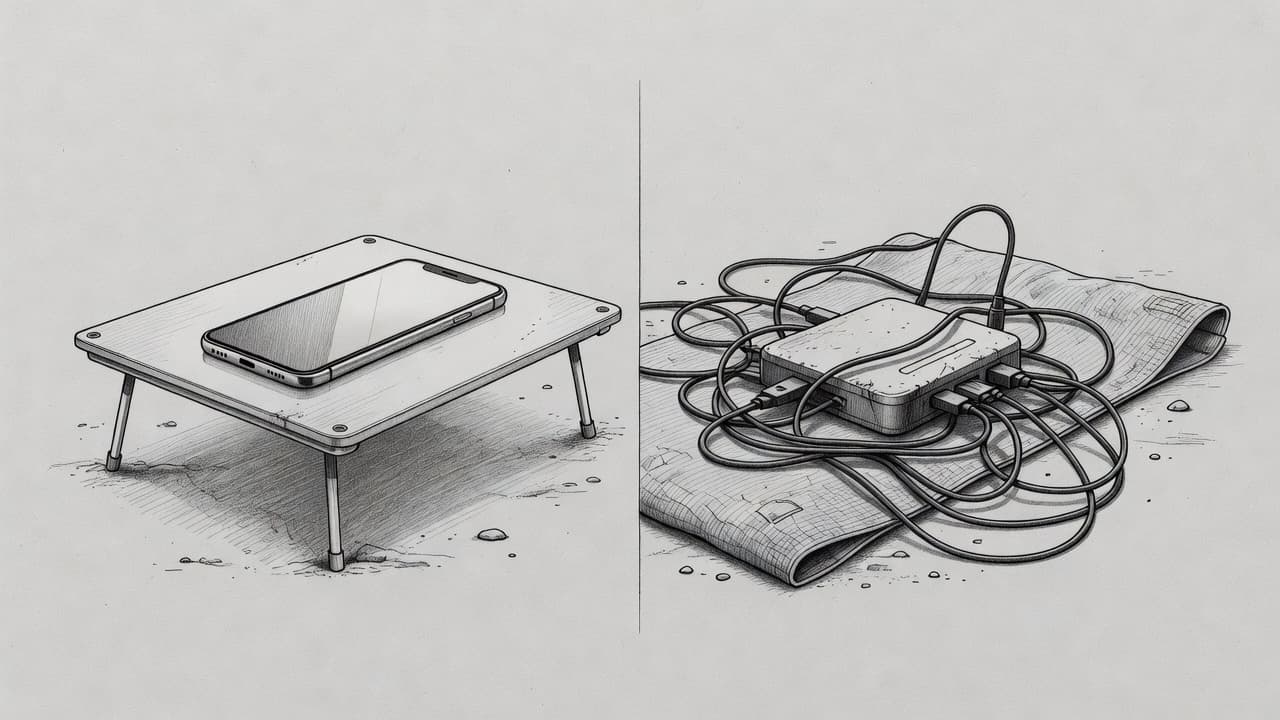
Choose eSIM for Lightweight Solo Travel
Backpacking is a game of ounces, and every cable you leave behind is a victory for your lower back. When you use an eSIM, your iPhone becomes a self-contained survival kit. You don’t have to carry a separate hotspot device, a dedicated charging cord, or a bulky battery pack just to keep your Wi-Fi alive. This understanding of eSIM technology shows that the best gear is often the stuff that doesn’t physically exist in your bag.
Pocket Wi-Fi devices are notorious for being another thing you have to baby. They run out of juice exactly when you need a map, and they often require a deposit that feels like a ransom. For a solo traveler, the simplicity of having everything baked into your phone is unmatched. You can get your free esim now and go from zero to connected without adding a single gram to your base weight.
Consider the practical realities of a campsite or a crowded hostel.
- You only have to worry about charging one device overnight.
- There are no small plastic parts to lose in the dirt or sand.
- Your pocket stays empty and your hands stay free for trekking poles.
- You avoid the “tether distance” that forces you to stay near a backpack just for a signal.
Keeping your load light or hitting top camping destinations for travelers is much easier when you aren’t managing a fleet of gadgets. Most hikers agree that pack weight affects enjoyment directly, so ditching the puck-shaped router is a smart move for your morale. Your phone is already in your pocket; let it do the heavy lifting so you can focus on the view instead of your battery percentages.
Consider Coverage Before Leaving the City
It’s a tough truth, but no amount of digital wizardry can conjure a signal out of thin air. Rocks, trees, and deep valleys are the natural enemies of your cellular bars. Before you head deep into the woods, you should realize that your iPhone still needs to talk to a physical tower somewhere on the horizon. If you are planning a trip to the best global locations for camping trips, checking a coverage map is the most important prep work you can do.

Manual prep is your best friend when the bars go flat. If you know you are heading into a dead zone, the best eSIM plan in the world won’t save your navigation. You’ve got to be proactive about your safety before the pavement ends and the gravel begins.
| Connectivity Factor | eSIM iPhone | Pocket Wi-Fi |
|---|---|---|
| Portability | Superior (Zero extra weight) | Poor (Requires extra device) |
| Battery Life | Dependent on phone use | Separate battery to manage |
| Setup Speed | Instant digital download | Requires physical pickup/return |
| Network Range | Varies by local carrier | Varies by provider hardware |
Relying solely on your device can lead to the erosion of traditional outdoor skills if you aren’t careful. Always treat your digital connection as a helpful bonus rather than a guaranteed lifeline. By checking the service area of your specific travel line, you can enjoy the wilderness while knowing your phone is ready to ping a tower if things go sideways. One quick look at the carrier’s coverage map before you lose Wi-Fi can be the difference between a peaceful night under the stars and a confusing trek in the dark.
What Is an eSIM iPhone and Why Do Travelers Use It?
The days of hunting for a paperclip to poke open your phone tray are fading fast. If you carry a newer Apple device, you likely have a tiny piece of futuristic tech living right inside your hardware. This digital upgrade changes how we move across borders, making it easier to stay connected without the plastic clutter. Travelers adore this feature because it turns a stressful search for a local shop into a simple tap on a screen.
eSIM Meaning for iPhone Users
The “e” in eSIM stands for embedded, but you can think of it as “electronic” or even “effortless.” It is a small chip built directly into your phone motherboard that acts exactly like a traditional SIM card. Instead of sliding a physical piece of plastic in and out, you simply download a profile from the internet. This setup gives you the freedom to switch carriers without ever touching the hardware.
Having an embedded chip means your phone is more efficient. Because there is no removable part, there is more room inside the device for other fancy features or a slightly bigger battery. Most importantly, it is harder to lose your service. If a thief swipes your phone, they cannot just pull out the SIM card to disconnect it from the network. You can even get your free esim now and see how it looks in your settings before your next big trip.
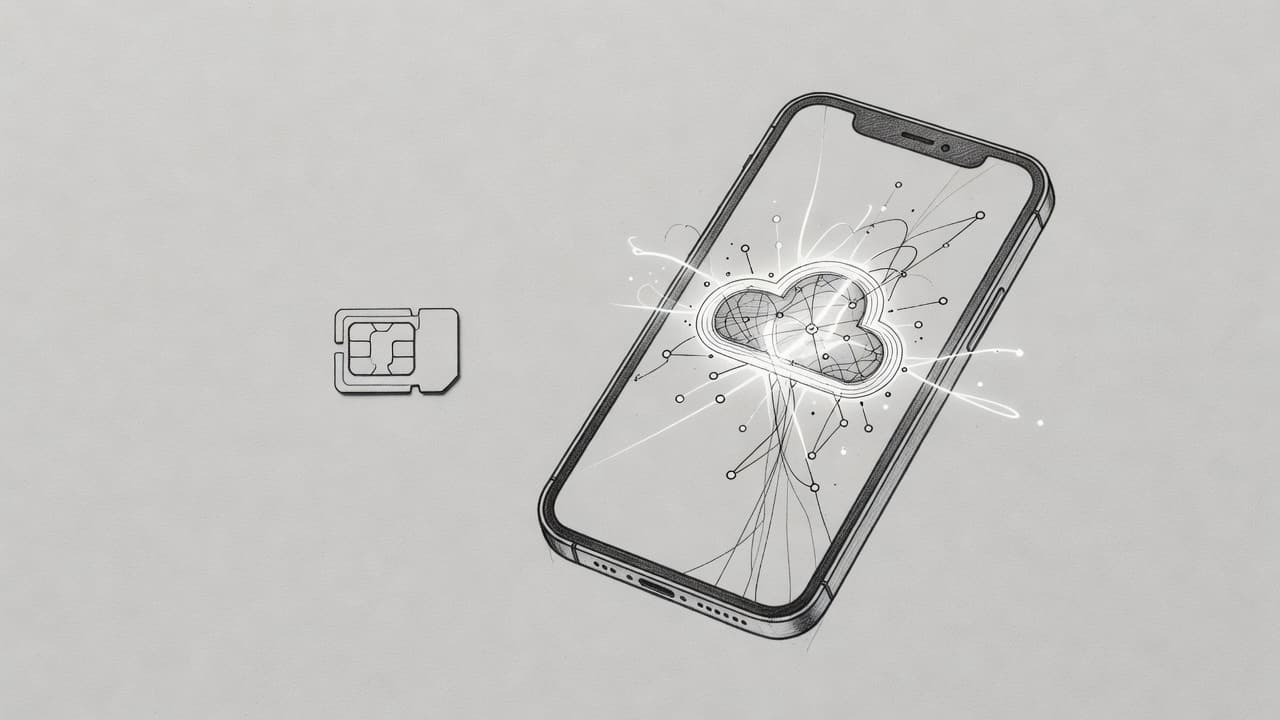
How eSIM Works Without a Physical SIM Card
This technology works using software magic to tell your phone which network to join. Think of it like a digital key that unlocks a specific carrier tower. When you buy a plan, the provider sends a tiny bundle of data to your phone that tells the embedded chip how to behave. It is essentially a secure identity profile that confirms you paid for your data and are allowed on the network.
Many people wonder if the signal is different, but the quality is the same as a physical chip. Your phone still talks to the same local towers and uses the same 5G or 4G bands. The only difference is that the instructions come from a file instead of a copper contact on a piece of plastic. Because everything is digital, you can often manage travel data plans directly through an app or your phone settings.
- You choose a plan from a digital storefront.
- Your phone downloads a unique identification profile.
- The embedded chip activates and links to the local towers.
- Your internet starts working immediately without a reboot.
This process is a lifesaver for anyone who hates waiting in lines. You can land in a new country and have a working map before you even unbuckle your seatbelt. It is a reliable way to stay connected while you are on the move, whether you are a weekend hiker or a full-time digital nomad. Using this software based approach helps you avoid those massive roaming fees that usually show up after a trip.
Conclusion
Setting up an eSIM on iPhone is a major win for your travel budget and your sanity. You’ve learned how to ditch the plastic and swap networks with a few taps. This digital shift means you’ll never have to worry about losing that tiny home SIM card in a dark airplane cabin again.
The process is fast, and the savings on roaming fees are massive. You now have the tools to stay connected from the moment you land. Most importantly, you can manage your data without ever stepping foot in a local carrier store.
Think about the best time to install your eSIM so you’re fully prepared before you head to the airport. Proper timing ensures you walk off the plane with a working signal and a clear path to your destination.
Next Read: Check out our ranking of the best data plans for campers and outdoor adventurers.
This post may contain affiliate links. If you make a purchase through these links, I may earn a small commission at no extra cost to you.