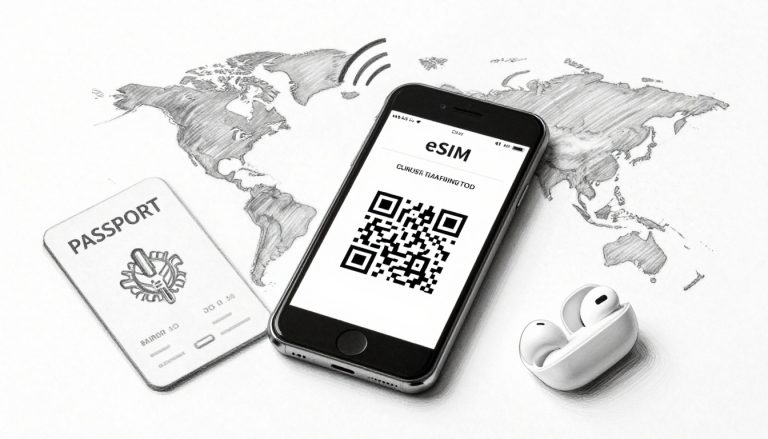
You’re at the airport, bags packed, and ready for that dream beach getaway, but your iPhone is stubbornly refusing to cooperate. Instead of a signal bar, you’re staring at a cold, heartless “Unable to Complete Cellular Plan Change” message while the boarding call echoes through the terminal. It’s the ultimate digital buzzkill, but don’t toss your phone into the nearest terminal trash can just yet.
When you cannot add eSIM to iPhone, the culprits are usually a trio of common tech hiccups. Most often, your device is still locked to a specific carrier, your Wi-Fi signal is too weak to finish the handshake, or that QR code you’re scanning has already expired. If you’re feeling stuck, you might need to troubleshoot iPhone eSIM activation before you can get back to posting your vacation photos.
Whether it’s a software bug or a hardware limitation, getting your data back on track is easier than you think. Let’s walk through the exact steps to clear those errors so you can get your free esim now and start scrolling again.
A Logical Checklist for When You Cannot Add an eSIM to Your iPhone
Most of the time, your tech isn’t actually broken. It’s just having a momentary lapse in judgment because of a missed setting or a grumpy software bug. Think of this checklist as a quick diagnostic physical for your device that clears away the digital cobwebs.
When your esim iphone refuses to cooperate, the problem usually hides in plain sight within your settings. You don’t need to be a genius to fix these errors, but you do need a methodical approach to rule out the small stuff. Let’s walk through the most likely culprits so you can get back to your trip without the headache.
Step 1: Check Your Internet Connection and Stability
An eSIM is essentially a digital download that requires a deep, meaningful conversation with Apple’s activation servers. If your connection is stuttering, that conversation gets cut short and results in a setup failure. Trying to download a profile while on “spotty” mall Wi-Fi is a recipe for frustration.
Public networks often have firewalls or slow speeds that trip up the activation process. Instead, stick to a solid home Wi-Fi connection or a reliable hotspot from a friend’s phone. This is the gold standard for avoiding those annoying setup failed errors that pop up when the data packet drops mid-flight.

Double check that you haven’t left Airplane Mode on by mistake. It sounds silly, but it happens to the best of us during the rush of travel. A steady, uninterrupted stream of data is your best friend when you’re trying to reinstall an eSIM profile after a failed attempt.
Step 2: Verify Your iPhone’s Carrier Lock Status
If your phone is locked to a specific carrier, it acts like a stubborn bouncer at an exclusive club. It simply won’t let any new eSIM profiles inside unless they belong to the same “family.” This is actually the most common reason people run into a brick wall during setup.
Finding out if your phone is a free agent is easy. Navigate to Settings, then General, and finally About. Scroll down until you see the Carrier Lock section. If it says “No SIM restrictions,” your phone is ready to accept any local or international plan you throw at it.
If you see a specific carrier name or “SIM Locked” instead, you’ll need to contact your original provider to set it free. Until the phone is officially unlocked, no amount of scanning or restarting will make that new profile work. It’s a hard rule that many travelers discover only after they’ve landed in a new country.
Step 3: Update iOS to Squash Bugs
Sometimes the secret villain in your connectivity drama is just outdated firmware. Apple constantly releases small patches to fix eSIM setup failed errors that were lingering in previous versions. If your software is lagging behind, your phone might not even know how to talk to a modern carrier’s server properly.
Jump into Settings, tap General, and then Software Update to see if there’s a fresh version of iOS waiting for you. Keeping your phone current is like giving it a fresh set of instructions for the newest tech standards. Even a minor update can resolve deep-seated glitches that prevent the cellular hardware from initializing correctly.
Running the latest software also ensures that your carrier settings stay updated, which is a separate but equally important part of the puzzle. Think of it as a mandatory tune-up that keeps all the digital gears moving smoothly.
Step 4: Use Manual Details Instead of a QR Code
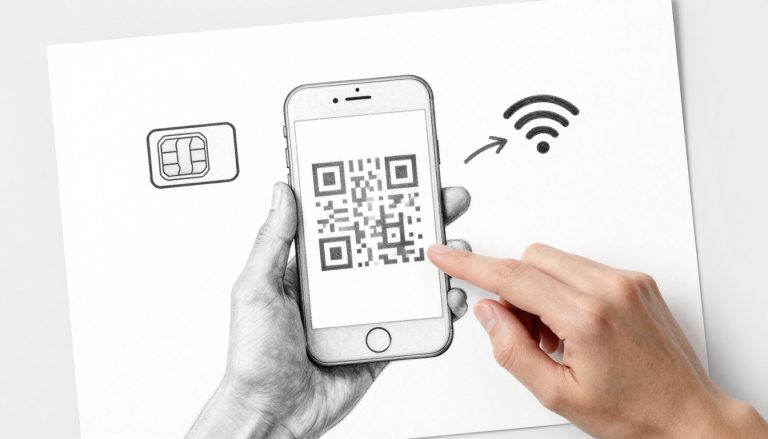
We’ve all been there where the camera just refuses to focus or the QR code is printed so poorly it looks like a Rorschach test. If the automatic scan keeps failing, don’t keep pointing your lens at the screen and hoping for a miracle. Your iPhone has a built-in fallback for exactly this scenario.
When the “unable to complete eSIM change iPhone” error haunts you, choose the option to enter details manually instead of using the camera. You will typically need two pieces of information from your provider: the SM-DP+ Address and an Activation Code. Typing these in directly bypasses any visual glitches and forces a direct link to the server.
- Open your Cellular settings and tap Add eSIM.
- Select Use QR Code but then tap Enter Details Manually at the bottom.
- Paste the SM-DP+ Address and Activation Code provided in your confirmation email.
- Leave the Confirmation Code blank unless your carrier specifically gave you one.
This manual route is the most reliable way to get your free esim now when the automated systems are being finicky. It takes an extra minute to type out the strings of characters, but it’s much faster than calling technical support for a problem you can solve yourself.
Solving the Mystery of the Rejected eSIM Profile
Sometimes your iPhone acts like a picky eater at a five-star restaurant. You try to serve it a perfectly good digital profile, but it just pushes the plate away with a vague error message. This usually happens because of hidden technical “rules” or physical hardware traits you might not even know your phone has. If you’ve ever felt like your phone is speaking a different language, it might be due to where it was born or how much digital baggage it is already carrying.
Solving these mysteries requires looking under the hood of your device’s origin story. Not every iPhone is built with the same digital DNA, and understanding these quirks is the fastest way to stop the “Unable to Complete” cycle. Let’s peel back the layers on why your hardware might be saying no even when your software is up to date.
The Dual SIM Limit and Historical Hardware Gaps
Did you know that where you bought your phone changes how it handles data? iPhones are like regional snacks; the ingredients vary depending on the country of sale. If your device originally came from Mainland China, Hong Kong, or Macao, you might be looking for a digital chip that simply doesn’t exist. These specific models feature a “back-to-back” physical tray that holds two plastic cards but lacks the internal eSIM hardware entirely.
Even for the rest of the world, older models have much smaller “closets” for their digital profiles. While a modern iPhone 16 can store a whole library of digital plans, an older iPhone XS or 11 is much more limited. If you’ve been a digital nomad for a while, you might have hit a hidden ceiling that prevents your phone from accepting a new guest.
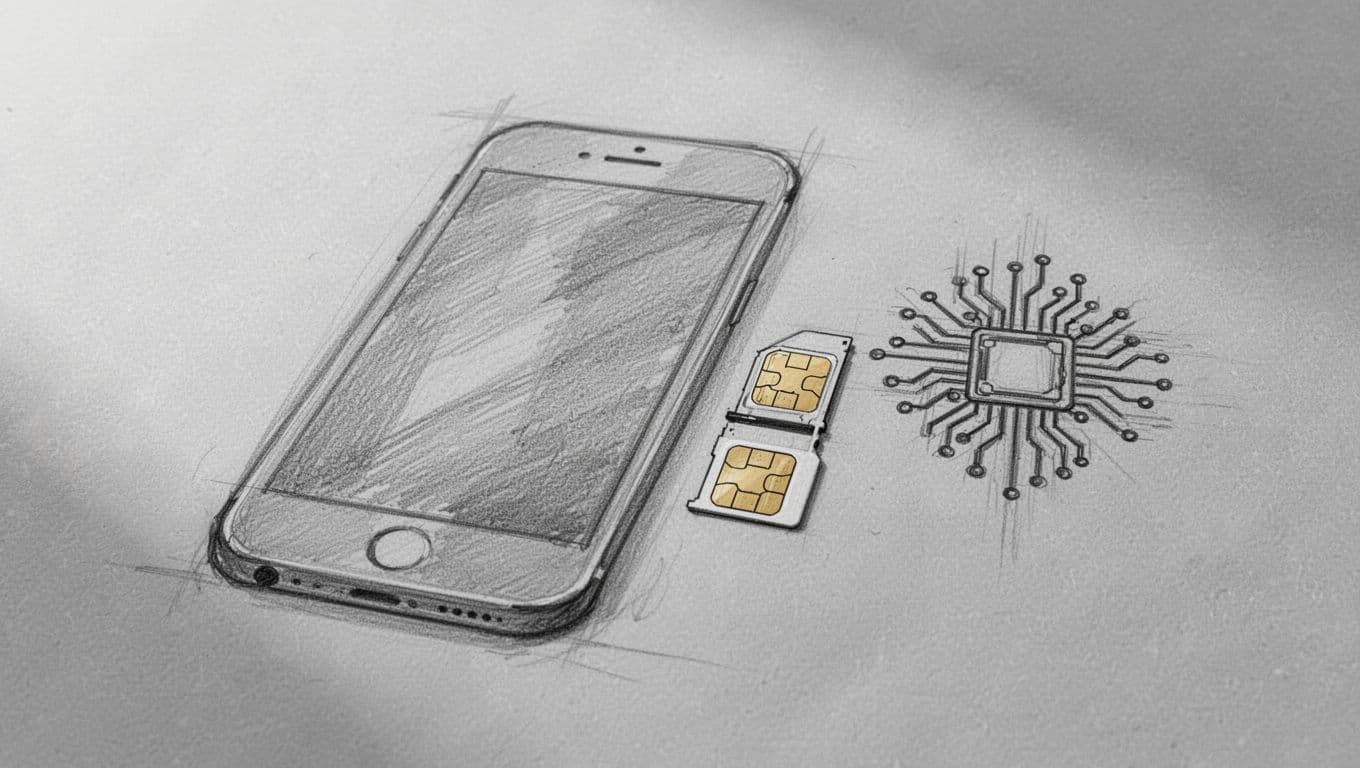
Managing these profiles is a bit like high-stakes digital Tetris. Your storage capacity changes depending on the generation of your device, as seen in the breakdown below.
| iPhone Model Series | Stored eSIM Profiles | Active eSIMs at Once |
|---|---|---|
| iPhone XS to 12 | Up to 5-10 | 1 (plus 1 physical) |
| iPhone 13 to 15 | 8 or more | 2 |
| iPhone 16 | 8 or more | 2 |
| iPhone 17 (Future) | Up to 12 | 2 |
Most older devices struggle if you try to pack in more than eight plans. If you are hitting a wall, try troubleshooting eSIM personal hotspot issues or deleting an old, expired plan to make some breathing room.
The One-Scan Rule and Accidental Deletions
Here is the most heartbreaking part of the eSIM world: the “One-Scan” rule. Treat your QR code like a single scoop of ice cream on a hot day—if you drop it, you can’t just pick it back up. Most carriers design their activation codes for a single use only. This means if you delete the profile because you were trying to fix a minor glitch, that specific code is gone forever.
It’s a security measure to prevent people from “cloning” your phone number, but it’s a major headache for travelers. Once the digital handshake happens, the server marks that code as “spent.” If you ever find yourself staring at an “expired” or “used” error, you’ll likely need to get your free esim now or contact your carrier for a fresh digital voucher.
According to many Apple community discussions regarding eSIM capacity, users often get stuck because they think they can move a profile between phones like a physical card. You can’t. If you want to move your plan to a new device, you usually have to “burn” the old profile and get a brand new one issued. Always keep your confirmation emails handy, but remember that the QR code inside is usually a one-and-done deal.
Deciphering Specific iOS Error Messages and Quick Fixes
Sometimes your iPhone stops being a helpful sidekick and starts acting like a cryptic riddle. You scan your code, wait for the magic to happen, and instead, a gray box pops up with a message that sounds like it was written by a grumpy robot. These alerts aren’t actually meant to be mysterious, but they do require a specific set of responses to make them go away.
Understanding the “why” behind the jargon helps you move from frustrated traveler to tech wizard in about sixty seconds. Most of these messages boil down to two specific glitches that haunt almost every eSIM user at some point. Let’s decode the secret language of your settings menu so you can fix the problem and get back to your life.
The Code No Longer Valid Roadblock
Seeing a message that says your code is no longer valid is the digital equivalent of trying to use a movie ticket from last week. Usually, this means the single-use “key” has already been turned in the lock. If you tried to set up the plan on a different phone first, or if you deleted a partially installed profile, the server thinks the job is done.
Most travelers run into this after a failed activation where they think “scanning it again” will help. In reality, once that QR code hits the Apple servers, it often self-destructs for security reasons. To fix this, you generally need to get your free esim now or ask your provider to send a fresh voucher to your email. Check your recent messages to ensure you aren’t using an old email from a previous trip by mistake.

Facing the Cellular Plan Cannot Be Added Error
This specific error message is the iPhone’s way of saying it can’t quite finish the handshake with your carrier. It often pops up because the phone is still shackled to its original carrier. If your device isn’t fully unlocked, it will reject any “foreign” data plans without a second thought. You can check iPhone eSIM compatibility to ensure your specific model isn’t part of a regional batch with restricted hardware.
Another common culprit is a ghost profile already hiding in your settings. If a previous attempt didn’t finish, the system might get confused when you try to add the same plan again. Here is a quick breakdown of how to identify and bypass these common text errors.
| Error Message | What It Really Means | The Five-Minute Fix |
|---|---|---|
| Code No Longer Valid | The QR code was used or expired. | Request a new activation code from the provider. |
| Cellular Plan Cannot Be Added | Carrier lock or server timeout. | Disable Airplane Mode and check for a carrier unlock. |
| Unable to Activate | The Apple server is busy or offline. | Wait ten minutes and try again on steady Wi-Fi. |
| Contact Carrier | A deeper account-level issue exists. | Reach out to the support chat for your specific eSIM. |
If you are stuck on a “Cannot Be Added” screen, try a hard restart of your iPhone. This clears the temporary cache and often allows the cellular radio to try the connection again with a clean slate. Following Apple’s official setup guide can also help you spot if a small step was skipped during the initial process.
Pro Tips for a Flawless eSIM Setup Next Time
Setting up your digital connection shouldn’t feel like a high-stakes bomb defusal. Usually, the drama happens because we skip the prep work in our rush to get connected. If you want a smooth experience, a few simple pre-flight checks make all the difference. Think of it as packing your digital suitcase before you actually head to the airport.
By following a few golden rules, you can avoid the dreaded activation loop. Most glitches are actually preventable if you know which buttons to push (and which ones to leave alone). Let’s look at how to ensure your next installment is totally boring and successful.
Preparation Is Your Secret Weapon
Before you even think about scanning that QR code, make sure your phone has the energy to finish the job. A battery that dies mid-install is a recipe for a “stuck” profile that neither lives nor dies. Aim for at least 50% battery or stay plugged into a wall outlet. This ensures your cellular radio has the juice it needs for the heavy lifting of server handshakes.

Screenshots are your best friend during this process. If your carrier sends you a confirmation screen with the SM-DP+ Address and Activation Code, snap a photo of it immediately. If your camera fails to scan the QR code, you’ll have those long strings of characters safe in your photo library. You can even install Airalo eSIM on iPhone more reliably by copy-pasting these details rather than toggling between apps and losing your spot.
The Golden Rule of Installation
The most important advice I can give you is to never, ever delete an eSIM profile while it is still in the “Activating” stage. It’s tempting to hit delete and “start over” if it takes more than a minute, but doing so permanently destroys the digital token. Once that token is burned, it’s gone. You will end up having to call customer support and wait for a fresh voucher, which is a major buzzkill when you’re already at your gate.
- Connect to a private, stable Wi-Fi network rather than flaky airport hotspots.
- Keep your physical SIM card in the tray until the new profile is fully active.
- Be patient because some activations can take up to three full minutes of silence.
- Check for a step-by-step T-Mobile eSIM activation manual if you are moving a domestic line.
Following Gohub’s best practices for digital eSIM setup ensures your hardware stays happy. Most of the time, the “Unable to Complete” error is just a result of a connection hiccup during the download phase. If you stay calm and let the phone finish its internal chores, you’ll be online and ready to go. You can get your free esim now and test these tips out for yourself before your next big adventure.
Conclusion
Success in the digital world usually boils down to two simple gatekeepers. An unlocked device and a rock-solid Wi-Fi connection solve the vast majority of setup headaches. If your phone is still restricted by a carrier or your internet is stuttering, your new plan won’t be able to find its home.
However, if you have verified your unlock status and tried the manual entry method without luck, it might be time to throw in the towel. Technical glitches at the server level or an accidentally “burned” QR code require professional intervention. Reach out to your vendor or carrier support because they can easily reset your profile or issue a fresh voucher.
Getting stuck in an activation loop is a temporary bummer, but it’s not the end of your trip. Once you clear these hurdles, your iPhone will be ready to hop across borders while your friends are still busy hunting for local SIM card kiosks. Go enjoy that vacation and let your phone handle the heavy lifting!
This post may contain affiliate links. If you make a purchase through these links, I may earn a small commission at no extra cost to you.