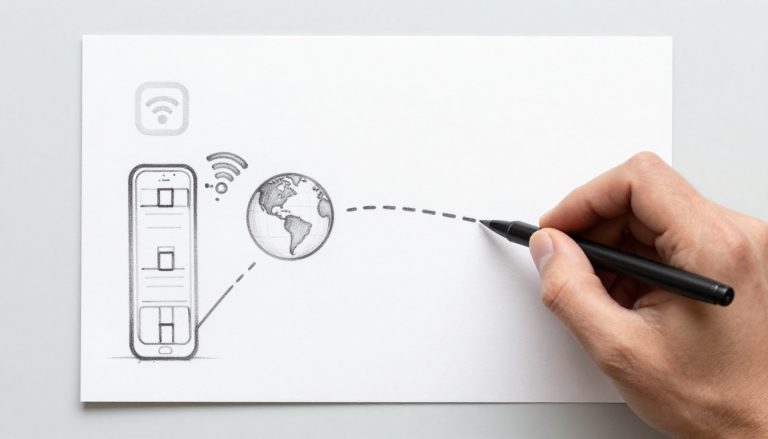
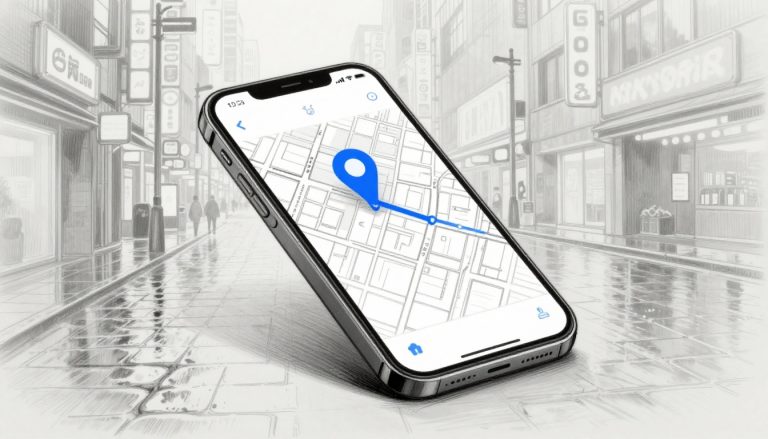
Landing in Thailand without mobile data means wrestling with airport Wi-Fi, hunting for a SIM counter, and joining a queue before you’ve even found your luggage. Installing an eSIM on your iPhone before departure saves that airport-side scramble, so your travel line is already waiting when you arrive.
Installation and activation aren’t quite the same thing. You can install the eSIM at home over stable Wi-Fi, then activate it after landing when the travel line connects to a local network. Before takeoff, you’ll check your iPhone’s compatibility and carrier lock, save the QR code, label your lines, adjust roaming settings, and keep your home number available for calls, texts, and verification codes. If you want a closer look at the setup process, see this step-by-step iPhone eSIM setup and keep your plan details handy.
After landing, you’ll turn on the travel line, wait for the local connection, and test essentials such as Google Maps and Grab. Watch Apple’s setup guide here: https://www.youtube.com/watch?v=s21mVJiZyCE. You can also get your free esim now, then follow the checks below before your flight.
This post may contain affiliate links. If you make a purchase through these links, I may earn a small commission at no extra cost to you.
Why You Should Install Your eSIM Before Flying to Thailand
Installing your travel eSIM before departure gives you a head start without forcing it to connect at home. You can add the plan over reliable Wi-Fi, leave it inactive if your provider allows, then turn it on after landing in Thailand. That small bit of preparation can make the first hour of your trip much less fiddly.

Avoid Unreliable Airport Wi-Fi and Long SIM Counter Lines
Airport Wi-Fi often gets overwhelmed when hundreds of travelers connect at once. Captive portals may ask for an email address, send a verification code, or refuse to load properly on a tired phone with a weak signal. Some networks also restrict certain services or disconnect when you move between arrival areas.
A pre-installed eSIM removes that first connectivity puzzle. You won’t need Wi-Fi to download a QR code, wait for an email, or compare plans while standing beside the baggage carousel. Airport SIM shops can still be a useful choice, especially if you want in-person help or a local number. However, queues may be long after several international flights arrive together.
Installation and activation are separate steps. Your iPhone can store the travel profile before takeoff, while the line stays off until you reach Thailand. Depending on the provider, the plan may remain inactive or unused until it connects to a supported local network.
For extra guidance, see this iPhone travel eSIM setup guide, which covers the settings that control the travel line.
Get Online as Soon as You Land
Once you collect your bags, mobile data helps with the practical details that come next. You can open Google Maps, request a Grab, message your hotel, translate an address, or check directions to your airport rail connection without hunting for a hotspot.
Turn on the travel line and select it for cellular data after landing. The connection may take a few minutes while the eSIM registers with a local network such as AIS or True, so don’t worry if service doesn’t appear instantly.
Apple also explains how travelers can keep a home line and travel line active with Dual SIM on iPhone. Keep your home SIM available for calls, text messages, bank verification codes, iMessage, and FaceTime, while the travel eSIM handles your data. This setup keeps your familiar number within reach without making it the default source for expensive international data.
What to Check Before You Leave Home
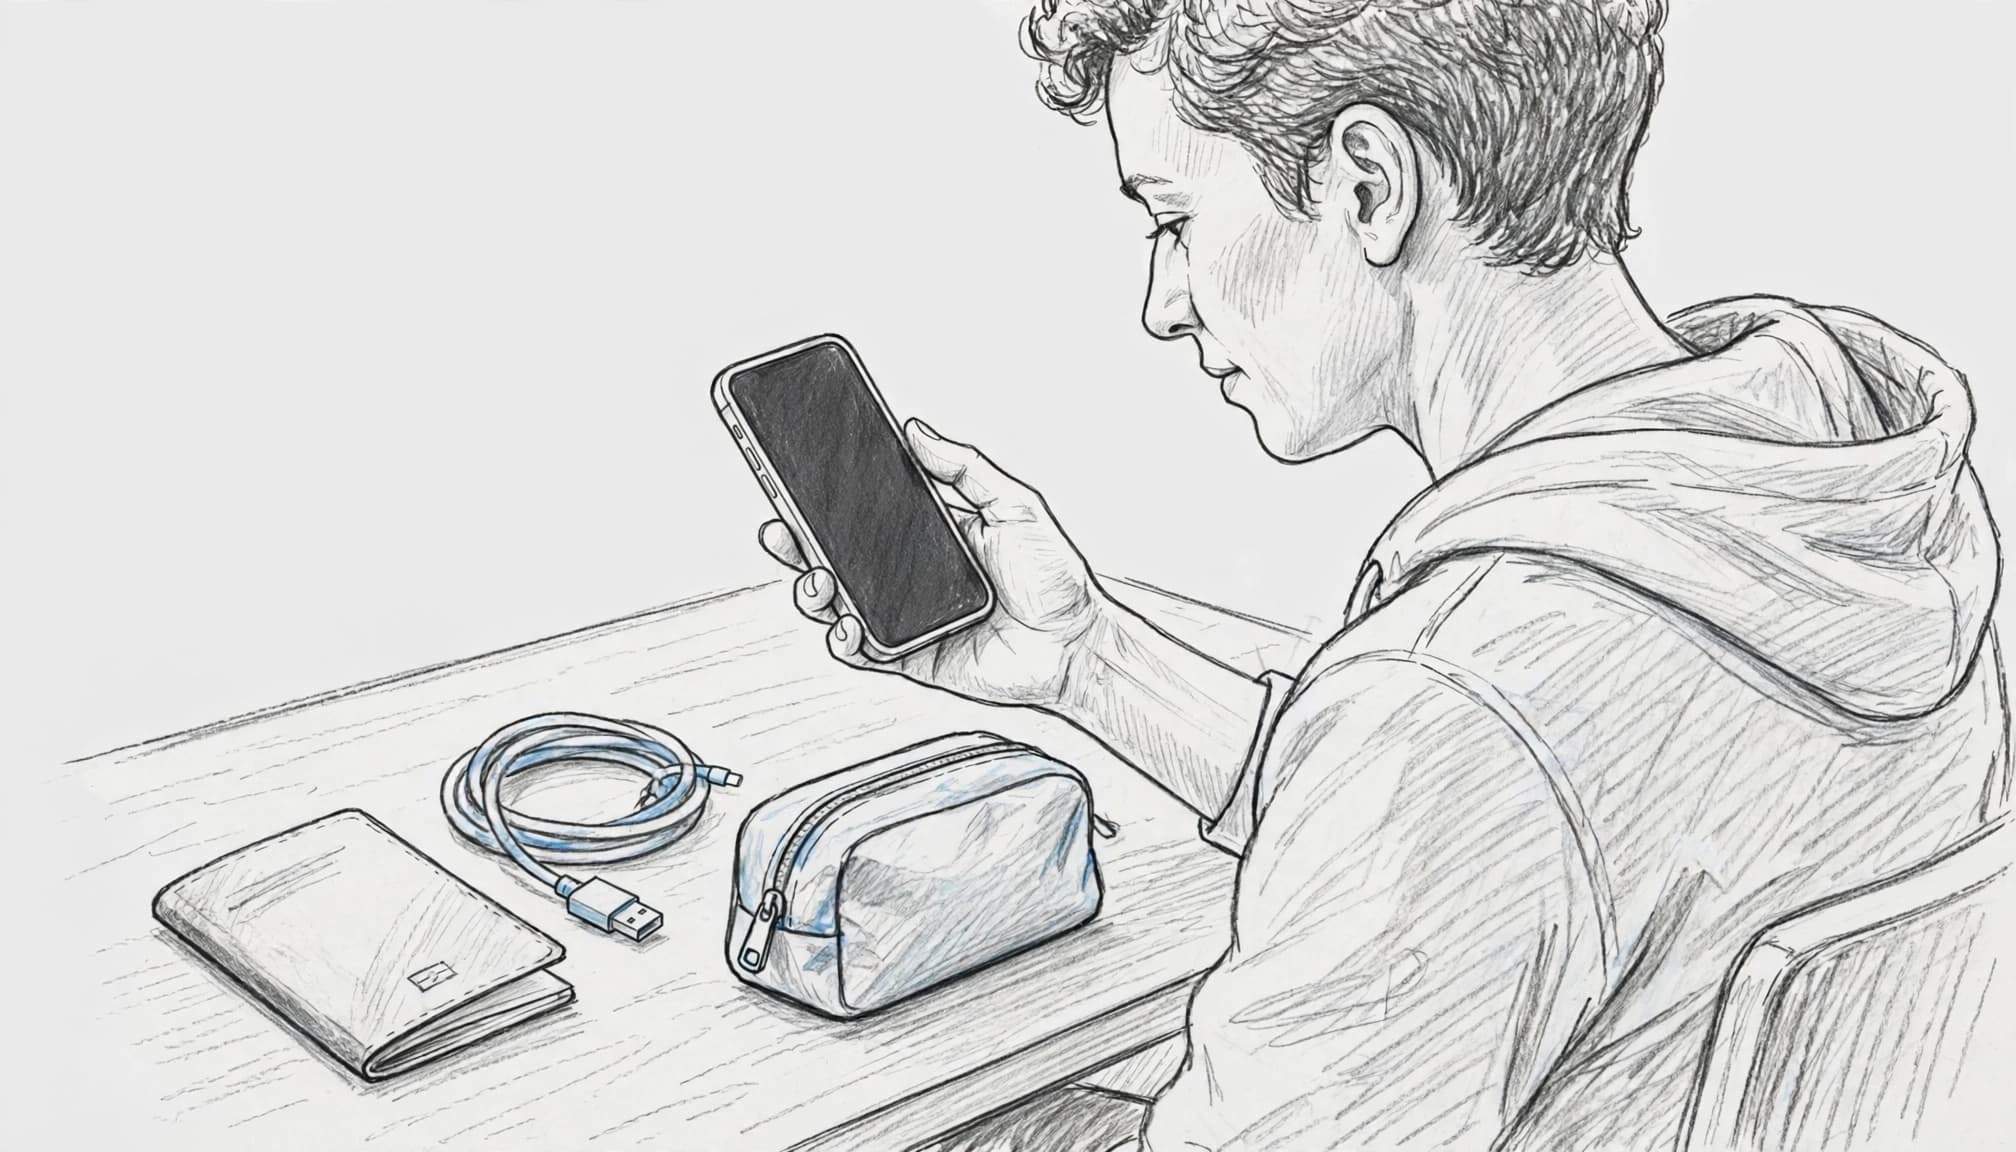
A few quick checks can prevent the most common eSIM setup failures. Before buying a plan, confirm that your iPhone supports eSIM, the device is unlocked, and you have reliable Wi-Fi, enough battery, and the provider’s installation details ready.
Make Sure Your iPhone Supports eSIM
Most recent iPhone models support eSIM, including the iPhone XS, iPhone XR, and newer models. However, support can vary by model, country or region, and carrier. A phone bought in Mainland China, for example, may have different SIM features than a US model.
Check your model before purchasing a Thailand plan by opening Settings > General > About. Look for the Model Name, then compare it with this iPhone eSIM compatibility guide. You can also open Settings > Cellular and look for Add eSIM. If that option appears, your iPhone can usually add a digital cellular plan.
Check your iOS version in Settings > General > Software Update. Install any available update before departure, then restart your phone. That small bit of housekeeping can prevent setup menus from behaving like they have had too much airport coffee.
Confirm That Your iPhone Is Carrier Unlocked
A carrier-locked iPhone may reject a Thailand travel eSIM, even when the hardware supports eSIM. The lock limits the phone to its original carrier, so a QR code from another provider may fail during installation or activation.
To check the status, open Settings > General > About and find Carrier Lock. The status should say No SIM restrictions. Apple provides the same carrier lock instructions for checking an iPhone before switching networks.
If your phone shows a restriction, contact your home carrier before leaving. Ask about its unlock requirements and allow time for the request to process. Do not wait until you are standing beside the baggage carousel with one percent battery.
Save Your QR Code and Installation Details Offline
Download the provider’s QR code before boarding, then save a copy in your Photos app or print it. Keep the activation code, provider app, customer support details, and account login information available offline too.
You can review Thailand travel eSIM plans before departure and save the plan’s QR code while you still have dependable internet access. The QR code usually needs an internet connection to download the eSIM profile, so connect to stable Wi-Fi and charge your iPhone before installation.
A battery level above 50 percent gives you room for troubleshooting. Also keep the QR code on another screen or on paper, because an iPhone cannot scan a code displayed on its own screen.
How to Set Up an eSIM on iPhone Before You Land in Thailand
Install your Thailand eSIM while connected to reliable Wi-Fi at home. The menu wording can vary slightly across iOS 17, iOS 18, and iOS 26, but the path remains almost identical. Your provider may send a QR code, an activation link, or manual setup details.
Open Settings and Choose Cellular or Mobile Service
Open the Settings app on your iPhone, then tap Cellular. Depending on your region or iOS version, this menu may appear as Mobile Service or Mobile Data.
Look for Add eSIM, Set Up Cellular, or a similar option. If you don’t see it immediately, tap your current cellular plan first, then look for an option to add another plan. Apple lists the same general process in its official iPhone eSIM setup instructions.
Make sure your iPhone is connected to Wi-Fi before continuing. The phone needs internet access to contact the provider and download the eSIM profile. A stable home network is a much better companion than shaky airport Wi-Fi that drops every time someone opens a suitcase.
Scan the QR Code or Enter the Details Manually
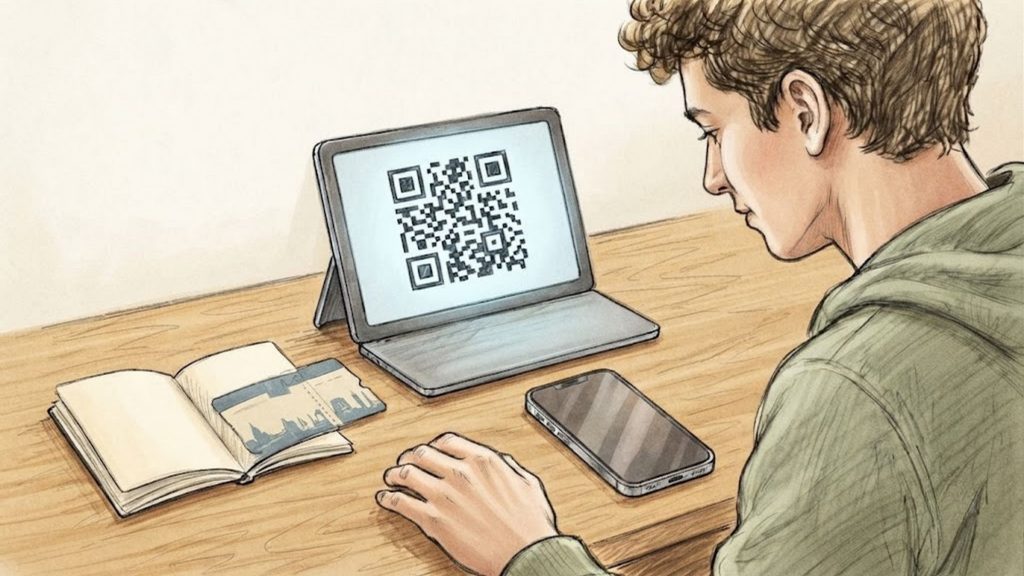
Tap Add eSIM, then choose Use QR Code if your provider sent one. Point the iPhone camera at the code shown on another phone, tablet, computer, or printed page. Keep the entire code inside the scanning frame and hold the phone steady for a moment.
If you want more help with this step, follow this iPhone eSIM QR code scanning guide. The QR code must appear on a different screen or physical page because your iPhone can’t scan a code displayed on its own screen.
Some providers send an activation link instead. Open that link on the iPhone and follow the prompts to add the cellular plan. On supported iPhones, the link may take you directly to the installation screen.
If scanning isn’t available, tap Enter Details Manually. Your provider may give you an SM-DP+ address and an activation code. Enter both exactly as shown, including punctuation and capitalization. Leave the confirmation code blank unless the provider supplied one. You can also follow this iPhone eSIM installation guide for provider-specific setup options.
Complete Installation Without Accidentally Deleting the Profile
Follow the prompts to continue, then give the iPhone time to download the plan. The activation screen may sit still for a minute while the phone contacts the provider, so avoid closing Settings or switching off Wi-Fi halfway through the process.
When asked to label the new line, choose Travel or another name you will recognize later. You may also be asked which line should handle cellular data. Keep your home line selected for now if you plan to activate the Thailand line only after landing.
Seeing the new line listed under Settings > Cellular means the eSIM profile is installed. It doesn’t necessarily mean the eSIM has connected to a Thai network yet. After arrival, you can turn on the travel line, enable data roaming for it, and wait for a supported local network to appear.
Don’t delete the eSIM after installation. If you remove the profile, you may need a new QR code or fresh activation details from the provider. Keep the original QR email, activation link, plan name, and support contact until your trip ends.
Label Your SIM Lines and Protect Your Home Number
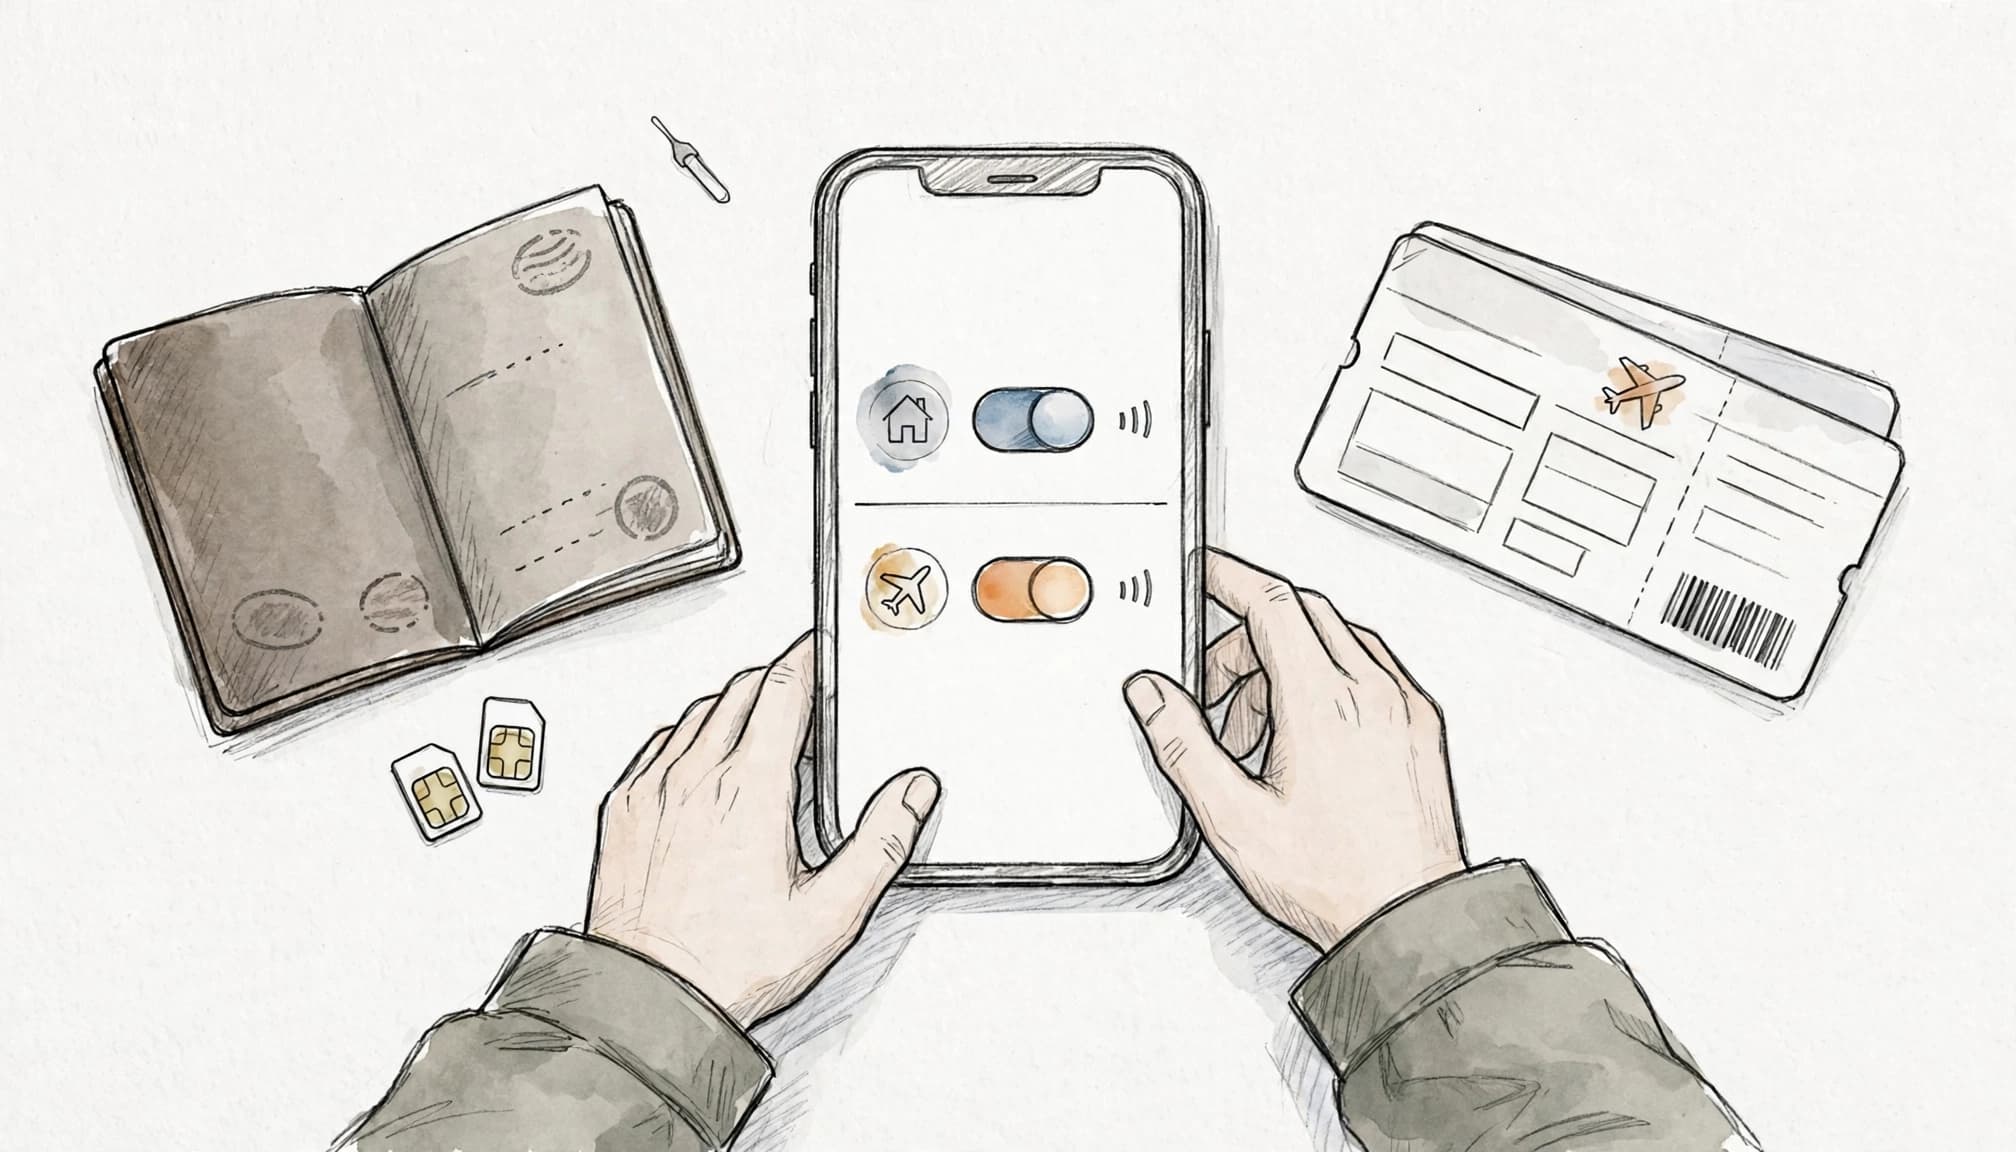
Your iPhone can keep two cellular lines active at once through Dual SIM. In plain language, one line can handle your regular number while the other provides mobile data in Thailand. Clear labels help you tell them apart before a sleepy airport brain starts tapping buttons at random.
Rename the New Line as Travel or Thailand
After installing the eSIM, open Settings > Cellular, tap the new line, and choose Cellular Plan Label. Use a label such as Travel, Thailand, or Thailand Data instead of leaving the line under a generic provider name.
A clear label makes later settings easier to spot when you’re tired, rushing through immigration, or standing beside a baggage carousel with one hand full of luggage. It also reduces the chance of turning off your home line or accidentally selecting it for cellular data.
Keep Your Original SIM as the Primary Voice Line
In Settings > Cellular > Default Voice Line, select your original home number. Keep that line active if you need calls, text messages, bank alerts, or one-time passcodes during the trip.
Next, choose the Thailand eSIM under Cellular Data. You can keep both lines available while directing everyday internet use to the travel plan. Apple explains how both lines can handle calls and messages in its Dual SIM guidance for iPhone.
Your home carrier may charge roaming fees for calls or texts, even when the Thailand eSIM handles data. Check your plan before departure, and use Wi-Fi calling only if your carrier supports it and explains the international charges clearly.
Keep the home line available for verification codes, but don’t select it as your data line unless you understand the roaming cost.
Keep iMessage and FaceTime Connected to the Right Number
After a SIM change, iMessage or FaceTime may ask you to confirm which number should remain connected. In Settings > Apps > Messages > Send & Receive and Settings > Apps > FaceTime, keep your original number selected when possible.
Use the Thailand eSIM for mobile data, while your home number remains attached to familiar conversations and calls. If you need help finding the line controls, follow this guide on how to turn on an eSIM on iPhone.
Don’t delete or disable the home line if your bank still sends codes by SMS. Losing that line can turn a simple login into a support call from a hotel lobby.
Configure the Thailand eSIM Before Your Flight
Your eSIM can be installed correctly and still fail to connect after landing if the cellular settings point to the wrong line. Before boarding, choose the Thailand eSIM for data, allow roaming on that line, and stop your iPhone from switching back to your home carrier.
Turn On Data Roaming for the Travel Line
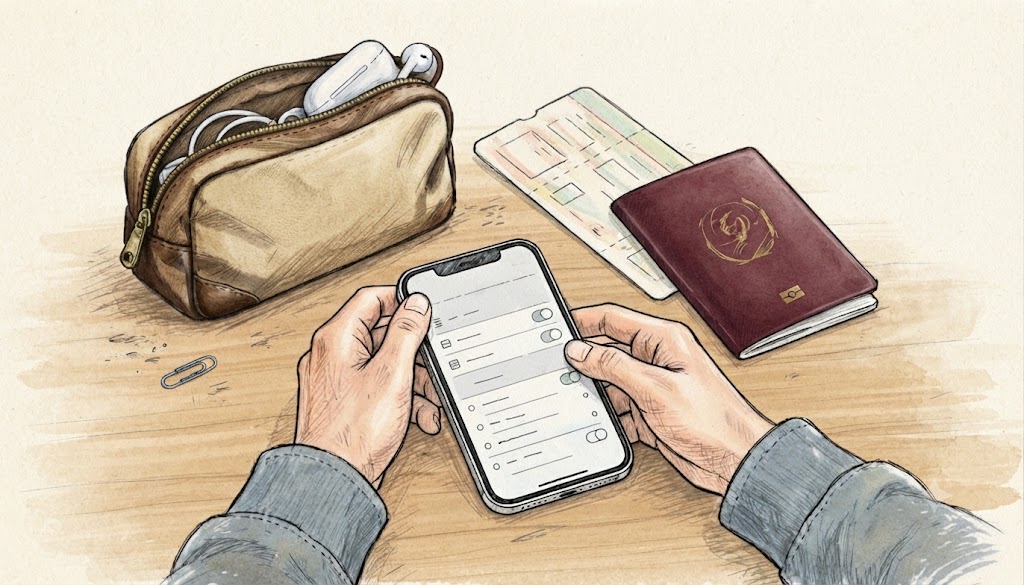
Open Settings > Cellular, tap Travel eSIM, then select Cellular Data Options. Turn on Data Roaming for the travel line before your flight or after you arrive in Thailand.
Many travel eSIMs don’t operate as a Thai carrier. Instead, they connect through a partner network, such as AIS or True, and that connection may require roaming permission. If Data Roaming stays off, your iPhone may show the eSIM as active but fail to provide mobile data.
This setting applies to the line you open. Turning on roaming for the travel eSIM doesn’t automatically authorize roaming on your home line. Keep the distinction clear:
- Travel eSIM Data Roaming: Usually required for the eSIM to connect to a partner network in Thailand.
- Home line Data Roaming: Often associated with international carrier charges and should remain off unless your home carrier confirms the cost.
If your provider gives different instructions, follow its setup requirements. You can also review this guide to enable data roaming for an iPhone eSIM.
Turn Off Cellular Data Switching
Next, open Settings > Cellular and find Allow Cellular Data Switching. Turn this option off before departure.
When switching is enabled, the iPhone can use your home line if the travel eSIM has a weak signal. That fallback may feel convenient, but your home carrier could charge international roaming rates. A brief signal dip near an airport, on a train, or inside a building could send data through the wrong line.
Keeping this option off makes your selected travel eSIM the only line available for mobile data. Your home number can still remain active for calls, texts, iMessage, FaceTime, and verification codes, but it won’t quietly become the data source.
Data Roaming should be on for the travel eSIM, while Allow Cellular Data Switching should usually be off.
Choose the Travel eSIM for Cellular Data
Return to Settings > Cellular, tap Cellular Data, and select your Thailand line. Choose the label you created earlier, such as Travel or Thailand Data.
Leave your original line active if you need your usual number for calls and text messages. The iPhone can keep both lines available while directing internet traffic to the travel eSIM. For a more detailed walkthrough, see how to switch mobile data to an eSIM on iPhone.
Before takeoff, check the screen once more. The Thailand line should be selected under Cellular Data, Data Roaming should be on for that line, and Allow Cellular Data Switching should be off. That combination keeps your first connection in Thailand simple and helps protect you from an unpleasant roaming charge.
What to Do When You Land in Thailand
Once you leave the plane, activate your Thailand eSIM in a clear order. Turn on the travel line, select it for data, wait for a local network, then test the apps you need to reach your hotel.
Turn On the Travel eSIM and Select It for Data
After switching off Airplane Mode, open Settings > Cellular. Tap your Thailand line, then turn on Turn On This Line. The wording may vary slightly by iOS version, but the setting appears inside the travel plan’s menu.
Next, return to Settings > Cellular > Cellular Data and select the Thailand eSIM. Confirm that Allow Cellular Data Switching remains off, so your iPhone doesn’t use your home carrier if the travel signal becomes weak.
If your provider requires roaming, open the travel line’s Cellular Data Options and turn on Data Roaming. Keep roaming off for your home line unless your carrier has confirmed the charges. Apple’s international eSIM travel instructions cover the same basic line-selection process.
Wait for a Thai Network to Connect
Give the iPhone a few minutes to register after you turn on the line. Airports have thick walls, crowded arrival halls, and plenty of phones competing for service, so the connection may not appear instantly. Buildings, elevators, and underground train stations can also delay the first signal.
The carrier name depends on your eSIM provider and plan. Your status bar may show a Thai partner such as AIS or True, or it may display another network name. You might also see LTE, 4G, or 5G, depending on local coverage and the plan’s network access.
Test Maps, Grab, Messages, and a Web Page
Before leaving the airport, run four quick checks. Open a map and load your hotel route, request or preview a Grab ride, send a message, and visit a normal web page. If each one loads over cellular data, your selected line is doing its job.
If you see No Service or nothing loads, work through this short list:
- Turn Airplane Mode on for 15 seconds, then turn it off.
- Restart the iPhone and wait for the travel line to register again.
- Recheck Cellular Data and confirm the Thailand eSIM is selected.
- Review the provider’s APN instructions and enter any required details exactly.
- Contact the eSIM provider if the line still cannot connect.
Keep the provider’s support details offline. Airport Wi-Fi is useful, but it shouldn’t be the only key to your mobile data.
Use This Pre-Flight Thailand eSIM Checklist
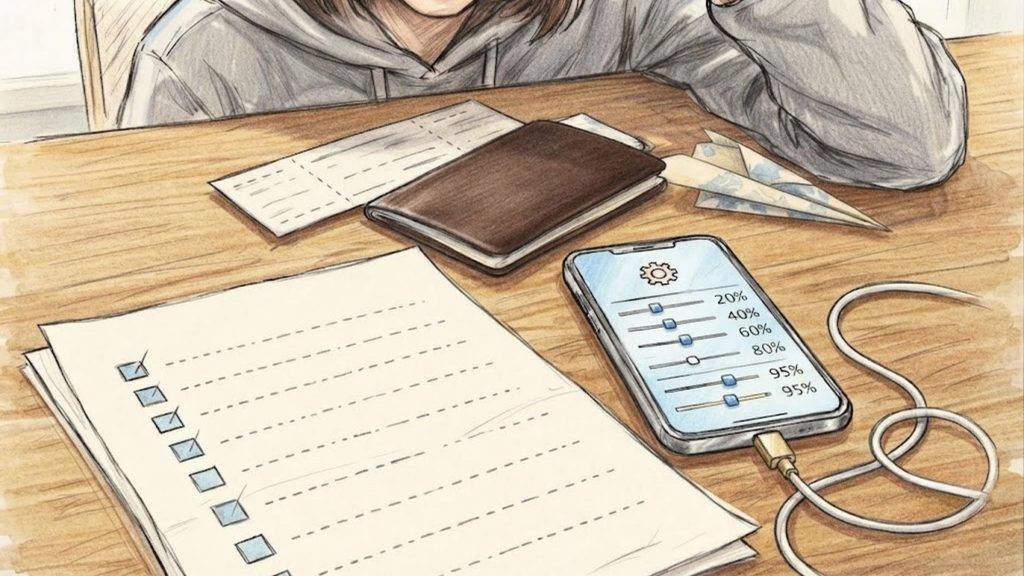
A final check before leaving home can save you from troubleshooting beside the baggage carousel. Confirm the phone, plan, settings, and support details while you still have strong Wi-Fi and a full battery.
Follow the Simple Travel Workflow
Install the eSIM at home while connected to Wi-Fi. If you prefer, leave the travel line turned off until you arrive in Thailand. After landing, turn on the line, select it for cellular data, allow it to connect to a local network, and test a web page or map.
Apple’s international eSIM travel guidance also recommends using the travel line for data while keeping your home line available. Before choosing a plan, compare Thailand travel eSIM recommendations based on your trip length and data needs.
Run This Final Checklist
Before closing your suitcase, confirm each item:
- Your iPhone compatibility is confirmed, using the model details in Settings > General > About.
- Your carrier-unlocked status is checked, and Carrier Lock shows No SIM restrictions.
- Your Thailand eSIM plan is purchased.
- Your QR code and activation details are saved offline.
- Installation is completed while connected to reliable Wi-Fi.
- The travel line is labeled clearly, such as Thailand or Travel.
- The Thailand eSIM is selected for cellular data.
- Data Roaming is enabled on the travel line.
- Allow Cellular Data Switching is disabled.
- Your home SIM stays active for OTP messages and iMessage.
- Your provider’s support details are saved offline.
Once those boxes are checked, your phone is ready for the airport, the hotel transfer, and the first spontaneous mango smoothie. If you still need a plan for your trip, Get your free esim now.
Conclusion
A few minutes of preparation at home can save you a frantic search for Wi-Fi beside the baggage carousel. Install the Thailand eSIM over a stable connection, save the activation details, and label the line clearly before you leave.
Keep your home number available for calls, texts, OTP messages, iMessage, and FaceTime. Then select the Thailand line for cellular data, connect it after landing, and give the iPhone a moment to register with a local network. This iPhone Dual SIM travel guide can help if you want to review how both lines work together.
Once your travel line loads a map or message, you can leave the airport without hunting for a SIM counter. Your phone is ready, your home number stays within reach, and Thailand gets to make the first impression instead of airport Wi-Fi.