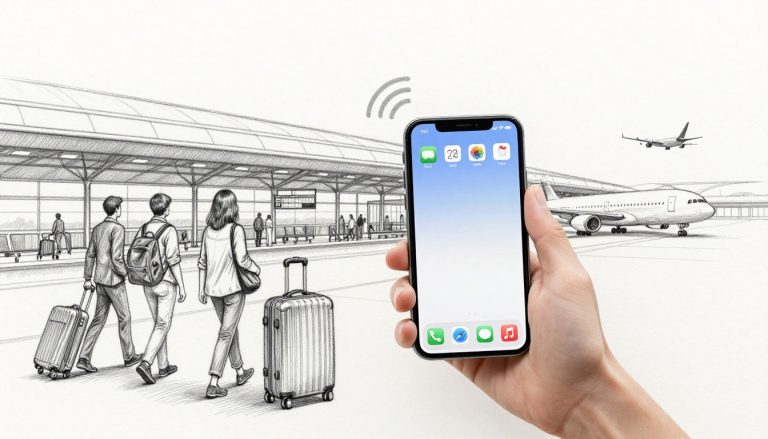
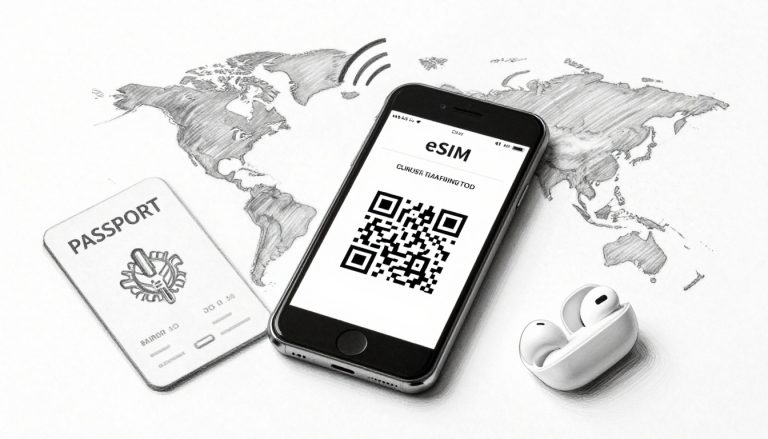
Welcome to the future of connectivity, where those tiny plastic rectangles are starting to look like dusty floppy disks or VHS tapes. An eSIM is a digital version of your SIM card built right into your phone, so you don’t have to hunt for paperclips just to switch networks.
Learning how to turn on eSIM on iPhone is a massive win for travelers and remote workers who need instant data without searching for a kiosk at an airport. You simply download a digital profile, and you’re ready to go.
By the time you finish this step by step guide to eSIM activation, you’ll be a connectivity wizard capable of managing multiple lines with a few taps. If you’re ready to ditch the plastic, get your free esim now and let’s get your device connected.
Why Travelers Obsess Over the eSIM iPhone Experience
The days of frantically searching for a paperclip in a crowded terminal are finally over. Most travelers are moving away from physical SIM cards because they crave the freedom that comes with digital connectivity. There is no need to fumble with tiny trays or worry about losing your primary SIM card in a seat crack. Instead, you get a lightweight, Software-driven experience that fits perfectly with a modern lifestyle.
Kiss Those Scary Roaming Fees Goodbye
Carrier roaming fees are essentially the highway robbery of the travel world. Major US carriers often charge between $10 and $12 every single day just to use your phone abroad. If you stay for two weeks, you might return home to a bill that looks more like a car payment than a phone statement. It is like paying for a three-course gourmet meal at a five-star restaurant when all you actually wanted was a small bag of pretzels.
| Carrier Type | Typical Daily Cost | Connectivity Speed |
|---|---|---|
| Big US Carriers | $10 – $12 | Fast but expensive |
| Budget Pay-As-You-Go | Varies (High) | Pay per text/MB |
| Travel eSIM | $1 – $3 | Local high-speed data |
Opting for a local digital plan through an eSIM is much easier on your wallet. Most travelers find that they can get a solid data package for the price of a single fancy coffee. This allows you to spend your hard-earned money on actual experiences, like museum tickets or street food, rather than padding your service provider’s pockets.
Instant Data Connections the Moment You Land
There is a specific kind of magic that happens when your plane touches the tarmac and your phone immediately pings with a 5G signal. You can skip the depressing hour-long line at the airport kiosk where people are desperately waving passports and cash. While everyone else is stressed and disconnected, you are already ordering an Uber or checking the walking directions to your hotel.

This landing-day convenience is the primary reason for the pros of eSIM cards for travel becoming a hot topic among digital nomads. You handle the setup before you even leave your living room. By the time the cabin doors open, your iPhone is already a local device. It takes the “ugh” out of international arrivals and lets you start your vacation the second you land.
Juggle Multiple Phone Lines Like a Pro
Modern iPhones allow you to keep your home number active while using a separate line for travel data. This dual-setup means you can still receive high-priority work calls or important texts from your bank without paying for international data on your main line. You gain total control over which SIM handles your data and which one handles your voice calls.
- Keep your primary US number active for specialized alerts and iMessage.
- Use a local eSIM for all your heavy lifting like Google Maps and social media.
- Switch off the data roaming on your primary line to avoid accidental charges.
This flexibility is a lifesaver for anyone who needs to stay reachable for work while exploring the world. If things go sideways and you lose signal, you can even troubleshoot eSIM activation errors through your settings menu without visiting a physical store. It is essentially like having two phones in your pocket without the extra bulk. If you want to simplify your setup right now, you can get your free esim now and test the water before your next big trip.
The Ultimate Checklist Before You Flip the Switch
Before you rush into the settings menu like a kid in a candy store, a little prep work goes a long way. Think of this as the pre-flight check before your data takes off into the digital clouds. If you skip these steps, you might find yourself staring at a “No Service” message while everyone else is busy posting their vacation photos. We want your transition to be as smooth as a fresh jar of peanut butter.
Is Your iPhone Actually Compatible?
Not every iPhone is invited to the digital SIM party. Apple began this shift back in 2018, so if your device is from the era of flared jeans and fossil fuels, it might not make the cut. You need to be rocking at least an iPhone XS, XS Max, or the XR to even consider moving away from physical cards.
If you are living life on the modern edge in the United States, your phone might have already made the choice for you. Starting with the iPhone 14 series, Apple ditched the physical tray entirely. These models, along with the iPhone 15 and the latest iPhone 16 eSIM support features, are digital-only machines.

To save you from a frantic Google search, here is a quick breakdown of the lineup that works.
| iPhone Generation | eSIM Support Type |
|---|---|
| iPhone XS / XR / 11 / 12 / 13 | Dual SIM (Physical + eSIM) |
| iPhone SE (2nd & 3rd Gen) | Dual SIM (Physical + eSIM) |
| iPhone 14 / 15 / 16 (U.S. Models) | eSIM Only (No Slot) |
| iPhone 14 / 15 / 16 (Global) | Dual SIM (Physical + eSIM) |
If you aren’t sure where your device fits in, checking the supported iPhone models for eSIM will give you the definitive answer. Once you know your hardware is ready, the next hurdle is your carrier.
The Great Carrier Unlock Mystery
Your phone might be technically capable, but your carrier could be holding it hostage. If you bought your iPhone on a payment plan or a specific contract, it’s often “locked” to that network. This is like having a key that only works on one specific door; you can’t just wander over to a new carrier and expect things to click into place.
Checking your status is actually quite simple. Open your Settings, tap on General, and then hit About. Scroll down until you find the “Carrier Lock” section. If it says “No SIM restrictions,” you are free as a bird. However, if it shows a specific carrier name, you’ll need to contact them to request an unlock before you can use a fresh travel profile.
Pre-Install Your Profile and Get Wi-Fi Ready
Activating an eSIM is a classic chicken and egg problem. You are trying to download an internet connection, but you usually need an internet connection to do the downloading. If you are standing in a remote forest with zero bars, you aren’t going to have much luck getting that digital profile to land on your device.
Always make sure you are parked next to a reliable Wi-Fi signal before you start the process. Most people prefer to handle this at home or in a hotel lobby. It keeps the signal stable and prevents the installation from timing out halfway through. Use this moment to get your free esim now and have the QR code or activation details ready on a tablet or a piece of paper.
- Connect to a stable Wi-Fi network to avoid interrupted downloads.
- Have your activation code or QR code visible on a separate screen or printed out.
- Keep your phone charged to at least 50 percent so it doesn’t die during the handoff.
If you hit a snag during this stage, you can learn how to unlock your iPhone for use with a different carrier to ensure the hardware isn’t the bottleneck. Once you have your Wi-Fi locked in and your phone is confirmed as unrestricted, you are officially ready for the main event.
Master Guide: How to Turn On eSIM on iPhone
Once you have successfully downloaded your digital profile, it’s time to move from the installation phase to the activation phase. Think of this part as flipping the main breaker in a new house; the electricity is there, but you need to throw the switch to get the lights on. Managing these settings correctly is the difference between enjoying cheap local data and coming home to a roaming bill that costs more than your plane ticket.
Diving into Your Cellular Settings
Your journey begins in the nerve center of your phone’s connectivity. Grab your iPhone and tap on that silver gear icon to open your Settings. From there, look for the Cellular option, which might be labeled as Mobile Service depending on your region. This menu is where all the connectivity magic happens behind the scenes.
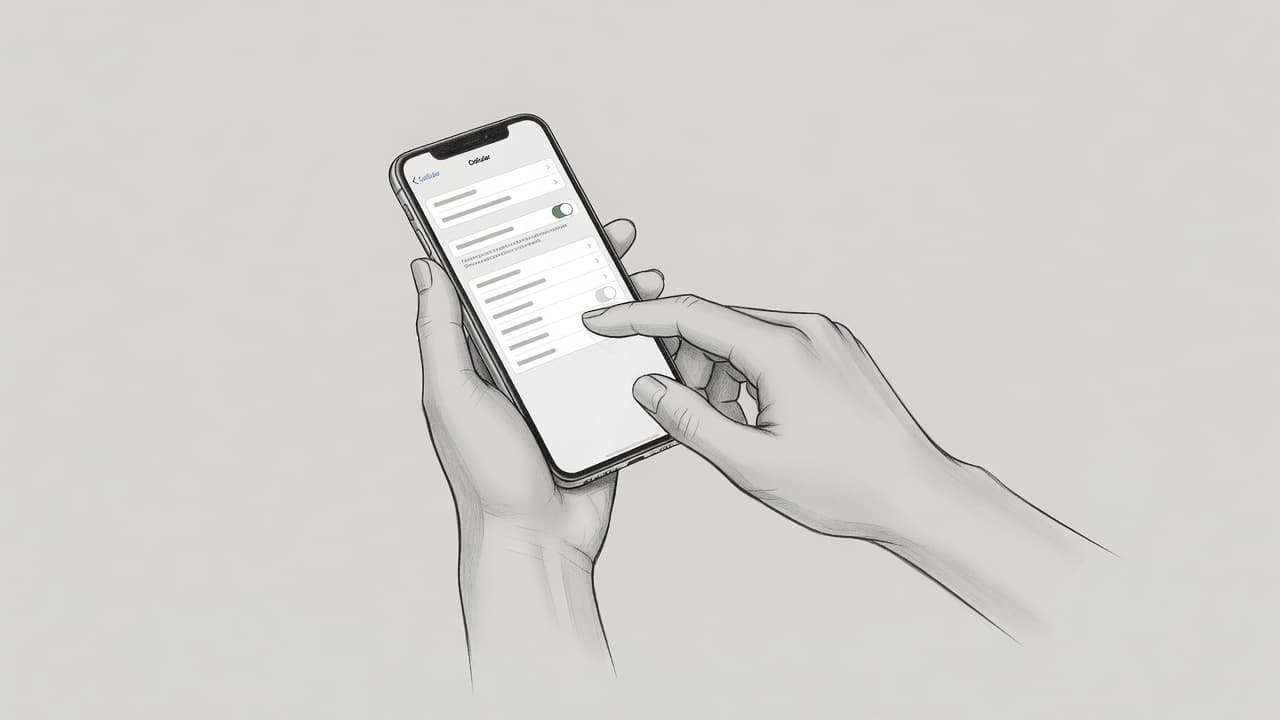
When you enter the Cellular menu, you will see a list involving your primary phone number and your newly added digital line. Most of the time, your physical SIM is at the top, and the newcomer is listed just below it under the SIMs heading. It feels a bit like looking at a small switchboard where you get to decide which wires are live.
Finding and Toggling Your New Line
New profiles often arrive with generic names like “Secondary” or “Personal,” but you can change these labels to something useful like “Italy Trip” or “Work Data.” Tap on the line you just installed to open its specific submenu. Inside, you will see a toggle switch labeled “Turn On This Line” staring right back at you.
Slide that switch to the right until it turns green. Your iPhone might take a few seconds to think as it tries to shake hands with the local cell tower. Because you want to configure Airalo eSIM on iPhone or any other provider correctly, labeling the line properly ensures you never mix up your primary carrier with your travel plan during the setup.
Setting Your Travel Line as the Data VIP
Now that the line is active, you need to tell your iPhone that this new line is the boss of your internet usage. Go back to the main Cellular screen and tap on the Cellular Data button. You will see a list of your active lines; tap the one you just turned on to make it the dedicated data source.
| Setting Name | Recommended Action | Why It Matters |
|---|---|---|
| Cellular Data | Select Travel eSIM | Stops your home carrier from charging you for data. |
| Allow Data Switching | Toggle to OFF | Prevents the phone from “switching back” to your expensive line. |
Make sure the “Allow Cellular Data Switching” option is firmly turned off. If you leave this on, your iPhone might try to be helpful and switch back to your home SIM if the travel signal gets weak for a moment. Turning it off keeps your home carrier’s hand out of your wallet while you wander.
Don’t Forget the Data Roaming Button
This is the step where most people get tripped up. For a travel plan to work, you actually have to turn on data roaming specifically for that digital line. It sounds counterintuitive because we have been trained to fear the word “roaming” like a spider in a bathtub, but travel profiles require it to connect to local partners.
- Navigate to Settings and tap Cellular.
- Select your travel plan under the SIMs section.
- Switch the Data Roaming toggle to the ON position.
- Double check that roaming is still OFF for your primary home line.
If you don’t flip this switch, you will probably see full signal bars but have zero internet access. It’s a common point of confusion that results in frantic troubleshooting. If you want to avoid these headaches entirely and get straight to the good stuff, you can get your free esim now and practice these steps before you even pack your bags. To keep things absolutely safe, many travelers follow the advice in this discussion on avoiding roaming charges by disabling the primary data line entirely during the flight.
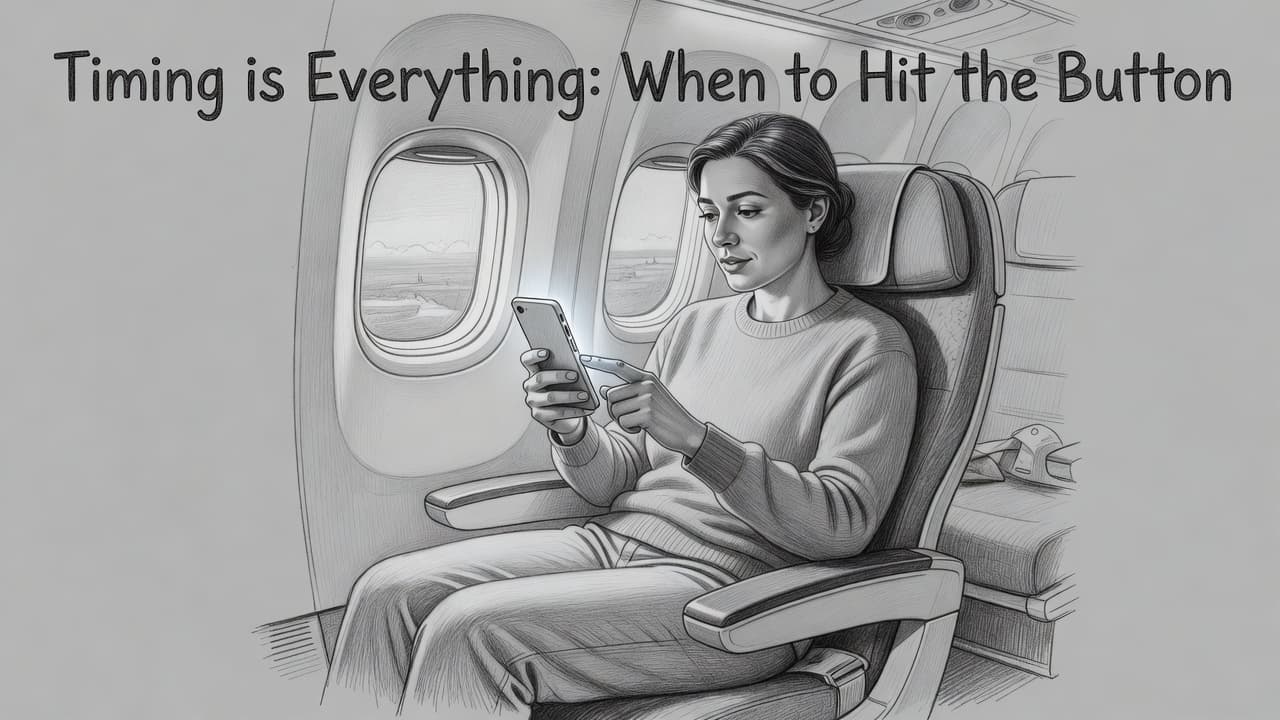
Timing is Everything: When to Hit the Button
Getting your digital SIM ready is one thing, but knowing when to flip the switch is an art form. If you activate too early, you are basically burning money while you are still packing your socks. If you wait too long, you might find yourself wandering a foreign airport without an internet connection to find your shuttle. Understanding the logic behind these digital timers will save you both cash and a massive headache.
Wait for the Wheels to Touch Down
The smartest move is to wait until your plane is taxiing to the gate before you activate that line. Most travel plans use a “validity clock” that only starts ticking once your device shakes hands with a local cell tower. Because these providers want to be helpful, they don’t start counting your days while you are still over the Atlantic Ocean.
Waiting for arrival ensures you get every single minute of service you paid for. If you are using a provider like T-Mobile, the T-Mobile eSIM activation steps might differ slightly from a travel-only plan, so always verify your specific carrier rules. For most international roaming profiles, the connection to a foreign network is the official “on” switch for your time limit.
Why Early Activation is a Data Thief
Think of your eSIM plan like a carton of milk with a very strict expiration date. If you buy a 7-day or 30-day plan and activate it while sitting on your couch at home, the countdown starts immediately. You are essentially paying for high-speed data to reach from your living room to your kitchen. By the time you actually land at your destination, you might have already wasted two or three days of your precious window.
Many people make the mistake of thinking the timer only counts “usage,” but it usually counts consecutive hours. Most plans follow one of these two expiration patterns:
- The 24-hour clock where “one day” is exactly 24 hours from the moment of first connection.
- The calendar day system where the clock resets at midnight based on a specific time zone like UTC.
If you happen to be on a plan that uses calendar days, activating at 11:30 PM means you just spent an entire day’s worth of credit for 30 minutes of scrolling. It’s much safer to wait until you are physically in the new country. If you want to be prepared without losing time, you can get your free esim now and keep the installation ready without actually hitting the “on” button until you see the destination out your window. Being patient for those few hours in the air ensures your data lasts until the final day of your trip.
Pro-Level Settings for Stress-Free Travels
Managing your phone settings while hopping between borders feels like diffusing a bomb in a movie where the wires are just toggle switches. You want to stay connected to your friends and family but don’t want to fund a carrier executive’s third vacation home with accidental roaming fees. Getting the most out of your esim iphone experience requires a few specific survival moves in your settings menu.
These adjustments ensure your phone behaves exactly how you want it to without any expensive surprises. We are going to lock down your primary line while giving your travel data the green light to handle the heavy lifting. If you are ready to jump into the action, get your free esim now and let’s get these settings dialed in before you head to the airport.
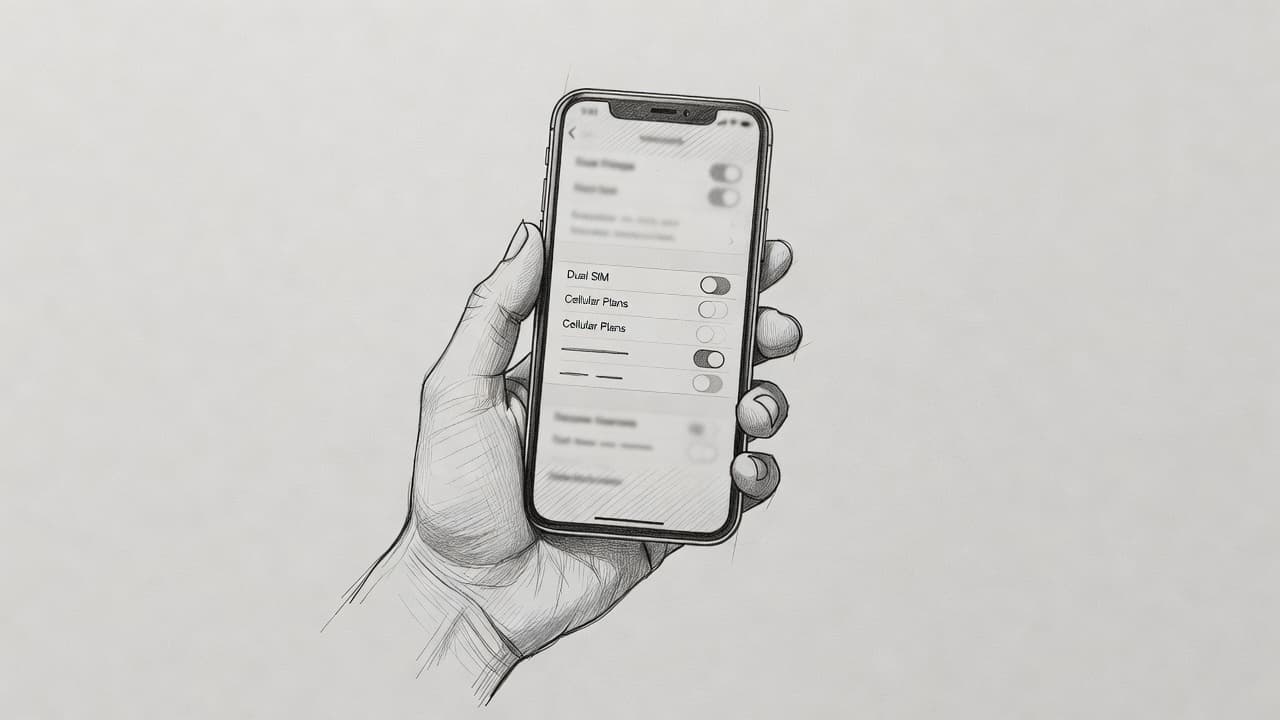
Shielding Your Primary SIM from Roaming Costs
Setting up your travel line is only half the battle because your home SIM is still lurking in the background. Most people want to keep their primary number active to receive those important “Where are you?” texts from mom or vital security codes from their bank. You can actually do this without getting charged a cent as long as you play your cards right.
Go into your Cellular settings and select your primary SIM line. You should find a toggle for “Data Roaming” that needs to be turned off immediately. By keeping the line itself “On” but the data roaming “Off,” you are basically putting a muzzle on your carrier’s data hunger while keeping the text channel open.
This middle-ground approach is a classic move for savvy travelers who want to avoid roaming charges on iPhone while maintaining their digital identity. It lets iMessage and WhatsApp continue to use your home number, but they will pull their internet juice from your cheap travel eSIM instead of your expensive home plan. It’s the ultimate way to stay reachable without the financial hangover.
Kill the ‘Allow Cellular Data Switching’ Option
There is a sneaky little setting called “Allow Cellular Data Switching” that can ruin even the best-laid travel plans. It lives right under the Cellular Data menu and sounds helpful on paper because it promises to keep you connected. In reality, it acts like a back door for roaming fees.
If this switch is green, your iPhone thinks it has permission to be “helpful.” If your travel eSIM signal gets a bit weak in a narrow alleyway, your phone might decide to jump back to your home SIM to save the day. This happens instantly and without a notification, which is how people end up with daily roaming fees they didn’t expect.
- Locate the Cellular Data section in your main settings.
- Find the Allow Cellular Data Switching toggle right below your line selection.
- Slide that switch to the grey “Off” position.
- Verify that only your travel plan is the designated data provider.
Turning this off forces your phone to stay loyal to your travel data, even if the connection gets a little bumpy. It is much better to have a few seconds of slow internet while your phone re-syncs with a local tower than to have a $10 fee triggered the second you walk into a subway station. You stay in control of the bill, just like a pro.
What to Do When Your eSIM Won’t Play Nice
Sometimes technology acts like a moody teenager who refuses to come out of their room. You have followed every direction, scanned the code, and toggled the switches, yet your iPhone still shows those dreaded “No Service” bars. Take a deep breath and don’t panic; your phone isn’t broken, and your vacation isn’t ruined. Most issues are just digital hiccups that a quick nudge can fix.
Standard Manual Fixes That Actually Work
The “Magic Restart” remains the undisputed heavyweight champion of tech support for a reason. Because your iPhone is basically a tiny computer, its cellular radio can occasionally get stuck in a confused loop. Turning your device off and back on forces every piece of software to shake hands and play nice again. If a full restart feels like too much work, toggling Airplane Mode on for ten seconds often does the trick by forcing a fresh search for local towers.
Another common culprit is a setting buried deep in your network selection menu. Your iPhone usually tries to be smart and pick the best tower automatically, but sometimes it gets clingy with a weak signal. You can fix this by navigating to your eSIM settings and ensuring “Network Selection” is set to Automatic. If it already is, try turning Automatic off for a moment, waiting for the list of providers to appear, and manually selecting the one mentioned in your activation email.
If you find that your data is working but your messages are stuck in limbo, you might need to troubleshoot eSIM SMS issues to get the green bubbles flowing again. Often, a quick check of your Send & Receive settings in the Messages menu clears up the confusion. Stay calm and remember that most of these glitches are temporary and easily handled with a few taps.
Last Resort: Reinstalling and Carrier Support
When the basic tricks fail, it is time to look at your software version. Apple frequently pushes out small patches that tell your iPhone how to talk to new global networks. Head over to Settings, tap General, and check for a Software Update. It is also a great idea to check for a carrier settings update in the About section, as these tiny files are specifically designed to fix connection handshake problems.
Deleting an eSIM profile should be your absolute last resort, handled with more caution than a game of Operation. Most digital SIMs are “one-time use” tokens; once you hit delete, that QR code becomes a digital paperweight. Only wipe the profile if your carrier support team explicitly tells you they have issued a fresh replacement. If you are stuck, reaching out to your provider’s chat support is usually faster than trying to guess the correct APN settings yourself.
Before you give up and buy a physical SIM at a sketchy kiosk, try a Network Settings Reset. This is a bit of a “medium-sized” reset that clears out saved Wi-Fi passwords and Bluetooth pairings but leaves your photos and apps untouched. It is like giving your phone’s brain a quick palate cleanser. If the problem persists after that, it is definitely time to let the professionals at your carrier’s help desk take the wheel.
Burning Questions: Your Quick eSIM FAQ
Even with all the steps in front of you, it’s normal to have a few nagging thoughts. Is your phone going to explode if you press the wrong button? Probably not. Digital SIM cards are remarkably sturdy little bits of software designed to keep your life simple. We have gathered the most common head-scratchers to clear the air so you can get back to your trip. If you are itching to start, you can get your free esim now and join the digital club.

Can I Switch an eSIM Off and On Later?
Think of your digital profile as a programmable light switch in your pocket. You have full control over when that line is active. If you finish a trip to Japan and don’t plan on going back for a year, you don’t need to delete the profile. You can simply toggle it to the off position in your cellular settings.
This is a fantastic trick for travelers who frequent the same spots every year. As long as your plan hasn’t reached its final expiration date, your phone keeps the data tucked away in its memory. When you land at the same airport next season, you just flip the switch back to green. Your phone will shake hands with the local towers and get you back online in seconds; no new QR codes required.
Is a Physical SIM Necessary Anymore?
The old-school plastic card and the new digital profile are perfectly happy living together. It isn’t a winner-take-all situation; most people keep their home carrier on a physical card and use the digital slot for travel. This dual-setup lets you keep your main number for calls while your travel data handles the maps and social posts.
For many users, having both is actually more secure. If someone steals your phone, they can easily pop out a physical SIM, but a digital profile is locked to the hardware. You can find more details on this in Apple’s traveling with eSIM guide. Whether you go fully digital or keep a hybrid setup, your iPhone is designed to handle the juggle without breaking a sweat.
Do I Really Need Wi-Fi to Start?
You definitely need an internet connection to kick things off. Activating a digital profile requires your iPhone to have a secret handshake with the carrier’s servers. Since your phone doesn’t have its new data plan yet, it needs a stable Wi-Fi signal to download the security keys and configuration files.
Once the initial installation is over, the Wi-Fi requirement vanishes. You can turn the line on or off in the middle of a desert without a signal as long as the profile is already living on your device. Just remember that the first download is the only part that needs a bit of outside help. Because this step is so vital, always try to handle the initial setup in your hotel or a cafe with a strong signal.
Conclusion
Managing a digital connection on your device is a straightforward way to keep your travel plans on track. You now have the tools to handle the cellular menu like a seasoned pro. Because you understand how to toggle lines and shield your primary number, you can avoid those eye-watering roaming bills. Staying connected while you cross borders is no longer a high-stakes guessing game.
Technology keeps moving forward, and your iPhone is built to handle the transition to a purely digital world. You can focus on finding the best street food or navigating a new city instead of hunting for a tiny metal paperclip. This newfound freedom lets you travel on your own terms with reliable data in your pocket.
Now that you know how to master the eSIM iPhone experience, there is nothing stopping you from exploring the furthest corners of the map. Go catch that flight, find a hidden cafe, and share your journey without a second thought about connectivity. The world is much smaller when you can stay in touch with everyone you love back home.
This post may contain affiliate links. If you make a purchase through these links, I may earn a small commission at no extra cost to you.