Installing an eSIM on your iPhone usually takes a few minutes, not a full afternoon and a strong cup of denial. You’ll need a compatible iPhone, carrier support, and a Wi-Fi connection before you start, plus the QR code or manual details from your provider.
This is handy for travelers who need data abroad, campers who want backup service, remote workers who can’t afford dead zones, and business users who need maps, email, meetings, and OTP access on the move. If you’re new to the process, the basic setup is simple once the prep work is in place, and setting up eSIM on your iPhone doesn’t have to feel like tech theater.
The main ways to get it done are QR code, manual entry, and Quick Transfer from another iPhone. Once you know which one fits your carrier and your device, the rest is mostly taps, scans, and a quick check that your line is active.
Before You Start: Make Sure Your iPhone Is Ready for eSIM
A little prep saves a lot of head-scratching later. Before you scan a QR code or punch in manual details, check the basics first. That way, you won’t end up staring at your screen like it owes you money.

Which iPhone models support eSIM?
In general, iPhone XR, iPhone XS, iPhone XS Max, and newer models support eSIM. That includes the iPhone 11, 12, 13, 14, 15, 16, and 17 families, plus iPhone SE (2nd generation and 3rd generation).
There are a few exceptions, though. Some iPhones sold in certain countries, including Mainland China, may not support eSIM the same way US models do. Carrier support also matters, so a compatible iPhone still needs a carrier that offers eSIM activation.
If you want a broader model breakdown, the iPhone eSIM compatibility guide can help you compare models quickly.
How to check eSIM support in Settings
You can check eSIM readiness right on the phone. Open Settings, then tap Cellular or Mobile Data. On some iPhones, you may see Add eSIM or Add Mobile Plan.
That is the green light you want. If those options appear, your iPhone can usually add an eSIM. If you do not see them, the phone may be too old, locked, or tied to a carrier that blocks activation.
Apple’s own eSIM setup support page also shows the main setup path if you want a quick cross-check.
Find your EID and IMEI before you begin
Some carriers ask for your EID and IMEI before they activate an eSIM. Think of them as device ID numbers. The IMEI identifies your phone on the mobile network, while the EID is tied to the eSIM hardware inside it.
You can find both in Settings > General > About. Scroll down and look for EID and IMEI, then copy them exactly as shown. You can also dial *#06# on many iPhones to pull up the device identifiers fast.
Keep those numbers handy before you contact your carrier. It makes the setup feel less like a scavenger hunt.
Why carrier lock can stop activation
A carrier-locked iPhone usually works with only one network. If your phone is locked, that carrier may block a new eSIM from another provider. In plain terms, the phone is wearing a name tag, and it plans to stay with that crowd.
To check, go to Settings > General > About, then look for Carrier Lock or Network Provider Lock. If it says No SIM restrictions, your iPhone is unlocked. If it shows a carrier name or says it is locked, that is your clue.
When in doubt, contact your carrier before you start. A quick call or chat can save you from a setup dead end later.
Update iOS and connect to solid Wi-Fi
Before you activate anything, update your iPhone to the latest iOS version you can install. eSIM setup often works best on current software, and older versions can throw weird errors at the worst time.
Also, use a stable Wi-Fi connection. eSIM activation often depends on downloading carrier data, so shaky internet can slow things down or stop the process mid-way. If your connection keeps wobbling, switch networks before you begin.
A charged battery helps too. Nobody wants the phone to nap halfway through activation.
Pick the Right eSIM Plan for Your Trip or Daily Use
The best eSIM plan is the one that fits your route, your phone habits, and your budget. A weekend in one city, a two-week trip across several countries, and a month of backup internet all call for different plans.
If you pick the wrong type, you can end up paying for more data than you need, or buying a plan that runs out before your trip does. A little planning here saves money and a lot of airport Wi-Fi misery.

Travel eSIM vs local carrier eSIM
A travel eSIM is built for convenience. You can usually buy it before you leave, install it on your iPhone, and land with data ready to go. That makes it a favorite for airport arrivals, short trips, and anyone who wants to skip the SIM-card shuffle.
A local carrier eSIM comes from a phone company in the country you visit. It can be a better fit if you stay longer, need a local number, or want a plan that works more like a normal domestic carrier plan. In many places, local plans can be cheaper on a per-gigabyte basis, but they may take more setup and may ask for local ID or registration.
For most travelers, the choice comes down to this:
- Travel eSIM: easier, faster, and ideal when you want instant data on landing
- Local carrier eSIM: better when you stay longer, need local calling, or want a more traditional plan
If you want the simplest path, choose the travel eSIM. If you want the most local-style service and don’t mind a little setup, go with the carrier in the country you’re visiting. Apple also explains that supported iPhones can manage more than one eSIM, which makes it easier to keep your home line active while using travel data. See Apple’s eSIM setup support for the basics.
If you need data the moment the plane lands, buy before takeoff. If you need a local number and plan to stay awhile, the local carrier often makes more sense.
If you’re heading to Asia, a dedicated guide like best Asia eSIM plans for iPhone can help narrow the field fast.
Country plan or regional plan?
A country plan is the clean, simple option when you’re visiting one place. It usually costs less and gives you exactly what you need without extra coverage you won’t use. If your trip is one city, one country, one main purpose, this is often the smartest pick.
A regional plan makes more sense when your trip crosses borders. It works well for multi-country vacations, business travel with stopovers, or longer routes where you might bounce between nearby countries. Instead of buying a separate plan each time you cross a border, you keep the same eSIM active.
A quick way to choose:
| Trip type | Better fit | Why |
|---|---|---|
| One country | Country plan | Simpler and often cheaper |
| Two or more countries | Regional plan | Easier than buying multiple plans |
| Long trip with stops | Regional plan | Less setup during travel |
| Short city break | Country plan | Keeps costs tight |
For example, a week in Paris calls for a country plan. A backpacking trip through Spain, Portugal, and France is usually better with a regional one. That extra flexibility can save you from scrambling for new data every time you cross a border.
Data only or voice and data?
A data-only eSIM is enough for a lot of people. If you live in maps, email, WhatsApp, Slack, and cloud docs, data is the whole show. You can still make internet-based calls and send messages through apps, which covers most travel and work needs.
A voice and data plan makes sense when you need a real phone number for calls, local texting, or business use. It can also help with OTP codes, which are the one-time passcodes many banks and apps send by SMS. If you rely on those codes while abroad, having calling and texting can save you from a locked-out headache.
For many travelers, data-only is enough because:
- Maps work just fine with data
- Email and work apps run normally
- WhatsApp and FaceTime use your internet connection
- OTP codes may still arrive on your home number if it stays active
If you need calls to local stores, hotel desks, clients, or family members who don’t use messaging apps, a voice plan is worth the extra cost. For a backup line on camping trips or as a spare internet source, data-only is often the better deal.
The right eSIM plan is less about the brand and more about the job. Match the plan to your trip length, number of countries, and how you actually use your phone, then install it with a lot less second-guessing.
The Fastest Way to Install an eSIM on iPhone
The quickest install path is usually the plain one: open Settings, add the line, scan the QR code, and wait for activation. On most iPhones, the menu is easy to find, and the whole process feels more like setting up a new app than dealing with a phone plan.
If your carrier supports eSIM, you can often finish in a few minutes. Keep your QR code or carrier details close by, because the setup moves fast once you start.
Open Cellular or Mobile Data and tap Add eSIM
Start in Settings, then tap Cellular or Mobile Data. On newer iPhones, the option may appear as Add eSIM, Add Cellular Plan, or Add Mobile Plan, depending on your iOS version and carrier.
That first tap is the door into the setup. Once you’re there, iPhone usually gives you the main activation choices right away, so you don’t need to hunt through a maze of menus.
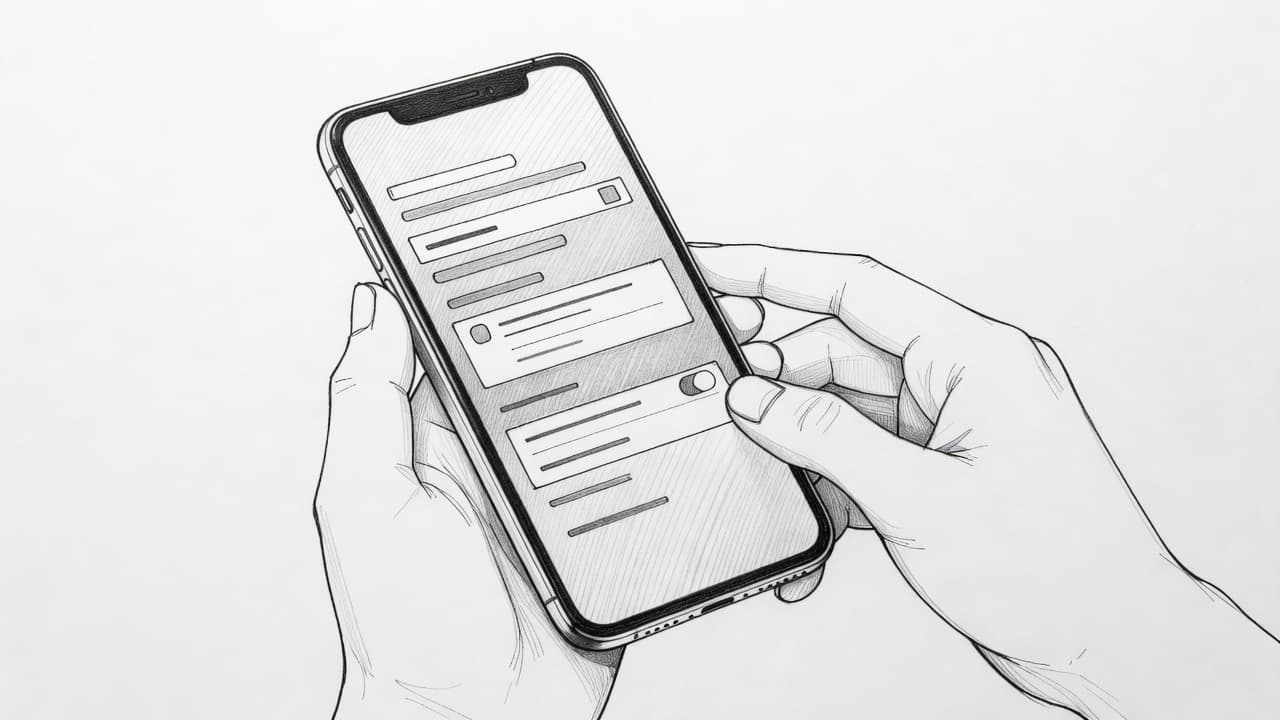
Scan the QR code from your provider
If your carrier gave you a QR code, choose that option and point the iPhone camera at the code. Hold the phone steady, line up the code inside the frame, and wait for the device to recognize it. A stable Wi-Fi connection or mobile data connection helps here, because activation often needs a quick carrier check before the line turns on.
Keep the QR code handy until everything finishes. Some providers send it by email, some show it in an app, and some put it in a printed card, so don’t toss it aside too early.
If activation hangs for a moment, give it a little time. The phone is usually checking carrier info in the background.
For Apple’s official setup path, the eSIM support instructions show the same basic flow.
Add a line name so you do not get confused later
Once the eSIM is added, iPhone may ask you to label the line. Do it. That small step saves you from mixing up your home number, travel data, and work line later.
Simple names work best. Travel, Work, and Home are clear, easy to spot, and perfect for dual SIM users who do not want to play guess-and-check every time they open Cellular settings.
A clear label also helps when you choose which line handles calls, texts, and mobile data. When the phone asks, you will already know which one belongs where.
What to do if the QR code will not scan
If the code refuses to scan, keep calm and handle the basics first. Wipe the camera lens, brighten the room, and make sure the QR code is sharp and not wrinkled, cropped, or blurry.
If the code is on another screen, raise the brightness on that device. If it is printed, flatten the paper and hold the phone still for a second longer. Tiny issues often cause the problem, and they are usually easy to fix.
If scanning still fails, switch to manual entry if your carrier provided activation details. That path is slower, but it gets the job done when the camera decides to be dramatic. For a deeper fix list, see how to reset eSIM on iPhone when activation gets stuck or the profile won’t cooperate.
If you want the shortest path, the formula is simple: open Cellular settings, tap Add eSIM, scan the code, name the line, then wait for activation to finish. After that, your iPhone is ready for travel, backup data, or everyday use without the SIM tray shuffle.
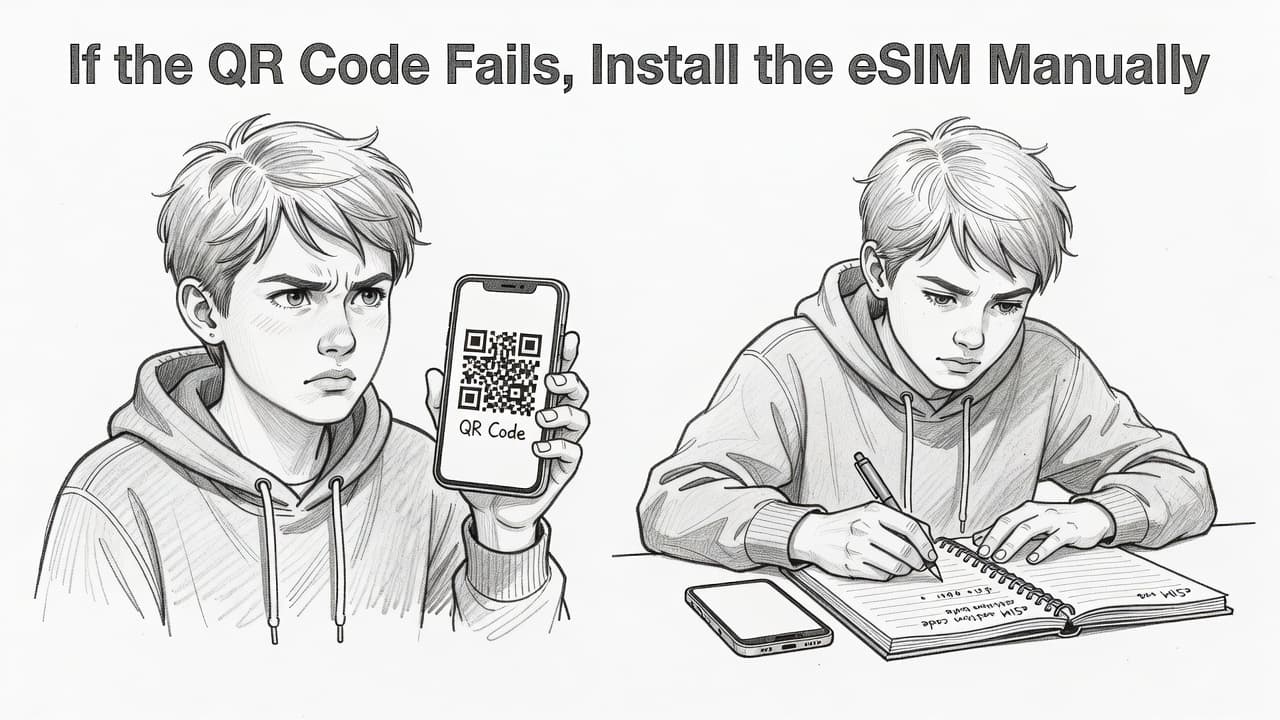
If the QR Code Fails, Install the eSIM Manually
Sometimes the QR code refuses to cooperate. Maybe the camera won’t focus, the code is blurry, or the provider’s email is acting up like a moody nightclub bouncer. Manual entry is the backup plan, and it works well when you have the right details.
This route takes a little more care, but it also gives you more control. If your carrier sent the setup information correctly, you can still get the eSIM onto your iPhone without waiting on a scan that never finishes.
Where to find the SM-DP+ address and activation code
Manual setup uses two key details, the SM-DP+ address and the activation code. The SM-DP+ address is the server your iPhone contacts to download the eSIM profile, while the activation code points your phone to the right plan.
You usually do not find these on the iPhone itself. Carriers and eSIM providers normally send them in your order confirmation email, inside their app, or in your account dashboard. If the QR code came in an email, the manual details may be there too, tucked in the same message.
If you still can’t find them, check your provider’s help page or contact support. Apple also has a carrier activation overview that shows the standard setup path.
How to enter the details on iPhone
Start in Settings, then tap Cellular or Mobile Data. Next, choose Add eSIM or Add Cellular Plan, then look for Enter Details Manually.
After that, type the SM-DP+ address and activation code exactly as your provider gave them to you. iPhone may also ask for a confirmation code in some cases, so keep every setup detail nearby until activation finishes.
A clean setup flow looks like this:
- Open Settings.
- Tap Cellular or Mobile Data.
- Choose Add eSIM.
- Tap Enter Details Manually.
- Enter the SM-DP+ address and activation code.
- Add any requested confirmation code.
- Wait for the iPhone to finish activating the line.
If you’re using a provider-specific plan, a guide like manual Airalo eSIM setup on iPhone can help you match the steps to that service.
Common manual setup mistakes to avoid
Manual entry is simple, but it punishes tiny mistakes. One extra space, one missing character, and the setup can stall without much explanation. The phone is picky here, so precision matters.
Keep these common slip-ups off the table:
- Typing errors in the SM-DP+ address or activation code
- Extra spaces when copying and pasting from email or notes
- Old or expired codes from a previous setup attempt
- Weak Wi-Fi, which can break activation halfway through
- Trying too early, before the line is ready on the carrier side
If the code came from an old message, ask for a fresh one. Activation details can expire, and stale codes are about as useful as a map from 2009. Also, stay on a strong Wi-Fi network until the eSIM finishes loading.
For a deeper reference on manual activation details, Telnyx’s SM-DP+ guide explains the same setup fields in plain terms.
If the first attempt fails, check the spelling, refresh the code, and try again. Most manual setup problems come from tiny input errors, not a broken phone.
Manual entry gives you a second shot when the QR code fumbles the ball. Once the details are accurate, your iPhone usually takes it from there.
Turn the New eSIM On and Set It Up the Smart Way
Once the eSIM is added, the real work is deciding how your iPhone should use it. That part matters more than people expect. A few taps decide which line uses data, which one places calls, and whether your phone stays calm or starts roaming into surprise charges like it owns the place.
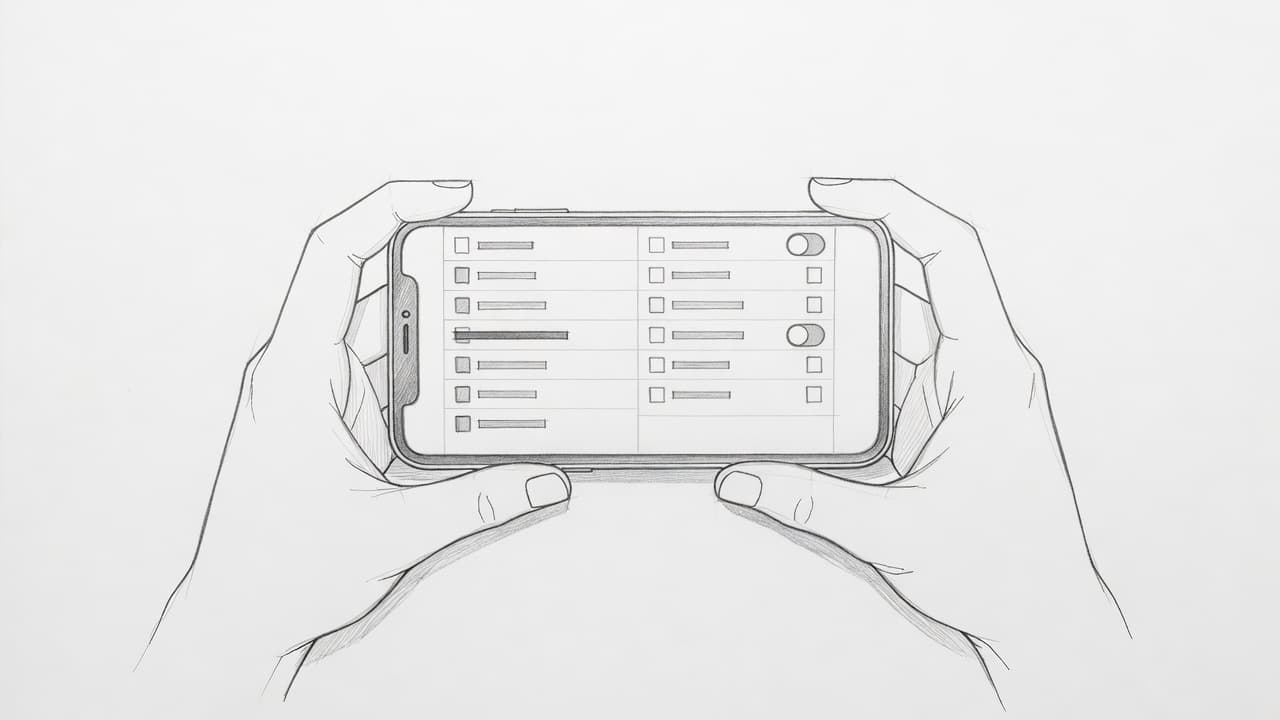
Choose which line handles mobile data
Your iPhone lets you pick the line that handles mobile data, and that choice should match how you plan to use the phone. Go to Settings > Cellular or Mobile Data, tap Cellular Data, then choose the line you want to use for internet access.
For travel, this is usually the eSIM. That keeps your home SIM available for calls and texts while the travel plan handles maps, rides, hotel apps, and the internet drain that seems to appear the second you land. For dual SIM use at home, you can keep your physical SIM as the data line if it has the better plan, then use the eSIM only for a second number or backup service.
If you want iPhone to stay on one data line, turn off Allow Cellular Data Switching. If you leave it on, the phone may switch lines when it thinks the signal is better, which sounds helpful until it starts using the wrong plan.
A simple setup check helps:
- Travel eSIM: set it as the data line when you are abroad
- Physical SIM: keep it as data if it is your main plan at home
- Backup line: leave it active, but not in charge of data unless you need it
Apple’s cellular data roaming guidance also shows how iPhone handles separate lines, which is useful if you are juggling home and travel service.
Set your default voice line
Your default voice line tells iPhone which number it should use for calls and SMS when you have more than one line. Without that choice, the phone may pick the last-used line or ask you each time, which gets old fast when you are trying to answer a client or confirm a booking.
Open Settings > Cellular, tap Default Voice Line, then pick the number you want for calls and texts. For many travelers, that is the home number, while the eSIM handles data. For business users, it may be the work line so contacts always see the right caller ID.
This setting matters because it helps people reach you the way they expect. If you keep your home number as the default, friends and banks can still text you there. If you choose the travel line, local calls may be easier, but your contacts may see a different number.
A good rule is simple: use the line you want people to know you by as the default voice line, then use the other line for backup or travel data. If you also label your lines as Home and Travel, the whole setup becomes much easier to manage. For a cleaner dual-line setup, the Google Fi eSIM iPhone setup guide shows how a second line can fit into daily use without confusion.
Turn on roaming only for the line that needs it
Data roaming is the switch that can save a trip or ruin your bill. Turn it on only for the line that actually needs roaming, usually your travel eSIM when you are outside its home network. Leave it off for your home SIM if you want to avoid accidental charges.
Go to Settings > Cellular, tap the line you want to change, then open Cellular Data Options. From there, turn Data Roaming on for the travel line if your plan requires it, or off for the line you do not want using foreign networks.
If you are abroad, roaming should be a deliberate choice, not a background accident.
Use this quick approach:
| Line | Roaming setting | When to use it |
|---|---|---|
| Travel eSIM | On | When the plan is meant for use abroad |
| Home SIM | Off | When you want to block surprise roaming charges |
| Backup line | Off unless needed | When you are keeping it active only for calls or texts |
If you are using a travel eSIM, roaming is often necessary for it to connect properly. If you are using your regular carrier abroad, check the plan first, because roaming charges can stack up fast. Apple’s cellular data roaming instructions explain the separate line settings clearly, and that makes the whole thing easier to manage.
The safest setup is plain: turn on the travel line, set it for data, choose the right default voice line, and keep roaming limited to the one line that actually needs it. That way your iPhone works like a well-trained assistant instead of a wandering tourist with your credit card.
Use eSIM and a Physical SIM Together Without the Drama
Dual SIM on iPhone is one of those features that sounds fussy until you actually use it. Then it feels like having two doors out of the same house, one for travel data and one for your long-time number.
You can keep your physical SIM active for your home line while your eSIM handles travel data, backup coverage, or a second work number. That setup is especially handy if you need maps on the road, but still want bank texts, family calls, and account alerts to land where they always do.
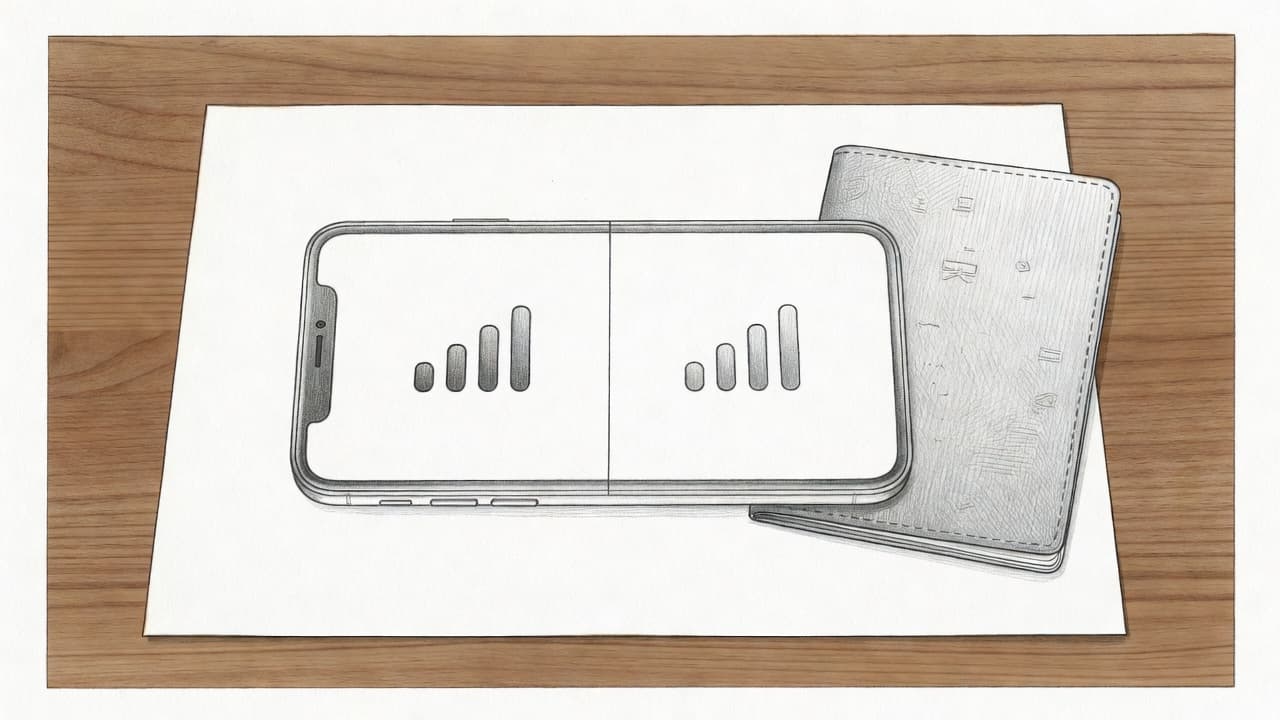
How dual SIM works on iPhone
An iPhone with dual SIM can keep two lines active at the same time. That means both numbers can receive calls and texts, while only one line handles mobile data at a time. Apple’s Dual SIM guide spells out the basics, and the setup is simpler than it sounds.
In practice, you choose which line is your default voice line and which one handles cellular data. Calls can come in on either number, texts can arrive on either number, and you can switch the data line in Settings whenever you need to.
A clean setup usually looks like this:
- Home or main line: keeps your regular number alive for calls and SMS
- Travel eSIM: handles data abroad, so your home plan does not eat roaming charges
- One data line at a time: iPhone uses only the line you select for mobile internet
That split matters because it keeps your phone organized. Your iPhone does the juggling, but you still control which number does the heavy lifting.
Keep your main number for OTP and important accounts
For many travelers, the smartest move is keeping the main number active on the physical SIM, at least for verification codes and account alerts. Banks, payment apps, and email services often send OTP codes by SMS, and those codes go to the number they were sent to, not the line using data.
That means your home SIM can sit quietly in the background while your eSIM powers your trip. As long as the main line stays on and has signal, those codes can still arrive even if your travel eSIM is the one using mobile data.
This is where people get caught off guard. They land, switch data lines, and then wonder why a bank text never showed up. The fix is simple, keep the main number active before you leave and test it once while you still have reliable service.
A quick pre-trip check helps:
- Send yourself a test text if your carrier allows it.
- Confirm your bank or email app can still send a code.
- Make sure your main line is turned on in Cellular.
- Check that your home number still has signal before you fly.
If you rely on OTPs, this step is not optional. It is the difference between smooth access and a very annoying login screen in an airport line.
If your bank uses SMS codes, test them before you leave home. Doing it from a cafe in another country is a lot less fun.
Check iMessage, FaceTime, and WhatsApp before you leave
Your calls and texts do not stop working just because you add an eSIM, but your app settings deserve a quick once-over. iMessage and FaceTime can use either number or your Apple ID, so it helps to confirm which line they are tied to before you switch data.
Go to Settings > Messages and Settings > FaceTime, then check the addresses and numbers selected for each app. If your main number is the one friends and family use, keep it active there. That way, your messages do not wander off like luggage on a bad layover.
WhatsApp is a little different. It usually stays linked to your phone number, and it uses internet data for calls and messages. So if your physical SIM keeps your main number active, WhatsApp can keep working while the eSIM handles the data connection underneath.
Before you leave, confirm these basics:
- iMessage is signed in with the number or Apple ID you want
- FaceTime can reach you at the right number and email
- WhatsApp is still registered to your main number
- Cellular Data is assigned to the line you want for travel
For users managing more than one line, setting up T-Mobile dual SIM on iPhone is a useful example of how the pieces fit together. If your iPhone model supports more flexible line setups, iPhone 16 dual eSIM capabilities is also worth a look.
A quick test before departure saves a lot of chaos later. When your iPhone knows which number is for talk, text, and verification codes, you get the best part of dual SIM use, two lines, one phone, and far less drama.
Test Your eSIM Before You Rely on It
Activation is only half the job. Before you trust your new line on a flight, a road trip, or a work call, give it a real-world test. A signal bar looks nice, but it does not prove much on its own.
Use Wi-Fi while you still have it, then switch off Wi-Fi and see if the eSIM actually carries data, loads apps, and keeps you connected. That quick check can catch a weak setup before your phone becomes a very expensive paperweight with great battery anxiety.

Check for signal and carrier name
Start with the basics. Open Settings > Cellular and confirm that the eSIM line is turned on, then look at the top of the screen for signal bars and the correct carrier name.
Success usually looks like steady bars, a familiar carrier label, and a network indicator such as LTE, 5G, or 4G. If you still see your old carrier name, the new line may not be the one handling service yet. That matters, because the phone can show signal without using the eSIM you just installed.
If the name looks right but the signal is weak, move near a window or step outside. Carrier labels can be stubborn, so give the phone a minute after activation before you panic. You want the eSIM to look alive and connected, not just present in Settings.
Open Maps, email, and a browser
Real use beats theory every time. Open Maps, check email, and load a website in your browser. Those are simple tests, but they tell you more than a shiny signal bar ever will.
Maps show whether location-based data loads fast enough for navigation. Email checks a normal background data task, which is handy for travelers and remote workers. A browser test is the blunt one, and that is good. If a page opens cleanly on mobile data, your eSIM is doing its job.
If Wi-Fi is off and your apps still load, you’re in good shape.
For a deeper look at activation checks and line selection, Keepgo’s iPhone eSIM troubleshooting guide covers the same core checks from another angle.
Test hotspot and banking codes early
If you rely on your phone for work or travel, test Personal Hotspot before you leave. Remote workers use it to connect laptops, tablets, and backup devices. Travelers use it when hotel Wi-Fi acts like it has a grudge.
Also test your OTP codes early. Bank logins, payment apps, and secure email accounts often send one-time passcodes by SMS. If those codes do not arrive, you want to know now, not at the airport gate or in the middle of a conference call.
A quick pre-trip checklist helps:
- Turn off Wi-Fi and confirm mobile data still works.
- Open Maps and load a route.
- Refresh email and a browser page.
- Turn on Personal Hotspot and connect another device.
- Request a banking or account OTP.
If hotspot fails or OTP texts never show up, fix it before departure. A travel eSIM that cannot share data, or a main line that cannot receive verification codes, is a problem waiting to happen. If you’re still comparing plans, how to activate a free eSIM trial on iPhone is a useful way to test service before you commit.
Fix the Most Common eSIM Problems on iPhone
Most eSIM glitches on iPhone look worse than they are. A stuck activation, no service, or dead data often comes down to a line setting, a weak connection, or a carrier-side delay.
The best move is to start with the easy fixes first. Then, if the problem stays put, you can stop poking at your phone like it’s a stubborn vending machine and get help from the carrier.

eSIM stuck activating
If the eSIM sits on “Activating” for a while, give it a few minutes first. Carrier checks can take longer than expected, especially when the network is busy or the Wi-Fi connection is shaky.
After that, check the basics in order. Make sure Wi-Fi is stable, restart the iPhone, and confirm the plan is active on the provider side. A line that has not been fully provisioned will not finish activation, no matter how many times you stare at it.
A good quick reset order is:
- Wait a few minutes.
- Check your Wi-Fi connection.
- Restart the iPhone.
- Confirm the eSIM plan is ready with the carrier.
- Try activation again.
If the code or setup link came from a provider, it may also be expired. In that case, ask for a fresh QR code or manual activation details. Apple’s official eSIM setup help also confirms that activation issues often come down to connection or carrier setup.
If activation never moves, the problem is usually on the carrier side, not the phone.
No service after installation
An eSIM can install correctly and still show no signal. That usually means the line is not turned on, the phone is holding onto the wrong network, or the carrier has not finished enabling service.
First, go to Settings > Cellular or Mobile Data and check that the new line is switched on. Then confirm the correct line is selected for calls and data. If your phone has both a physical SIM and an eSIM, the wrong one may be carrying the traffic.
Next, check network selection. Set it to automatic unless your carrier gave you a reason to choose a specific network. If the iPhone keeps hunting for service, toggle Airplane Mode on for a few seconds, then off again. That tiny reset often kicks the connection back into motion.
If the line still shows no service, try a restart. It sounds simple because it is, and it often works. Apple’s support guidance and carrier troubleshooting steps both point to the same basics: line enabled, network selected, and service provisioned on the account.
Mobile data not working on the eSIM
If calls or signal work but data does not, the issue is usually the wrong data line. Open Settings > Cellular and make sure the eSIM is selected as your Cellular Data line. If your iPhone is still using the physical SIM for data, your eSIM can look fine while doing nothing useful.
Roaming settings matter too. If the plan is meant for travel, Data Roaming may need to be turned on for that eSIM. If you leave it off, the line can connect but refuse to pass data. If you are at home on a domestic plan, keep roaming off unless the carrier says otherwise.
Some providers also require APN details. If your carrier gave you APN settings, enter them exactly as provided. Small spelling mistakes can break the connection, and APN fields are picky in a very unhelpful way.
If data still acts up, restart the iPhone. That clears out temporary connection issues and forces the phone to reconnect cleanly. For a simple comparison of common fixes, this iPhone eSIM troubleshooting guide covers the usual causes and fixes in plain language.
When to contact the carrier or provider
Some problems stop being phone problems and start being account problems. If the activation code is invalid, the QR code has expired, or the line never appears ready on the provider side, it’s time to contact support.
Call or chat with the carrier if you see any of these:
- The QR code or activation code no longer works.
- The provider says the plan is active, but the iPhone still can’t connect.
- Your account has a carrier restriction or lock issue.
- The eSIM is installed, but service never shows up.
- The carrier needs to reissue the profile or refresh the line.
If you have already restarted, checked Wi-Fi, turned the line on, confirmed the data line, and tested roaming, stop there. That is enough cleanup for one phone. Anything beyond that usually needs the carrier to re-push the eSIM or fix the account from their side.
A quick support call is often faster than another round of menu tapping. When the line is valid but the phone still refuses to play along, the carrier has the last key.
Conclusion
Installing an eSIM on iPhone is pretty simple once the basics are lined up. Check compatibility, pick the right plan, then use QR code scanning or manual entry to add the line without fuss.
After that, set the right line for data, keep roaming under control, and test everything before you depend on it. A few minutes of setup at home beats wrestling with a weak airport signal and a half-working connection.
Once it’s done, eSIM makes travel and backup internet a lot easier. Your iPhone stays ready for maps, messages, work, and OTP codes, without the SIM tray drama.
So install it early, give it a quick test, and leave the panic for the boarding gate line.
This post may contain affiliate links. If you make a purchase through these links, I may earn a small commission at no extra cost to you.