You step off the plane in Bangkok, phone in hand, hoping for maps, messages, and banking access. Then a tiny worry appears: will swapping SIMs erase your WhatsApp chats, contacts, or one-time passcodes?
Fortunately, you can add a Thai eSIM beside your home line instead of removing your primary SIM. With dual SIM enabled, the travel line handles mobile data while your home line stays available for incoming texts, so your phone keeps its familiar identity while Thailand gets the data connection.
An unlocked, eSIM-compatible iPhone makes this setup easiest because you can install the travel profile before leaving home. You can also compare Thailand SIM options for travelers before deciding whether an eSIM or physical card fits your phone and trip. Next, you’ll see how to set up both lines in iOS without sending your data, contacts, or bank messages on an unexpected holiday.
This post may contain affiliate links. If you make a purchase through these links, I may earn a small commission at no extra cost to you.
Set Up a Thailand SIM Card With iPhone Dual SIM Before Takeoff
Set up your Thailand SIM card before leaving home, while you have reliable Wi-Fi and time to fix mistakes. Your iPhone can keep your home number active while the travel line handles maps, messages, and other mobile data.
First, confirm that your iPhone is unlocked and supports eSIM. Open Settings > General > About, then check Carrier Lock. The phone should show No SIM restrictions. You can also review this iPhone dual SIM setup guide if you use two lines often.
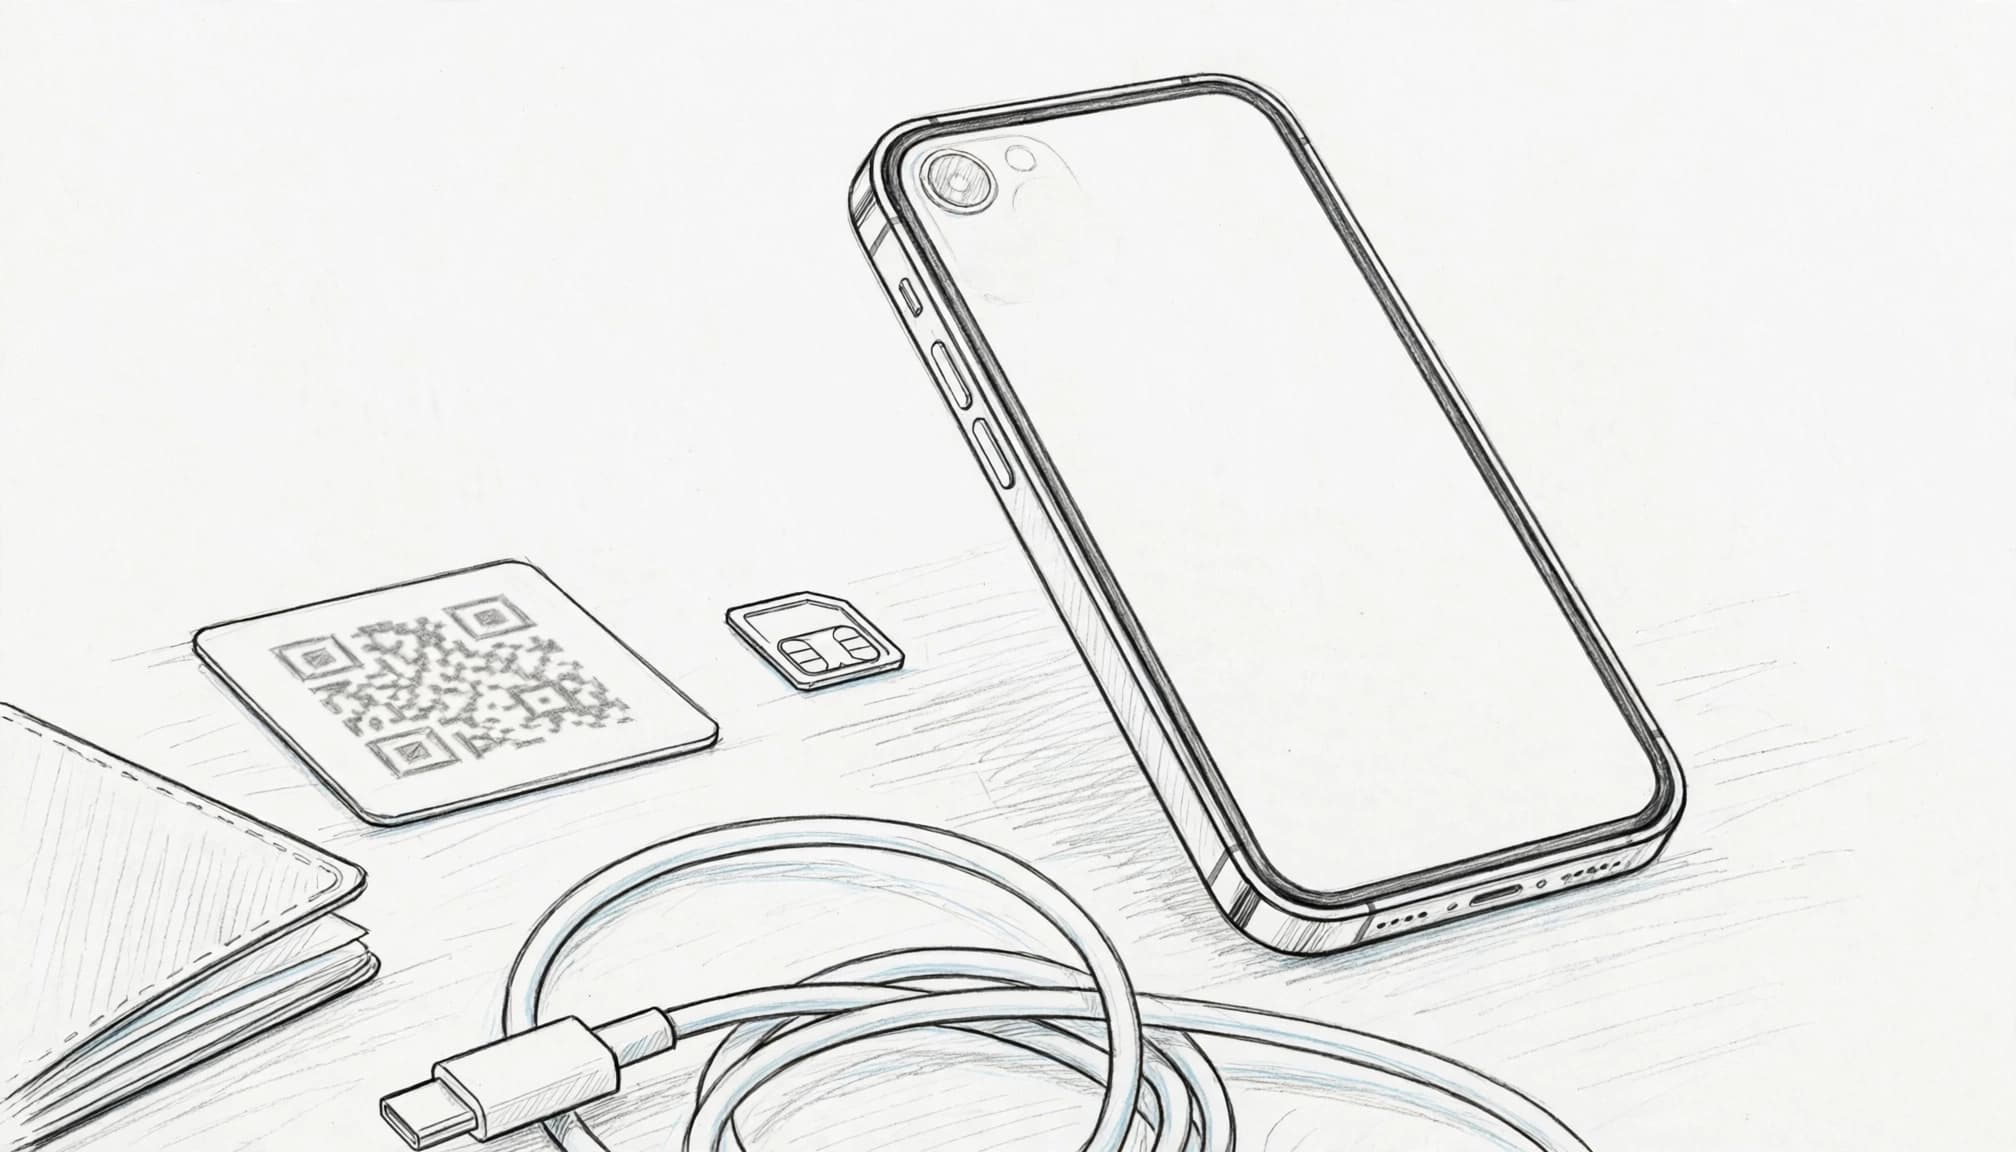
Follow these four steps before your flight.
1. Keep your home line active
Leave your home physical SIM inside the iPhone. If your home plan uses an eSIM, leave that profile turned on instead.
Your home line must stay active if you want banking texts, account alerts, or calls to reach your usual number. Removing or disabling it can block one-time passcodes at the worst possible moment, such as while checking into a hotel.
You can keep the home line available without using it for mobile data. Dual SIM lets both lines remain ready, but the iPhone uses only one line for cellular data at a time.
2. Add the Thailand travel eSIM
Connect your iPhone to trusted home Wi-Fi. Then open Settings, tap Cellular, and select Add eSIM.
Choose Use QR Code, then scan the travel profile QR code from your provider. Keep the confirmation email open on another screen, or print the code before starting. Follow the prompts until iOS finishes downloading the profile.
Apple’s international eSIM guidance covers the same basic process, although menu names can vary by iOS version and region. If your camera cannot scan the code, look for the option to enter the activation details manually.
3. Name both lines and select travel data
After installation, label each line clearly. Use names such as Home and Thailand Travel. Clear labels prevent the classic airport puzzle of wondering which line is which.
When iOS asks about cellular data, select Thailand Travel. You can also change it later under Settings > Cellular > Cellular Data. For additional setup help, follow these step-by-step iPhone eSIM installation instructions.
Keep your home line as the default voice line unless you need a different arrangement. Changing the data line does not change your phone number, WhatsApp identity, or saved contacts. If you still need a travel plan, Get your free esim now before departure.
4. Turn off data roaming on your home line
Open Settings > Cellular, tap your Home line, and turn off Data Roaming. This stops your iPhone from quietly using your home carrier’s roaming data.
Leave the home line turned on for calls and texts. Also, don’t delete the profile or remove the physical SIM after installing the Thailand line.
Test everything before takeoff. Turn Wi-Fi off, confirm that Thailand Travel appears as the data line, and check that your home number remains active. After landing, test the travel connection with a map or browser page before leaving the airport.
Protect WhatsApp, iMessage, Contacts, and Banking Access
A Thailand SIM card changes your connection, not your phone’s stored identity. Keep your home line enabled, then review messaging, backup, and security settings before boarding.

Keep Your Primary Number Active for Two-Factor Codes
Your bank, email provider, airline, and hotel service may send verification codes by SMS. Dual SIM Dual Standby lets both lines remain available, so your home number can receive texts while the Thailand line handles mobile data.
Open Settings > Cellular > Home, turn on the line, and switch Data Roaming off. Leave calls and texts enabled. This keeps the home line ready for banking codes, account alerts, and emergency access without using home-plan data abroad.
Some carriers charge for incoming texts or roaming service. Check your home plan before departure, especially if your carrier bills roaming access by day. A small plan detail can become an expensive surprise with excellent timing, as phone bills often enjoy dramatic entrances.
When available, add an authenticator app and save your account’s backup codes. These options reduce your dependence on SMS, but they don’t replace account security. Keep two-factor authentication active and store backup codes somewhere secure.
Apple confirms that both lines can handle calls, FaceTime, iMessage, SMS, and MMS with Dual SIM. See Apple’s official Dual SIM guidance for model and carrier details.
Stop a New SIM From Changing Your Messaging Identity
Your data line and messaging identity are separate settings. A Thailand line can provide internet access while iMessage, FaceTime, and WhatsApp remain linked to your home number.
On your iPhone, open Settings > Messages > Send & Receive. Under You can receive iMessages to and reply from, keep your home number selected. Check Start New Conversations From as well, then choose the home number if you want new iMessages to show that identity.
You can also review Settings > FaceTime and confirm that your home number remains selected. For more help, use this guide to check iMessage Send & Receive.
WhatsApp chats stay on your device when you add a new SIM. However, WhatsApp may detect the new line and ask whether you want to update your registered number. Choose the option that keeps your current number unless you truly plan to move the account.
For example, your Thailand line can power a map while your WhatsApp account still uses your US number. Read every setup screen before tapping. Airport Wi-Fi, jet lag, and tiny buttons make a poor decision-making team.
Save a Backup Before the Airport Wi-Fi Disappears
Before leaving, connect to trusted Wi-Fi and complete an iCloud backup. Then open WhatsApp and run its latest chat backup under Settings > Chats > Chat Backup.
Also check that important contacts sync with iCloud or another account. These backups help if your phone gets lost, damaged, or reset during the trip. A new SIM won’t erase this information, but a missing phone can make recovery far harder without recent copies.
Physical SIM Swap or Digital Profile: Which Thailand Option Fits?
A physical Thailand SIM card works well on an unlocked iPhone without eSIM support. However, removing your home card also disconnects that line from incoming texts and calls.
An eSIM keeps your home line installed while adding Thai data digitally. Before choosing, compare the setup process, phone compatibility, and how much control you want over both lines.

Check iPhone Compatibility and Carrier Lock Status
Open Settings, choose General, then tap About. Find Carrier Lock, and confirm that it says No SIM restrictions before buying a travel plan.
Newer iPhones often support eSIM, but the exact model and region can change that. Check your device with this iPhone eSIM compatibility guide before purchasing.
Your iPhone also needs compatible network bands for Thailand. The travel profile must support mobile data service in Thailand, not just voice or text access. Apple explains these requirements in its international eSIM travel guidance.
A digital profile requires a QR code or manual activation details. Install it at home on reliable Wi-Fi, then test the line before your flight. If your phone fails any compatibility check, use a physical card instead.
Compare the Two Thailand SIM Options
This quick comparison shows where each option fits best.
| Feature | Physical SIM swap | Digital eSIM profile |
|---|---|---|
| Setup location | Usually an airport kiosk or store | Home Wi-Fi before departure |
| Airport waiting time | Often requires a queue | No setup queue |
| SIM tray risk | Requires an ejector tool and tiny-card handling | No tray or loose card |
| Home-number access | Stops if you remove your home card | Remains active beside the travel line |
| Activation timing | Usually starts after installation | Can start before or after arrival |
| Data management | Select the physical travel line in Cellular settings | Select the digital travel line in Cellular settings |
A physical card is useful when your iPhone lacks eSIM support. It also gives you a tangible local line, which some travelers prefer. However, store the removed home SIM somewhere safe, because an airplane seat is a terrible filing cabinet.
An eSIM avoids card loss and lets you install your Thailand plan before takeoff. It still needs an unlocked, compatible iPhone, and the activation details must work correctly.
After installation, open Settings > Cellular > Cellular Data, then select the travel line. Turn on Low Data Mode for that line to reduce background use. Limit automatic downloads, cloud photo syncing, background app refresh, and video streaming when data matters.
Also review Allow Cellular Data Switching. If it stays enabled, iOS may switch data between lines when coverage changes. For tighter control, use the travel line manually and check your iPhone eSIM data settings. You can get your free esim now if you want to install your travel profile before departure.
Complete This Thailand eSIM Checklist Before You Leave
A few minutes of preparation can prevent a long airport troubleshooting session. Complete these checks in order while your iPhone has power, reliable Wi-Fi, and your full attention.
Install the Travel Profile at Home, Not in the Arrival Hall
Start by opening Settings > General > About and checking Carrier Lock. Your iPhone should show No SIM restrictions. Then confirm that your model supports eSIM before buying a Thailand SIM card plan.
Back up your iPhone through Settings > [your name] > iCloud > iCloud Backup. Also run a current WhatsApp chat backup if you rely on those conversations during your trip.
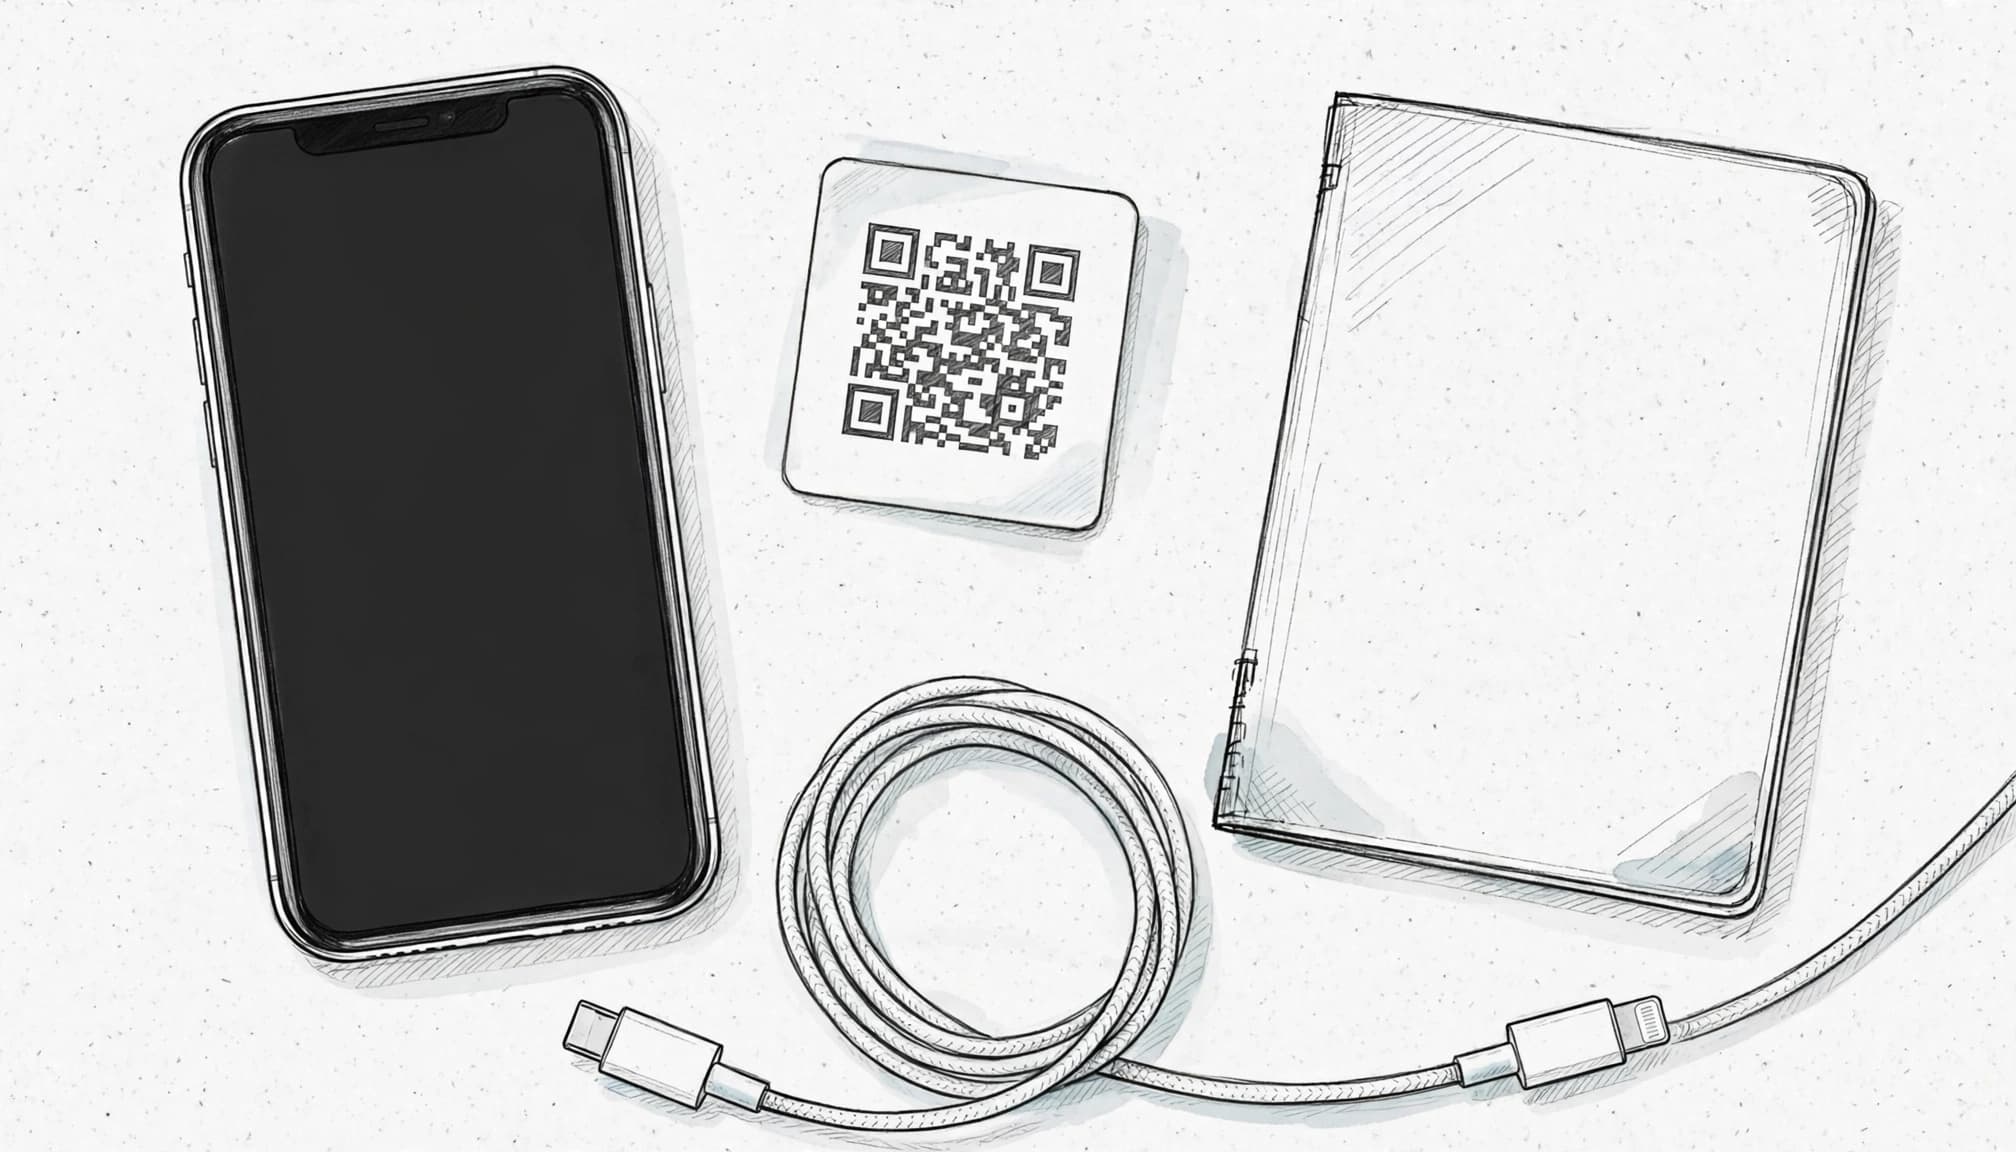
Connect to trusted home Wi-Fi, then open Settings > Cellular > Add eSIM. Scan the QR code or enter the activation details manually. Apple’s eSIM setup instructions cover the same iPhone menu path.
Home Wi-Fi gives you more time, a stronger connection, and fewer distractions than an airport kiosk. You can pause, reread instructions, and contact the provider without balancing luggage on one knee.
Installation doesn’t always mean immediate data use. Some travel plans activate when you install them, while others begin when the line connects in Thailand. Check the plan terms before installation. If required, leave the travel line inactive or keep it turned off until arrival.
Label the lines Home and Thailand Travel. Select Thailand Travel under Settings > Cellular > Cellular Data, then turn off Data Roaming on your Home line. Keep the home line active for incoming texts.
Save the QR code, confirmation email, SM-DP+ address, and activation code. You can use this iPhone QR code setup guide if the code fails during installation. Don’t delete the travel profile after adding it, even if you won’t use data until landing.
Fix the Most Likely Connection Problems After Landing
Keep airplane mode on during the flight. After landing, turn it off only when you’re ready to connect to a local network.
Test the connection in this order:
- Open Settings > Cellular and confirm that Thailand Travel is turned on.
- Select it under Cellular Data.
- Enable Data Roaming on the travel line only if the plan requires it.
- Keep Data Roaming off for your Home line.
- Toggle airplane mode on, wait several seconds, and turn it off.
- Restart the iPhone if you still see No Service.
- Check Settings > Cellular > Network Selection and try automatic selection first.
Then open Maps, load a webpage, send a message, and request a text to your home number. These tests confirm signal, data, messaging, and home-line access.
Don’t erase the eSIM or reset network settings as your first response. Those actions can remove working configuration and create a larger headache. If the travel line still shows no service or no data, contact the provider with your iPhone model, location, and activation details.
If the plan fits your phone and trip, you can Get your free esim now before departure.
Land Connected Without Losing Home Access
A Thailand SIM card doesn’t need to replace your home number. With dual SIM enabled, your travel line handles data while your primary line stays available for important texts.

Keep Your Home Line Ready
Leave your home line turned on after landing. It can receive bank codes, account alerts, and urgent messages while your Thailand eSIM powers internet access.
Open Settings > Cellular > Cellular Data and select your travel line. Then tap your home line and switch Data Roaming off.
Your iPhone can keep both lines active, but only one line handles cellular data. Apple’s international eSIM travel guidance explains how these settings work abroad.
You can also review this iPhone dual SIM guide before departure. It covers using a travel eSIM while keeping your primary number available.
Check Your Phone After Arrival
Once you leave the airport, test the setup before relying on it. Confirm that your travel line shows a signal, then load a webpage or map.
Next, send a message and request a test SMS to your home number. These quick checks confirm data access and incoming text service.
Keep Allow Cellular Data Switching off if you want strict control. Otherwise, your iPhone may use the home line when the travel connection weakens.
In short, you can keep affordable Thai data and home-number access together. Install before takeoff, back up first, verify the data line, disable home roaming, and review messaging settings. Choose your Thailand travel SIM or eSIM pass at esimthailand.co.