Switching to an eSIM can feel confusing the first time, especially if you are setting it up on a new iPhone. Many people face the same issues. Some QR codes do not scan. Profiles get stuck on “Activating.” Data connections fail to start. This is why knowing the right steps and the common mistakes is so important.
The shift is accelerating fast. A Counterpoint Research report noted that by 2025 nearly half of all smartphones sold will be eSIM compatible, with Apple leading the push. More iPhone users will soon need clear guidance on how to activate and manage eSIMs.
In this guide, we will show you how to start activating eSIM on iPhone, explain the mistakes you should avoid, and share simple tips for using an international eSIM on iPhone when you travel
Step-by-Step Guide to Activating eSIM on iPhone
Activating eSIM on iPhone becomes much easier when you break it into clear steps. Follow the process below and you’ll be ready to go in just a few minutes.
Step 1. Confirm that your iPhone supports eSIM
Before anything else, make sure your device can actually use eSIM.
- eSIM works on iPhone XR, XS, XS Max, and all newer models.
- If you are using iPhone 14 or later in the United States, your phone is eSIM-only with no physical SIM tray.
- Make sure your device is unlocked if you plan to use an international eSIM while traveling.
📎 Reference: Apple’s official list of eSIM-compatible iPhones
👉 Traveler’s tip: I once installed a Japan eSIM on my iPhone 15 Pro before departure. Because the phone was unlocked, I could switch seamlessly between my US line and the travel data plan on arrival. Always confirm this before your trip.
Step 2. Update your iOS and carrier settings
Next, check that your iPhone is running the latest software. This prevents many activation errors.
- Go to Settings → General → Software Update and install the latest iOS.
- Then check Settings → General → About. If there is a carrier update available, you will see a prompt.
- These updates often fix bugs that can block eSIM activation.
📎 Reference: Apple guide on updating iPhone and carrier settings
👉 Pro tip: Updating both iOS and carrier settings before scanning your QR code can prevent activation from getting stuck on “Activating.”
Step 3. Prepare your activation details
Once your phone is ready, gather the details from your provider.
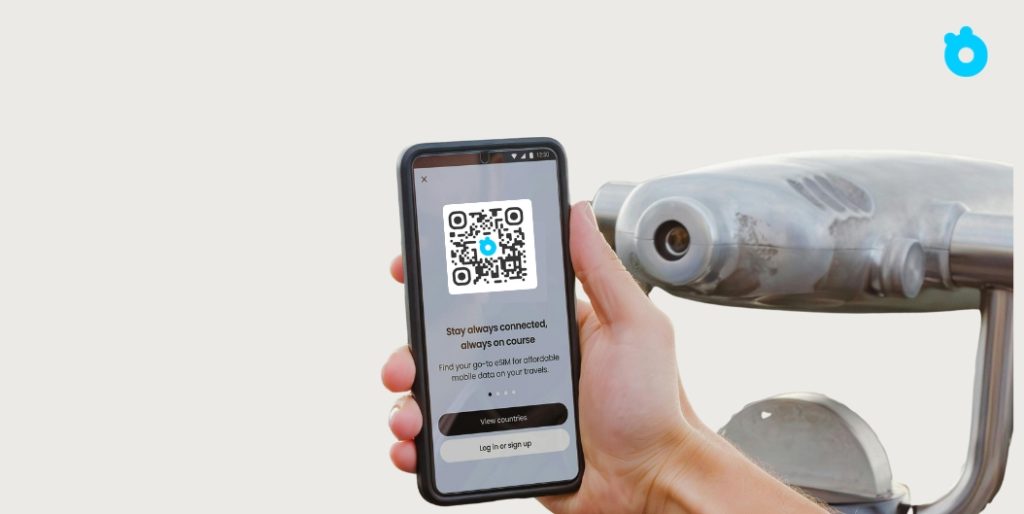
- Most providers send a QR code by email or inside their app.
- Some will give you a manual activation code instead.
- Keep this information ready before you start. It saves time and avoids mistakes during setup.
Step 4. Connect to a strong Wi-Fi network
Activation needs internet access, so a stable connection is essential.
- Weak or unstable Wi-Fi is one of the most common reasons why eSIM profiles get stuck on “Activating.”
- If possible, activate at home or in a place with reliable internet.
Step 5. Add the eSIM profile
Now you’re ready to add the eSIM on your iPhone.
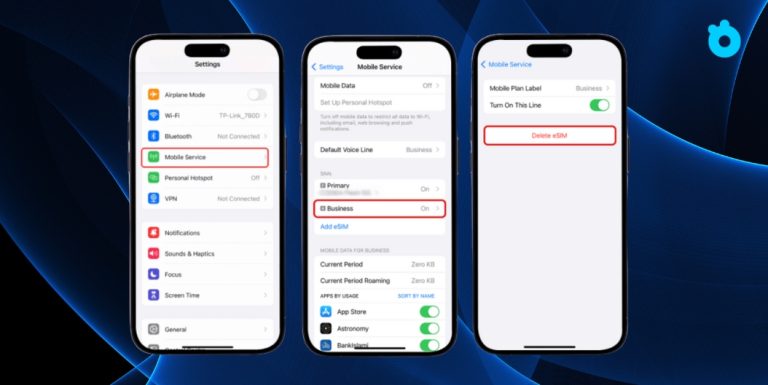
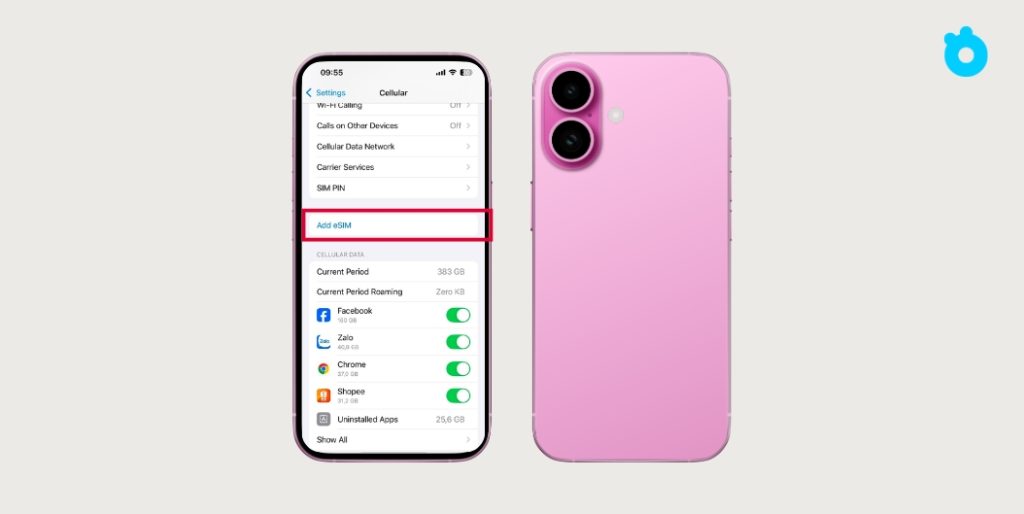
- Open Settings → Cellular → Add eSIM.
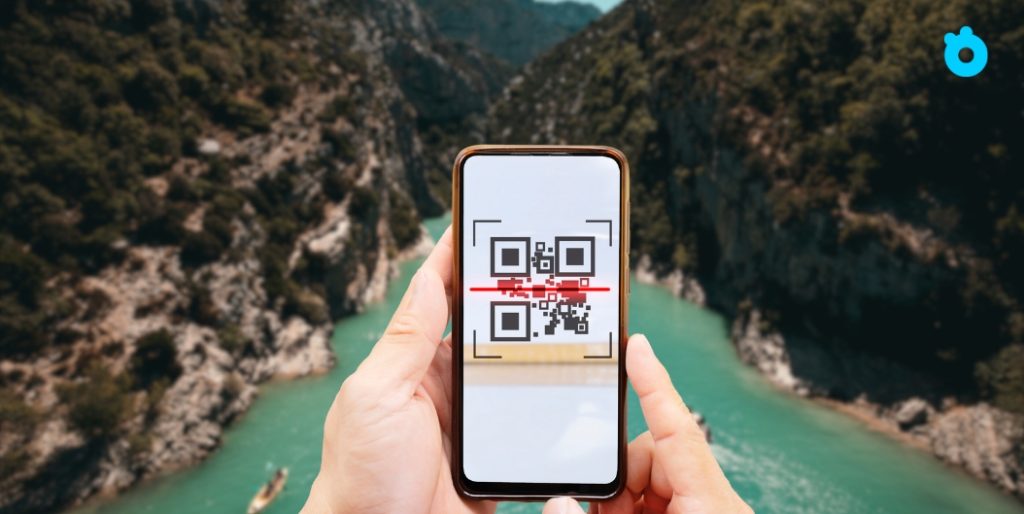
- Choose Scan QR Code if you have one. Point your camera at the code and wait for the iPhone to recognize it.
- If you have an activation code, select Enter Details Manually.
- Some carriers also support “Transfer from Nearby iPhone,” which moves an eSIM from your old device automatically.
📎 Reference: Apple’s instructions for adding and activating eSIM on iPhone
Step 6. Label and confirm the new line
Once added, your iPhone will ask how you want to use the new line.
- You can name it “Primary,” “Work,” or “Travel” to make switching easier later.
- Decide whether you want it as your main line for calls, texts, and data, or just for data when abroad.
Step 7. Turn on the eSIM and check roaming settings
The next step is to enable the new line.
- Go back to Settings → Cellular → Cellular Plans.
- Toggle the new eSIM on.
- If you are using an international eSIM, scroll down and make sure Data Roaming is enabled.
Step 8. Test your connection
Finally, confirm that the eSIM works as expected.
- Open Safari or another browser to check if mobile data works.
- If the plan includes calls and texts, try making a quick test call.
- If nothing connects, restart your iPhone and try again.
💡 Pro tip: Always activate your eSIM before leaving home. Airports and hotels often have weak Wi-Fi, which makes activation harder. Doing it early saves you stress when you land in a new country.
Special Notes for International eSIM Users
If you are activating an eSIM for international travel, there are a few extra things you should keep in mind. These details can save you from headaches once you arrive abroad.
1. Enable Data Roaming
When using an international eSIM, roaming is essential.
- Go to Settings → Cellular → [Your eSIM] → Data Roaming and switch it on.
- Without this step, your phone may connect to local networks but won’t deliver data.
2. Check APN settings if data does not work
Sometimes the eSIM installs correctly but data still fails.
Each provider has its own APN (Access Point Name) settings.
If your iPhone does not fill this in automatically, you may need to enter it manually under Cellular Data Network.
📎 Example: T-Mobile eSIM setup and APN guide
3. Verify coverage before you travel
Every eSIM provider partners with local carriers, but coverage can vary.
- Check the provider’s coverage map for the countries you plan to visit.
- If you are going to rural areas, confirm that 4G or 5G networks are supported.
4. Activate while you still have strong Wi-Fi
Do not wait until you land at the airport.
- Airports often have weak or overloaded Wi-Fi, making activation slow or impossible.
- Always activate the eSIM at home or in a place where Wi-Fi is stable.
5. Understand plan type: data-only vs full service
Not all international eSIMs include calls and texts.
- Many travel eSIMs are data-only, which means you can browse, use maps, and message over apps like WhatsApp, but you cannot use regular SMS or calls.
- If you need voice service, choose a plan that clearly states it includes talk and text.
💡 Pro tip: Install your international eSIM a day before your trip. This way you can test it on Wi-Fi, confirm that it shows up in your settings, and avoid surprises when you arrive abroad.
Special Notes for International eSIM Users
If you are activating an eSIM for international travel, there are a few extra things you should keep in mind. These details can save you from headaches once you arrive abroad.
1. Enable Data Roaming
When using an international eSIM, roaming is essential.
- Go to Settings → Cellular → [Your eSIM] → Data Roaming and switch it on.
- Without this step, your phone may connect to local networks but won’t deliver data.
2. Check APN settings if data does not work
Sometimes the eSIM installs correctly but data still fails.
- Each provider has its own APN (Access Point Name) settings.
- If your iPhone does not fill this in automatically, you may need to enter it manually under Cellular Data Network.
3. Verify coverage before you travel
Every eSIM provider partners with local carriers, but coverage can vary.
- Check the provider’s coverage map for the countries you plan to visit.
- If you are going to rural areas, confirm that 4G or 5G networks are supported.
4. Activate while you still have strong Wi-Fi
Do not wait until you land at the airport.
- Airports often have weak or overloaded Wi-Fi, making activation slow or impossible.
- Always activate the eSIM at home or in a place where Wi-Fi is stable.
5. Understand plan type: data-only vs full servic
Not all international eSIMs include calls and texts.
- Many travel eSIMs are data-only, which means you can browse, use maps, and message over apps like WhatsApp, but you cannot use regular SMS or calls.
- If you need voice service, choose a plan that clearly states it includes talk and text.
💡 Pro tip: Install your international eSIM a day before your trip. This way you can test it on Wi-Fi, confirm that it shows up in your settings, and avoid surprises when you arrive abroad.
Troubleshooting eSIM Activation Problems
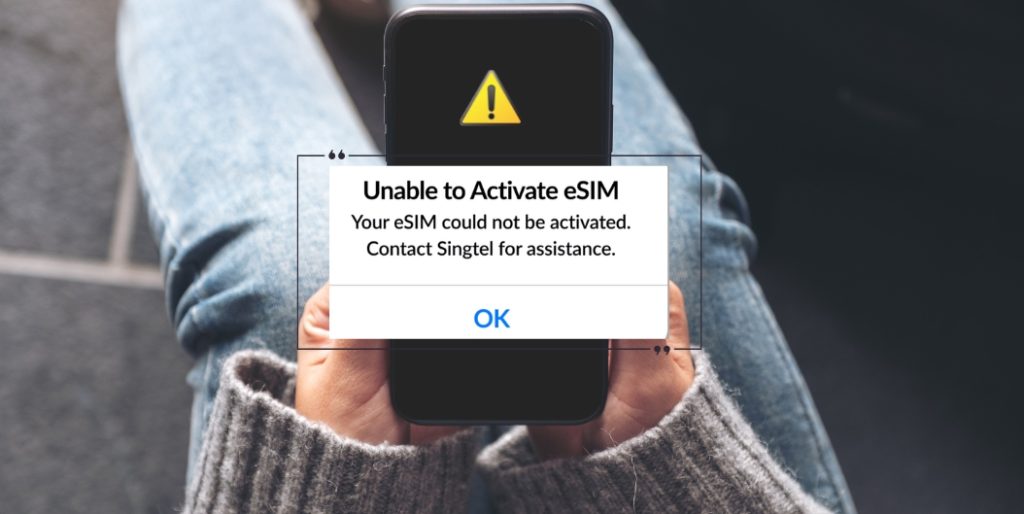
Even with the right steps, sometimes things still go wrong. The good news is that most eSIM activation problems can be solved with a few simple checks. Here’s what to try if your eSIM does not activate right away.
1. Restart your iPhone
The easiest fix is often the most effective.
- Restarting refreshes the system and clears small glitches.
- After the restart, go back to Settings → Cellular and check if your eSIM is active.
2. Check your internet connection
Activation requires a stable network.
- If you are on weak Wi-Fi, move closer to the router or switch to another network.
- In some cases, turning Wi-Fi off and using temporary mobile data from another SIM can also help.
3. Re-scan the QR code or re-enter details
If the eSIM does not install, try again.
- Make sure the QR code is not blurry or damaged.
- If scanning fails, use the manual entry option provided by your carrier.
4. Update carrier settings
Sometimes the problem is not your phone but the carrier profile.
- Go to Settings → General → About. If a carrier update is available, you’ll see a prompt.
- Installing this often fixes network recognition issues.
5. Reset Network Settings
When nothing else works, this option clears all saved network data and gives you a fresh start.
- Go to Settings → General → Transfer or Reset iPhone → Reset → Reset Network Settings.
- After the reset, re-add your eSIM with the QR code or manual details.
6. Contact your provider
If you have tried everything and the eSIM still will not activate, the issue may be on your carrier’s side.
Reach out to their support team.
Ask if the QR code or activation code has expired or if the eSIM needs to be reissued.
📎 Reference: Verizon’s official eSIM activation support page
💡 Pro tip: Always keep a backup option when traveling. A physical SIM or a second eSIM provider can save you from being stranded without internet
Frequently Asked Questions
1. Why is my eSIM stuck on “Activating” on iPhone?
This usually happens due to weak Wi-Fi, outdated iOS, or missing carrier updates. Restart your iPhone, check your internet connection, and try again. If the issue continues, reset your network settings or contact your provider.
2. Does iPhone 17 support eSIM?
Yes. iPhone 17 continues Apple’s eSIM-only approach in markets like the US, while still offering dual eSIM functionality in most regions. This means you can store multiple eSIMs and keep two active at once.
3. Can I use an international eSIM on my iPhone?
Absolutely. An international eSIM is perfect for travel since it saves you from buying local SIM cards. Just make sure your iPhone is unlocked and that Data Roaming is enabled in settings.
4. How many eSIMs can an iPhone have?
It depends on the model. Most iPhones can store several eSIM profiles but only two can be active at the same time. Newer models like iPhone 15, 16, and 17 are expanding this capability.
5. Should I delete my old eSIM after switching to a new one?
If you no longer use the plan, it’s best to delete the old eSIM. Go to Settings → Cellular → Select Plan → Delete eSIM. This keeps your phone organized and prevents network conflicts.
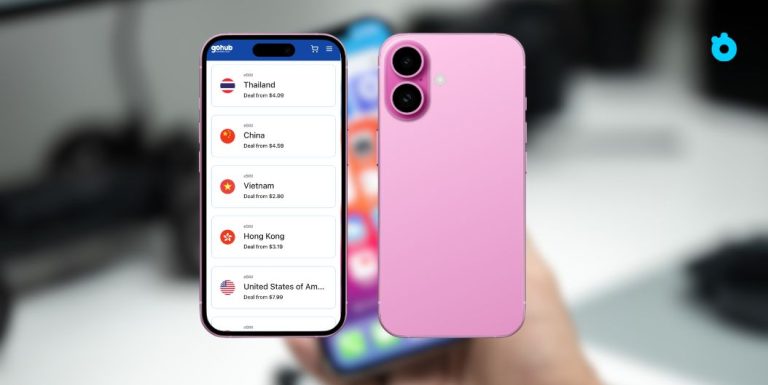
💡 Pro tip: If you need a fast and reliable international eSIM, consider trying Gohub. It offers easy setup, strong global coverage, and 24/7 support — ideal for frequent travelers.
Conclusion
Activating an eSIM on iPhone may sound complicated at first, but it becomes simple once you know the right steps. From checking compatibility to enabling data roaming, every detail matters. Most activation problems come from small mistakes such as weak Wi-Fi or skipping updates, and now you know how to avoid them.
The trend is only growing. By 2025, nearly half of all smartphones sold worldwide will support eSIM, and Apple is leading the shift. That means more iPhone users will need to rely on eSIM for both local and international connectivity.
If you are planning to travel, a reliable provider makes the process even smoother. That’s where Gohub international eSIM comes in. With instant activation, global coverage, and 24/7 support, it’s a trusted choice for iPhone users who want to stay connected abroad.
👉 Ready to travel worry-free? Explore the latest Gohub eSIM plans and activate your connection in just a few taps.